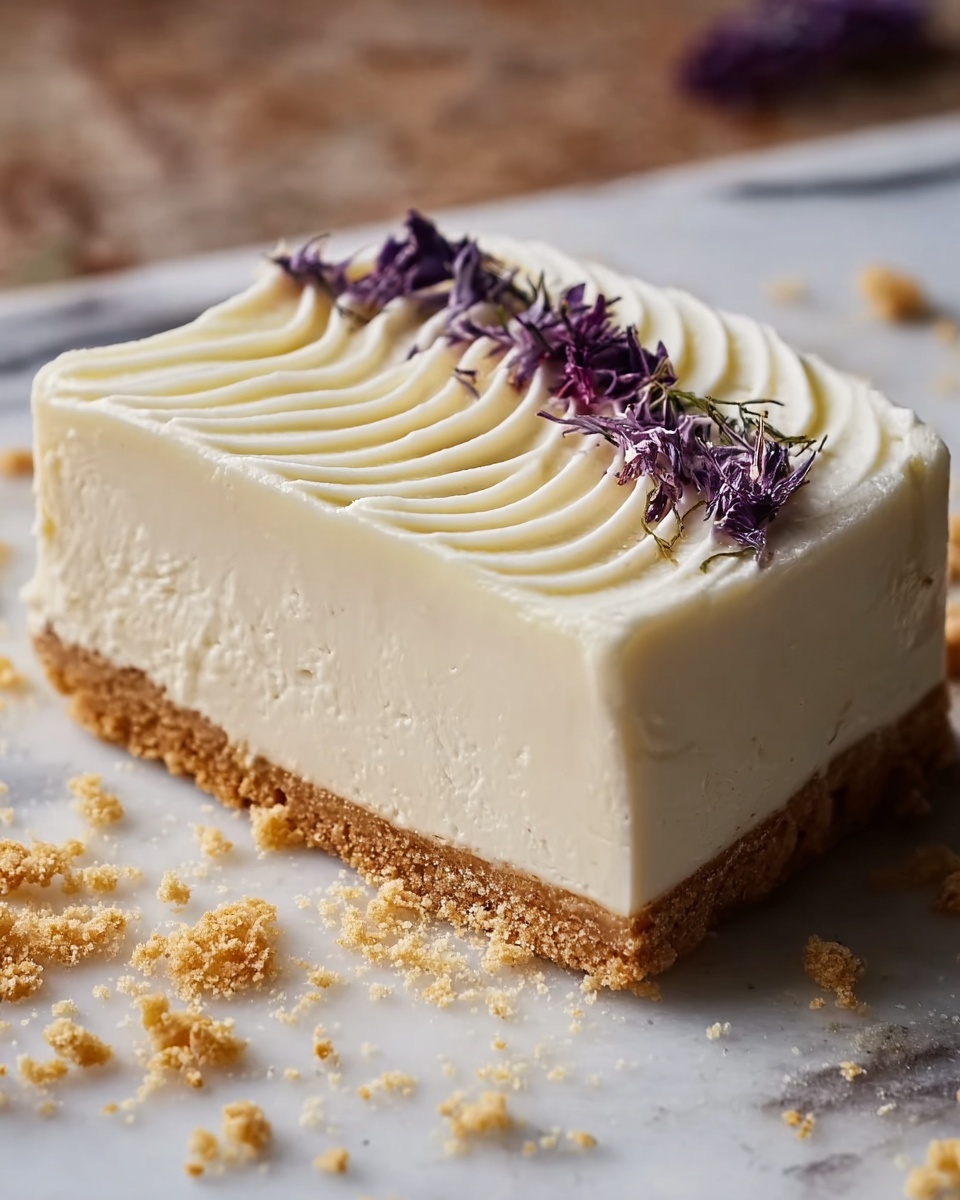
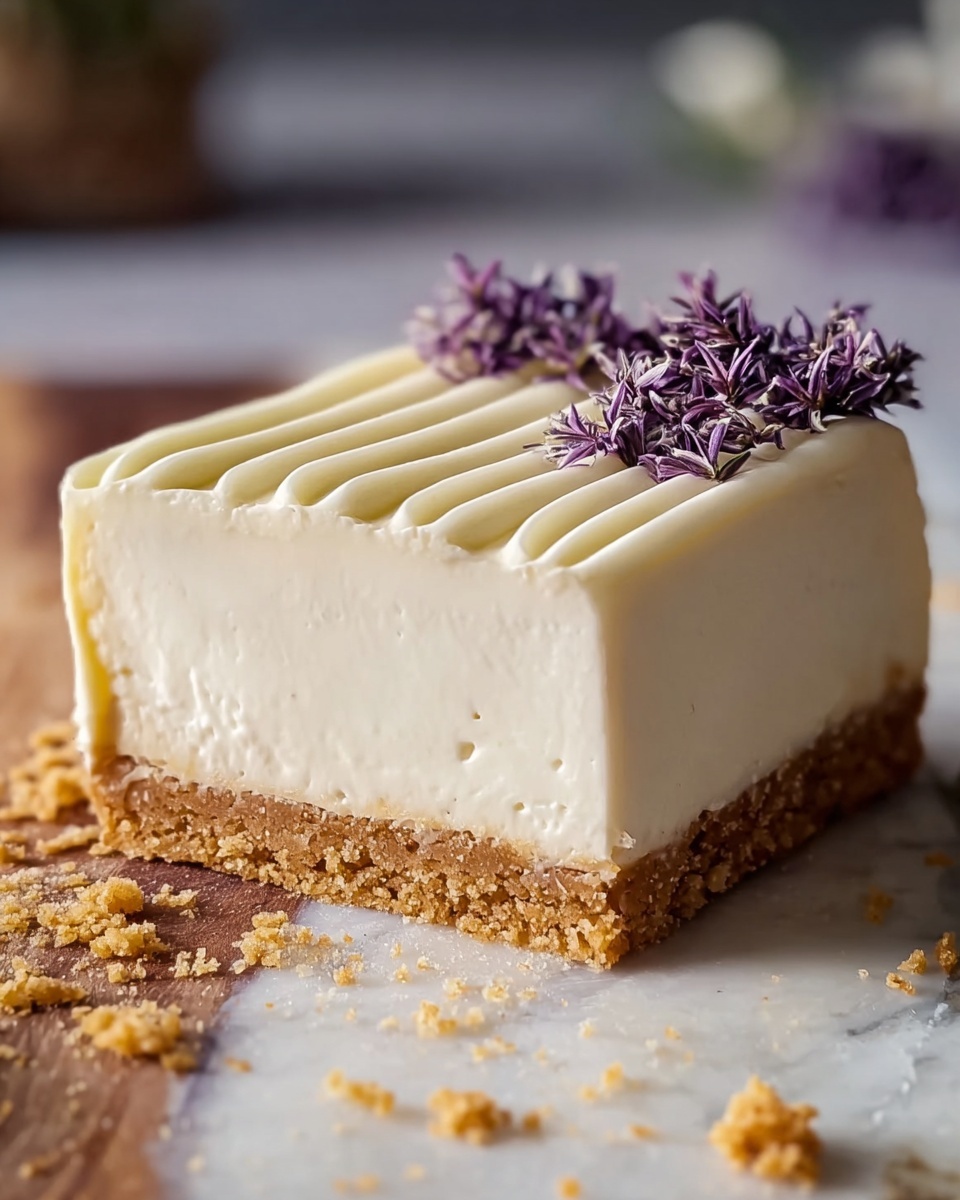
If you’ve ever dreamed of a dessert that’s the perfect balance of creamy, rich, and subtly sweet, the Vanilla Bean Cheesecake with a Vanilla Wafer Crust Recipe is absolutely your next kitchen conquest. This cheesecake embraces the warm, comforting essence of vanilla in every bite, with a delightful crust made from vanilla wafers that add a delicate crunch and a hint of nostalgic flavor. Whether you’re baking for a special occasion or treating yourself on a cozy night in, this cheesecake is both impressive and approachable, earning an instant spot in your collection of all-time favorites.
Ingredients You’ll Need
This recipe uses simple, classic ingredients that you can find in any kitchen, yet each one plays a vital role in creating the lush texture and luscious flavor of the cheesecake. From the buttery vanilla wafer crust to the rich, creamy filling infused with real vanilla bean, these ingredients harmonize beautifully.
- Vanilla wafer crumbs: Provide a sweet, crumbly foundation packed with vanilla flavor for the crust.
- Granulated sugar: Sweetens both the crust and filling perfectly without overwhelming.
- Unsalted butter: Gives the crust its richness and helps it hold together firmly.
- Cream cheese: The star of the filling, delivering a velvety, tangy base.
- Sour cream: Adds moisture and a subtle tang that balances the sweetness.
- Eggs: Bind the filling ingredients and create that signature cheesecake texture.
- Vanilla bean paste or seeds: Infuse an unmistakable natural vanilla aroma and tiny flecks of vanilla for visual appeal.
- Vanilla extract: Boosts the vanilla flavor profile even further.
- Pinch of salt: Enhances all the sweet flavors and cuts through the richness.
How to Make Vanilla Bean Cheesecake with a Vanilla Wafer Crust Recipe
Step 1: Prepare the Crust
Start by preheating your oven to 325°F (160°C). In a medium bowl, combine the vanilla wafer crumbs, sugar, and melted butter. Mix these until the crumbs resemble wet sand—this texture is key to a crust that holds together but remains tender. Press this mixture firmly into the bottom of a 9-inch springform pan, creating an even layer. To set it perfectly, bake for 10 minutes, then let it cool slightly while you prepare the filling.
Step 2: Make the Creamy Filling
In a large bowl, beat the softened cream cheese and sugar together until the mixture is smooth and fluffy—this ensures no lumps and a light texture. Add in the sour cream, vanilla bean paste or seeds, vanilla extract, and a pinch of salt. Mix carefully until everything is fully combined. Now, add the eggs one at a time, beating on low speed and scraping down the sides to keep the batter smooth and prevent too much air from getting in. This results in a dense, luscious cheesecake without cracks or bubbles.
Step 3: Bake to Perfection
Pour the creamy filling over the cooled vanilla wafer crust and smooth the top gently. Tap the pan on your counter a couple of times to release trapped air bubbles, which helps ensure a flawless surface after baking. Bake the cheesecake for 50 to 60 minutes. You want the edges to be set while the center remains just slightly jiggly. Afterwards, turn the oven off, crack the door open, and let the cheesecake cool inside for 1 hour. This gradual cooling helps prevent cracking and maintains the creamy texture. Then transfer it to your refrigerator and chill for at least 4 hours or preferably overnight for the best flavor development.
How to Serve Vanilla Bean Cheesecake with a Vanilla Wafer Crust Recipe

Garnishes
This cheesecake shines on its own, but a dollop of fresh whipped cream or a scattering of fresh berries like raspberries, strawberries, or blueberries tops it off with a burst of color and contrasting freshness. A light dusting of powdered sugar or a drizzle of caramel sauce can add an extra touch of elegance and sweetness too.
Side Dishes
Pairing this cheesecake with a simple cup of rich coffee or a refreshing fruit compote works wonders. A few sliced almonds or toasted coconut flakes on the side add texture and a nutty element that complements the creamy dessert beautifully.
Creative Ways to Present
For a show-stopping presentation, serve individual slices on plates decorated with vanilla bean pods or edible flowers. You can also create mini cheesecakes using a muffin tin lined with parchment cups and then garnish them similarly for an adorable party treat.
Make Ahead and Storage
Storing Leftovers
Once fully chilled, store your leftover cheesecake in an airtight container in the refrigerator. It will stay fresh and delicious for up to 5 days—perfect for enjoying little slices over the course of the week without losing any flavor or texture.
Freezing
If you want to enjoy this Vanilla Bean Cheesecake with a Vanilla Wafer Crust Recipe later, freezing is a great option. Wrap it tightly in plastic wrap and then foil before placing it in the freezer. It keeps well for up to 2 months. When ready, thaw it overnight in the refrigerator for best results.
Reheating
While cheesecake is best enjoyed cold or at room temperature, if you prefer a softer feel, remove it from the fridge and let it sit at room temperature for 15 minutes before serving. Avoid microwaving, as it can alter the texture and cause the filling to become rubbery.
FAQs
Can I use regular vanilla extract instead of vanilla bean paste?
Absolutely! While vanilla bean paste adds visible specks and a richer vanilla aroma, pure vanilla extract will still provide excellent flavor. You might just miss those lovely little vanilla flecks in the filling.
How do I prevent cracks on my cheesecake?
Cracks often happen from overbaking or rapid temperature changes. Baking at a low temperature and allowing the cheesecake to cool gradually in the oven with the door slightly open helps prevent cracks. Also, avoid overmixing the batter to reduce air incorporated.
Can I make this cheesecake gluten-free?
Yes! Simply substitute gluten-free vanilla wafers for the crust. Make sure your other ingredients are gluten-free too, and you’ll have a gluten-friendly version without sacrificing taste.
Is it necessary to use a springform pan?
A springform pan is highly recommended for smooth removal since the cheesecake is quite delicate and sticky. If you don’t have one, you can use a regular cake pan lined with parchment paper, but be very gentle when removing the cheesecake.
What’s the best way to slice this cheesecake?
For clean slices, run a sharp knife under hot water, wipe it dry, then slice. Repeat heating and wiping between each cut to keep the edges neat and prevent sticking.
Final Thoughts
This Vanilla Bean Cheesecake with a Vanilla Wafer Crust Recipe is a true celebration of vanilla’s timeless elegance and creamy richness. It’s a dessert that feels homemade yet looks like a professional creation. Trust me, once you try it, it will become your go-to recipe for impressing family and friends while indulging your own sweet tooth in the most satisfying way. So grab those vanilla wafers, warm up your oven, and dive into the joy of baking this stunning cheesecake!
Print
Vanilla Bean Cheesecake with a Vanilla Wafer Crust Recipe
- Prep Time: 20 minutes
- Cook Time: 60 minutes
- Total Time: 6 hours (including chilling)
- Yield: 12 servings
- Category: Dessert
- Method: Baking
- Cuisine: American
- Diet: Vegetarian
Description
This Vanilla Bean Cheesecake with a Vanilla Wafer Crust is a classic American dessert that blends creamy, smooth cheesecake filling infused with vanilla bean paste into a buttery vanilla wafer crust. Baked to perfection, it offers a rich, luscious texture with a delightful vanilla flavor, making it a perfect treat for any occasion.
Ingredients
Crust
- 1 1/2 cups vanilla wafer crumbs (about 40 wafers)
- 1/4 cup granulated sugar
- 6 tablespoons unsalted butter, melted
Filling
- 3 (8-ounce) packages cream cheese, softened
- 3/4 cup granulated sugar
- 1/2 cup sour cream
- 3 large eggs
- 1 tablespoon vanilla bean paste (or seeds from 1 vanilla bean)
- 1 teaspoon vanilla extract
- pinch of salt
Instructions
- Preheat oven and prepare crust: Preheat the oven to 325°F (160°C). In a medium bowl, combine vanilla wafer crumbs, sugar, and melted butter until the mixture resembles wet sand. Press this firmly into the bottom of a 9-inch springform pan. Bake the crust for 10 minutes, then remove and set aside to cool slightly.
- Make the filling: In a large bowl, beat the softened cream cheese and sugar until smooth and fluffy. Add the sour cream, vanilla bean paste, vanilla extract, and a pinch of salt; mix until fully combined. Add eggs one at a time on low speed, scraping down the bowl between additions to ensure even mixing without over-aerating.
- Assemble and bake: Pour the cheesecake filling over the crust and smooth out the top. Tap the pan gently on the counter to release any air bubbles. Bake for 50 to 60 minutes, or until the edges are set but the center still jiggles slightly when nudged.
- Cool in oven: After baking, turn off the oven, crack the door open, and let the cheesecake cool inside for 1 hour. This gradual cooling helps prevent cracks.
- Chill: Transfer the cheesecake to the refrigerator and chill for at least 4 hours, preferably overnight, to fully set and develop flavor.
- Serve: Before serving, run a knife around the edge of the cheesecake to loosen it from the pan. Slice and serve chilled. Optionally, accompany with whipped cream or fresh berries for added flair.
Notes
- For a richer texture, let the cheesecake sit at room temperature for 10–15 minutes before serving.
- You can top the cheesecake with whipped cream or fresh berries to enhance flavor and presentation.


