If you have ever craved authentic deli-style pickles bursting with tang, crunch, and complex flavor, then you absolutely must try this Traditional Kosher Dill Pickles Recipe. This age-old favorite combines simple, fresh ingredients with the magic of natural fermentation to create those perfectly crisp, garlicky, and aromatic pickles that elevate any sandwich or snack. The beauty of this recipe lies in its simplicity and the way it captures the essence of classic Jewish pickle-making heritage. Prepare to be amazed at how just a few ingredients transform into something so delightfully addictive!
Ingredients You’ll Need
To bring this Traditional Kosher Dill Pickles Recipe to life, the ingredients are refreshingly straightforward yet crucial to achieving that authentic flavor and satisfying crunch. Each plays a special role—whether it is the briny tang from kosher salt, the spicy warmth of mustard seeds, or the fresh herby brightness from dill sprigs.
- 2 pounds pickling cucumbers (small and firm): The key for crisp, crunchy pickles that hold up well during fermentation.
- 4 cups water: Use non-chlorinated water to prevent interference with natural fermentation.
- 1/4 cup kosher salt (non-iodized): Essential for proper fermentation and that characteristic tang.
- 1 tablespoon whole black peppercorns: Adds a subtle peppery heat and depth.
- 1 tablespoon mustard seeds: For a gentle pungency and texture contrast.
- 6 cloves garlic (peeled and smashed): Garlic is a must-have for bold, savory notes.
- 1 teaspoon red pepper flakes (optional): For those who like a little spicy kick.
- 6–8 fresh dill sprigs: The star herb that makes these pickles unmistakably dill.
- 1 bay leaf: Adds an aromatic earthiness that rounds out the flavor.
- 1/2 teaspoon coriander seeds (optional): Imparts a subtle citrus and spice aroma.
How to Make Traditional Kosher Dill Pickles Recipe
Step 1: Prepare Your Cucumbers
Start by washing your pickling cucumbers thoroughly to remove any dirt or residue. Trim just the blossom ends off the cucumbers; this part contains enzymes that could soften your pickles during fermentation. Leaving the stem ends intact helps maintain crispness throughout the process.
Step 2: Make the Brine
In a saucepan, combine the water and kosher salt. Heat gently while stirring until the salt has completely dissolved. This salty brine is the heart of your Traditional Kosher Dill Pickles Recipe because it creates the perfect environment for the good bacteria to flourish. Let the brine cool down to room temperature before proceeding.
Step 3: Layer the Jar
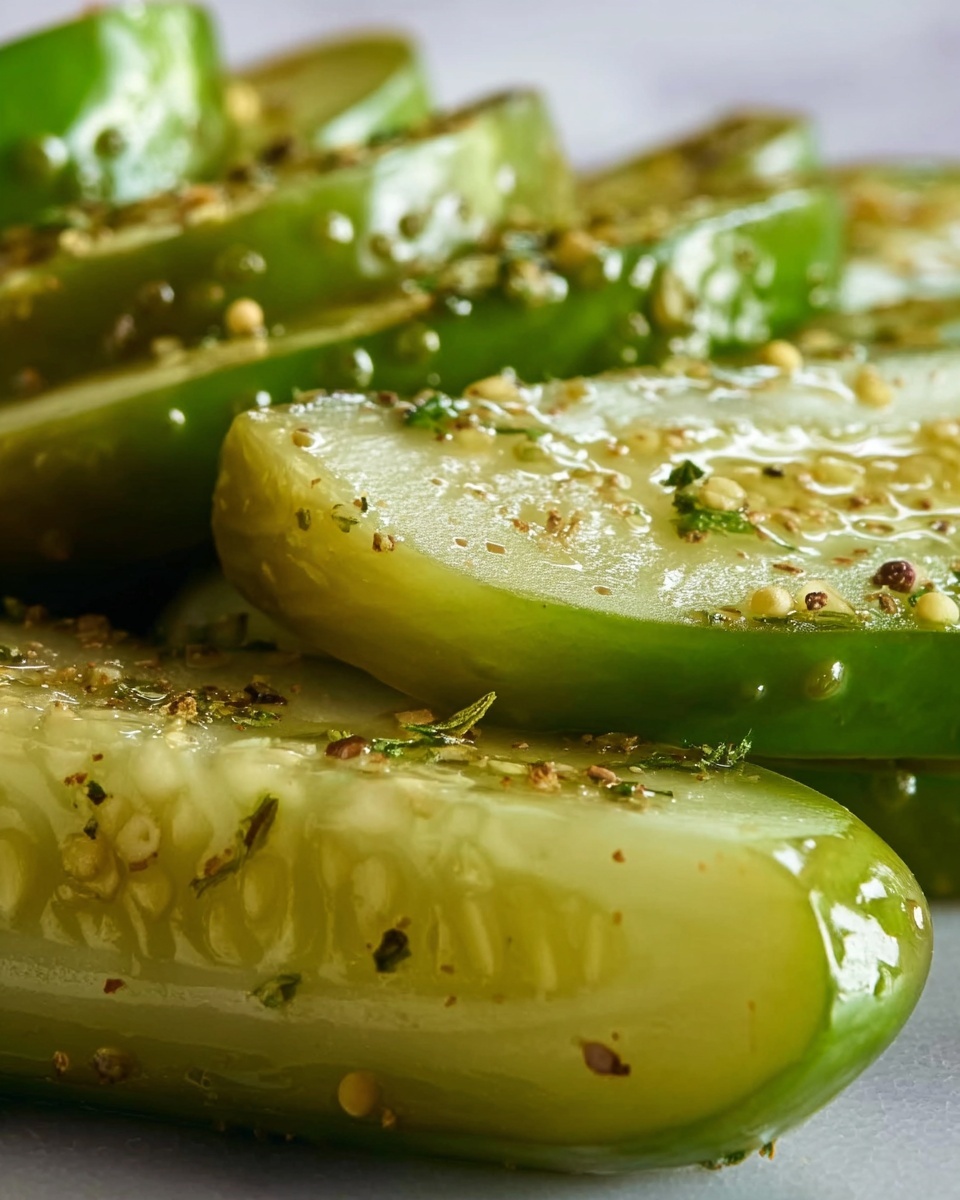
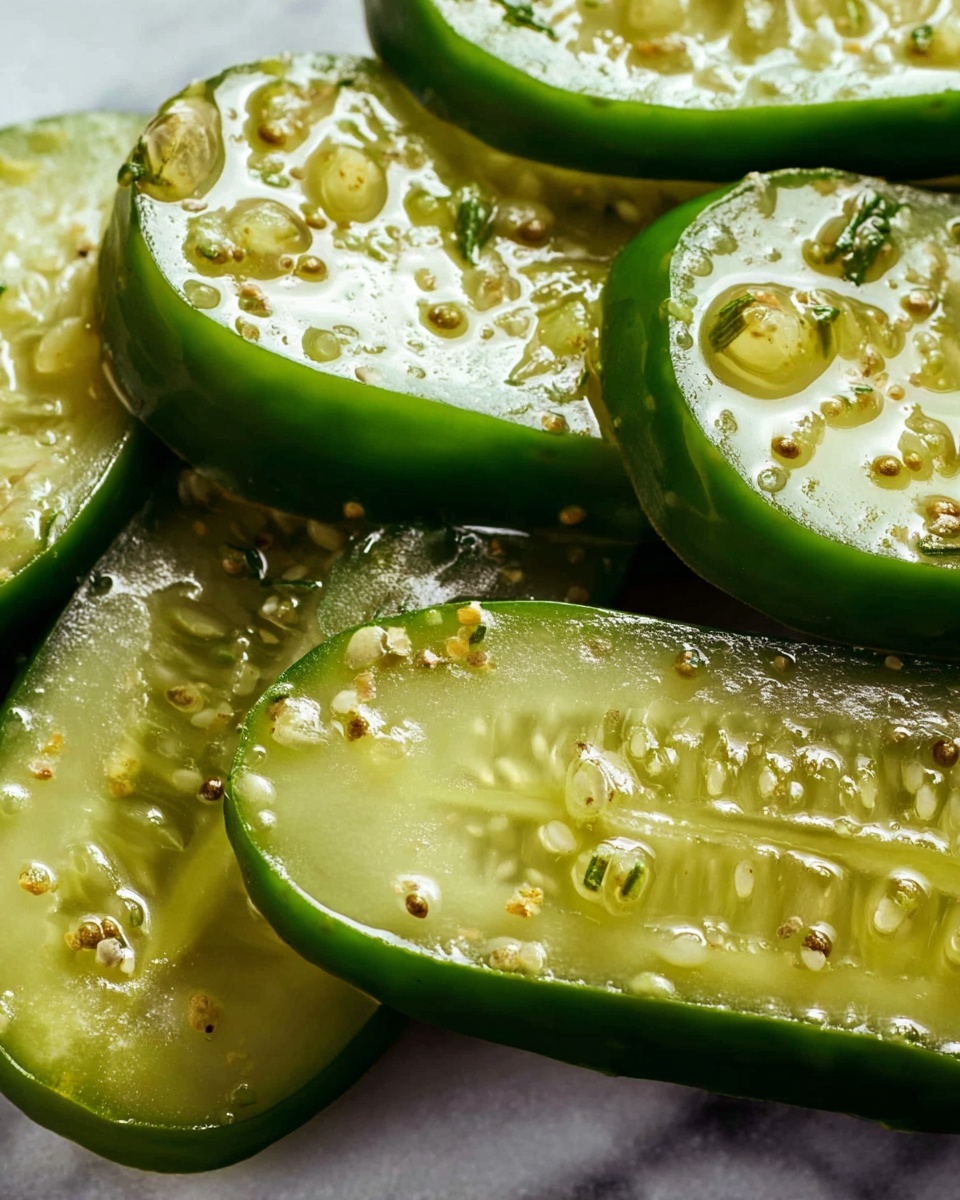
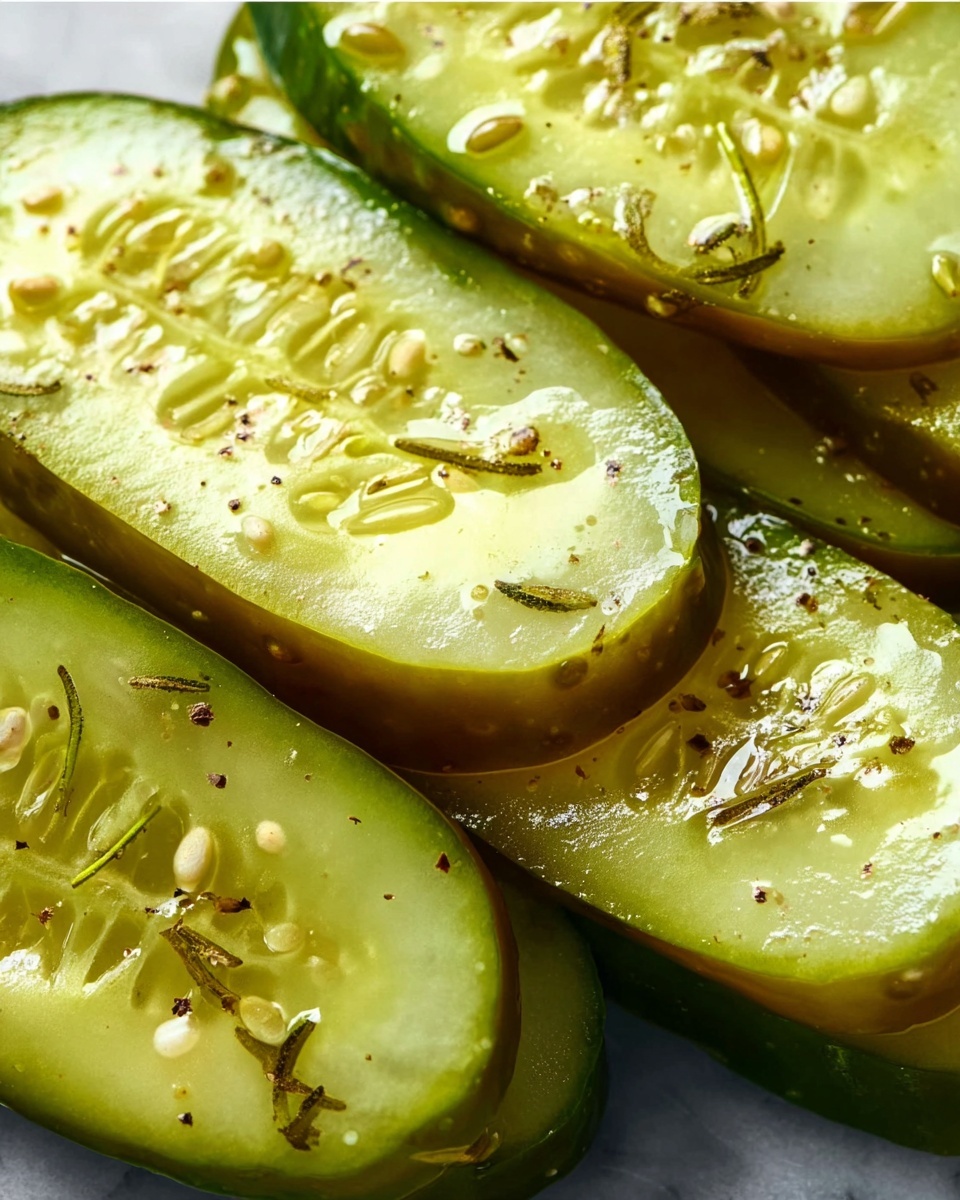
Grab a clean quart-sized jar or fermentation crock and start layering your ingredients thoughtfully. Begin with cucumbers, then add smashed garlic cloves, fresh dill sprigs, black peppercorns, mustard seeds, red pepper flakes if you want some heat, the bay leaf, and coriander seeds if using. Layering this way ensures every pickle gets infused with the wonderful aromas and flavors.
Step 4: Add the Brine and Press
Pour the cooled brine over the layered cucumbers until they are completely submerged. This step is critical—exposure to air can cause unwanted mold or spoilage. Use a fermentation weight or a clean smaller jar to weigh down the cucumbers and keep them under the brine.
Step 5: Cover and Ferment
Cover your jar loosely with a lid or a breathable cloth to let gases escape as the pickles ferment naturally. Store the jar at room temperature, away from direct sunlight, for about 4 to 7 days. Start tasting around day 3 to see how the flavors develop; when they hit your preferred tanginess and crunch, they’re ready!
Step 6: Refrigerate and Enjoy
Once fermentation is complete, seal the jar tightly and place it in the refrigerator. The cool cold slows the fermentation to a halt, locking in the delicious flavor and crunch for months to come. Your Traditional Kosher Dill Pickles Recipe is now ready for every sandwich, burger, or solitary snack craving!
How to Serve Traditional Kosher Dill Pickles Recipe
Garnishes
Adding a few fresh dill sprigs or a light sprinkle of crushed red pepper flakes to your pickle plate can enhance the presentation and flavor. The addition of some fresh garlic slices alongside can also complement the garlicky notes from the pickles themselves.
Side Dishes
This Traditional Kosher Dill Pickles Recipe pairs wonderfully with classic deli sandwiches, matzo ball soup, brisket, or even grilled sausages. Their sharp acidity cuts through rich, fatty dishes, providing balance and an irresistible burst of flavor.
Creative Ways to Present
Why not elevate your pickle game by serving sliced pickles atop a bagel with cream cheese or incorporating diced pickles into potato salads or deviled eggs? These pickles also make a fantastic tangy topping for burgers and tacos, adding zest and crunch to any dish.
Make Ahead and Storage
Storing Leftovers
Once your pickles reach that perfect tangy crunch, store them sealed in the refrigerator. They will keep well for several months, becoming even more flavorful over time. Just be sure to use a clean utensil when scooping them out to maintain their freshness.
Freezing
Freezing is generally not recommended for Traditional Kosher Dill Pickles Recipe because the texture will suffer upon thawing, becoming mushy rather than crunchy. The magic of these pickles comes from their crispness and fermentation, best enjoyed fresh or refrigerated.
Reheating
No reheating needed here! These pickles are typically enjoyed cold or at room temperature. Warming them would ruin that crisp texture and fresh fermented flavor that makes this recipe so special.
FAQs
Can I use regular table salt instead of kosher salt?
It’s best to stick with kosher or pickling salt for this Traditional Kosher Dill Pickles Recipe because table salt often contains additives that can interfere with fermentation and lead to less crisp pickles.
How do I know when my pickles are ready?
Taste is your best guide! Start sampling your pickles around day 3 of fermentation. When they have a pleasant sour tang with a good crunch that suits your taste, they’re ready to be refrigerated and enjoyed.
Can I add sugar to the recipe?
Traditional Kosher Dill Pickles Recipe focuses on natural fermentation without added sugar. Sugar can change the fermentation process and the flavor profile, so it’s best to omit it if you want authentic, tangy pickles.
What causes cloudiness in the pickle brine?
Cloudiness is completely normal in lacto-fermented pickles. It’s a sign of the natural fermentation process working, not spoilage. Just be sure to keep everything clean and submerged under the brine to avoid mold.
Can I speed up the fermentation?
Fermentation depends on room temperature and naturally occurring bacteria. While warmer temperatures speed it up slightly, rushing fermentation might affect flavor and texture. Patience really pays off with this Traditional Kosher Dill Pickles Recipe!
Final Thoughts
Making your own Traditional Kosher Dill Pickles Recipe is like stepping into a time-honored family kitchen where every crunchy bite tells a story. The process is simple, the ingredients humble, but the result is truly extraordinary—perfectly tangy, irresistibly crisp pickles bursting with flavor. If you want to add a bit of authentic deli magic to your home cooking, this recipe is your new best friend. So roll up your sleeves and start fermenting; your taste buds are in for a delicious adventure!
Print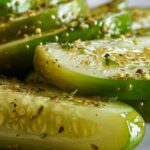
Traditional Kosher Dill Pickles Recipe
- Prep Time: 15 minutes
- Cook Time: 0 minutes
- Total Time: 15 minutes preparation plus 4–7 days fermentation
- Yield: 1 quart (about 10–12 pickles)
- Category: Side Dish
- Method: Fermentation
- Cuisine: Jewish
- Diet: Vegan, Gluten Free
Description
Traditional Kosher Dill Pickles are classic lacto-fermented pickles made with fresh cucumbers, aromatic spices, and dill, creating a tangy and crunchy treat perfect as a side dish. This authentic recipe uses natural fermentation without vinegar, resulting in a delicious probiotic-rich pickle that’s easy to make at home.
Ingredients
Pickles and Brine
- 2 pounds pickling cucumbers (small and firm)
- 4 cups water (non-chlorinated)
- 1/4 cup kosher salt (non-iodized)
Spices and Flavorings
- 1 tablespoon whole black peppercorns
- 1 tablespoon mustard seeds
- 6 cloves garlic (peeled and smashed)
- 1 teaspoon red pepper flakes (optional)
- 6–8 fresh dill sprigs
- 1 bay leaf
- 1/2 teaspoon coriander seeds (optional)
Instructions
- Prepare the Cucumbers: Wash the cucumbers thoroughly under running water and trim just the blossom ends while leaving the stem ends intact if preferred to maintain firmness.
- Make the Brine: In a saucepan, combine the 4 cups of water and 1/4 cup kosher salt. Heat gently, stirring until the salt dissolves completely. Remove from heat and let the brine cool to room temperature before proceeding.
- Pack the Jar: In a clean quart-sized jar or fermentation container, layer the cucumbers with peeled and smashed garlic cloves, fresh dill sprigs, whole black peppercorns, mustard seeds, optional red pepper flakes, bay leaf, and optional coriander seeds. Arrange these evenly throughout.
- Add the Brine: Pour the cooled brine over the cucumbers and spices, ensuring the cucumbers are fully submerged. Use a fermentation weight or a small clean jar to weigh down the cucumbers and keep them under the brine.
- Ferment: Cover the jar loosely with a lid or cloth to allow fermentation gases to escape. Store the jar in a cool, dark place at room temperature, out of direct sunlight, for 4 to 7 days. Begin tasting the pickles from day 3 to check for desired tanginess.
- Refrigerate: Once fermented to your liking, seal the jar tightly and transfer it to the refrigerator to slow fermentation. The pickles will keep well for several months in the fridge.
Notes
- Always use non-chlorinated water and kosher or pickling salt; iodized salt can disrupt the fermentation process.
- To enhance crunchiness, try adding a few grape leaves or a pinch of black tea to the jar.
- Expect natural bubbling and cloudiness during fermentation; this is a sign of active lacto-fermentation.


