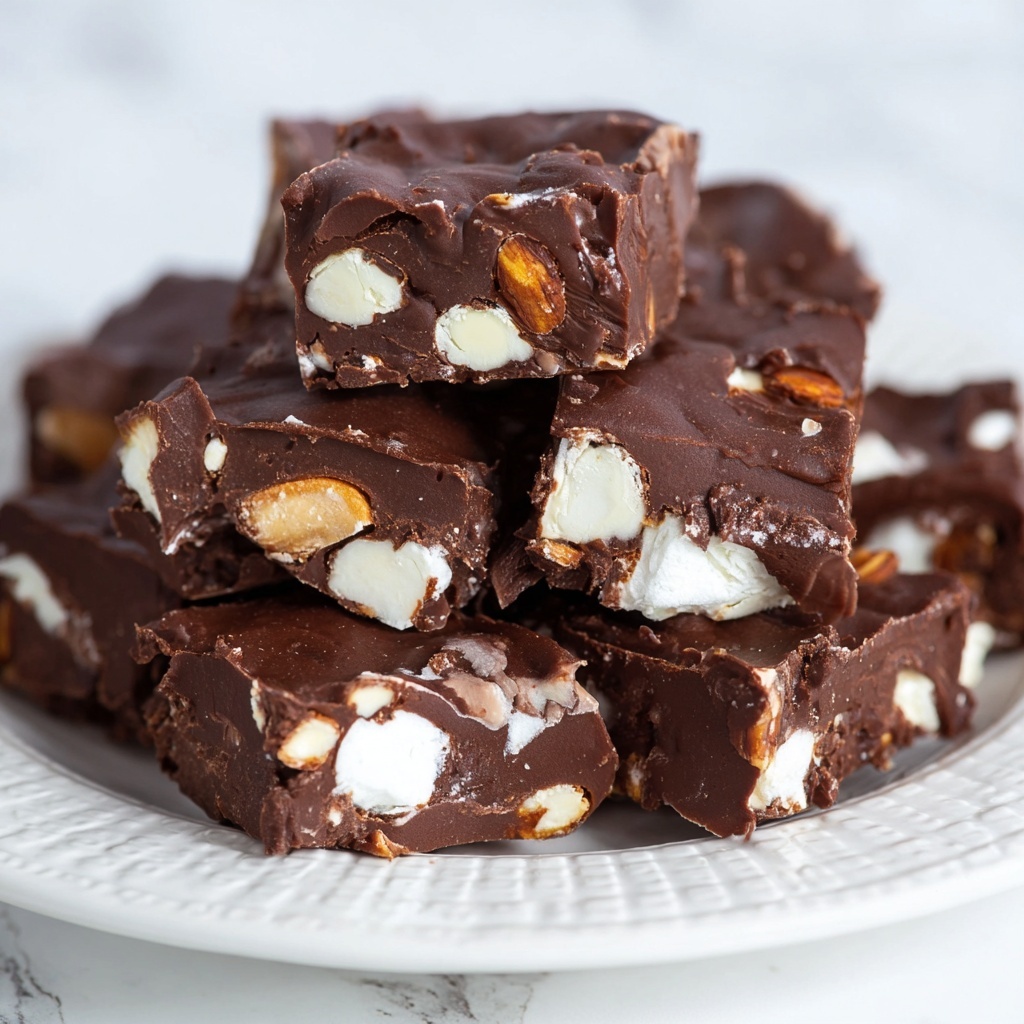
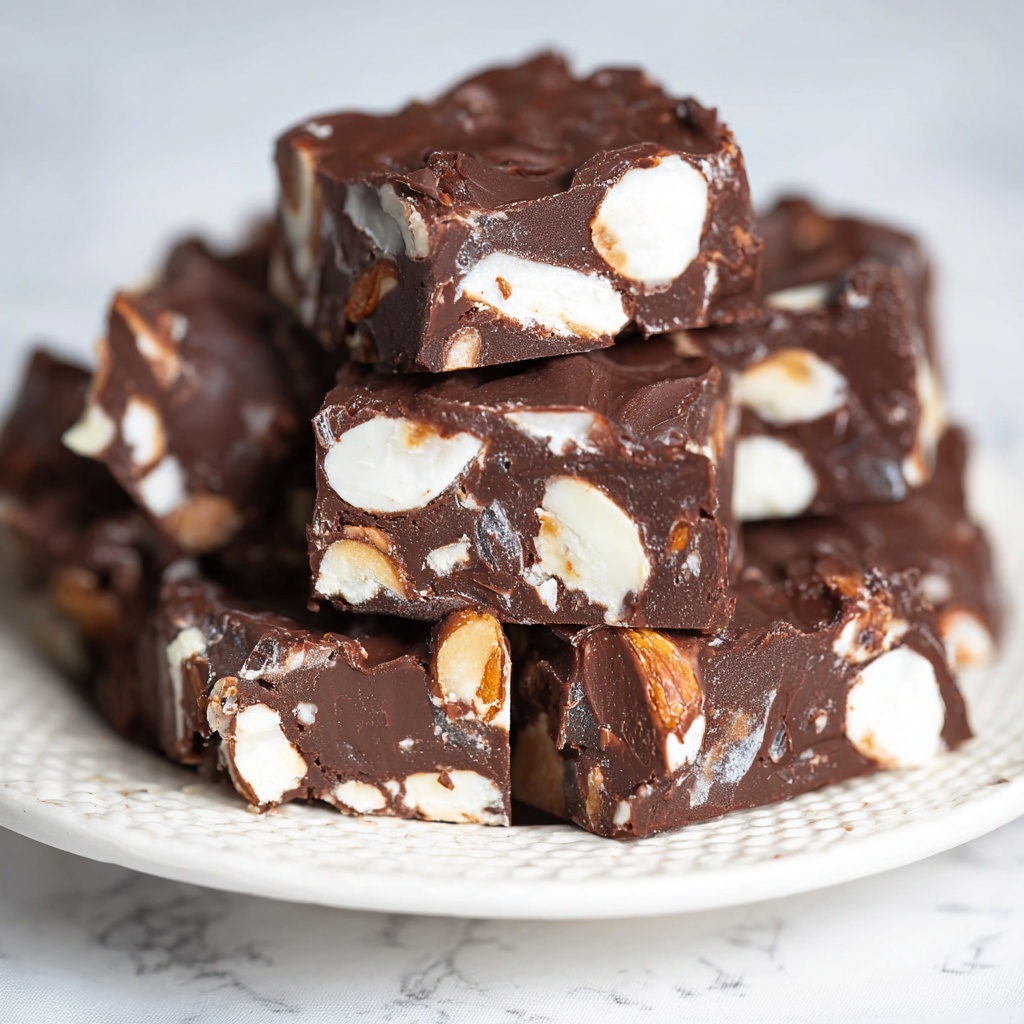
There is something irresistibly nostalgic and delightful about this Rocky Road Fudge Recipe that makes it the perfect treat to whip up whenever your sweet tooth calls. Imagine a rich, creamy chocolate base loaded with fluffy miniature marshmallows and crunchy nuts, all coming together in one luscious bite. This fudge is not only quick and simple to make but also a guaranteed crowd-pleaser, whether it’s for a family gathering, a festive occasion, or just an afternoon indulgence. Get ready to fall in love with every forkful of this classic Rocky Road Fudge Recipe!
Ingredients You’ll Need
Don’t let the short list fool you—each ingredient in this Rocky Road Fudge Recipe plays a crucial role in creating that perfect balance of flavor, texture, and color. From creamy sweetness to a touch of crunch, these simple essentials work wonders together.
- Semi-sweet chocolate chips: Provides the rich, smooth chocolate foundation that makes the fudge irresistible.
- Sweetened condensed milk: Adds luscious creaminess and sweetness, giving the fudge its silky texture.
- Vanilla extract: Enhances the chocolate’s depth and rounds out the flavors beautifully.
- Miniature marshmallows: Introduce a soft, chewy contrast that brings the “Rocky Road” signature texture.
- Chopped nuts (peanuts, pecans, almonds, or walnuts): Add a satisfying crunch and a toasty nuttiness that complement the sweet and creamy components.
How to Make Rocky Road Fudge Recipe
Step 1: Prepare Your Pan
Start by lining an 9″x13″ (for thinner fudge) or an 8″x8″ (for thicker fudge) pan with foil, which makes lifting out the fudge so much easier later. Don’t forget to spray the foil lightly with cooking spray to prevent sticking. This simple prep saves you from a sticky situation and gives your fudge a neat finish.
Step 2: Melt and Mix
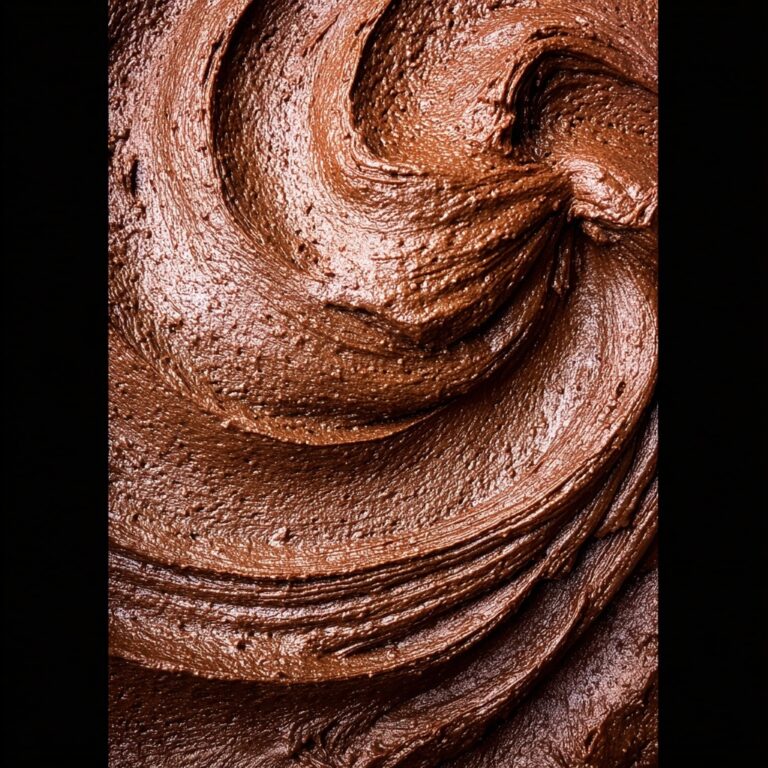
Combine the semi-sweet chocolate chips and sweetened condensed milk in a large microwave-safe bowl. Microwave on high for 1 minute, then stir thoroughly. It’s important to keep mixing in 15-second bursts until everything is completely melted and smooth—this ensures your fudge will have that perfect silky texture. Once melted, stir in the vanilla extract to add a warm, inviting flavor.
Step 3: Fold in the Goodies
Next, gently fold in the miniature marshmallows and chopped nuts. This step is where this Rocky Road Fudge Recipe really takes shape—those mini marshmallows make each bite delightfully chewy, while the nuts lend a pleasantly crunchy surprise. Be gentle so you don’t crush the marshmallows or nuts.
Step 4: Chill and Set
Press the fudge mixture evenly into your prepared pan, smoothing it out with a spatula. Pop the pan into the refrigerator and chill until firm, which usually takes a couple of hours. When set, use the foil edges to lift the fudge out and cut it into bite-sized pieces. Now you’re ready to enjoy a sweet slice of heaven.
How to Serve Rocky Road Fudge Recipe

Garnishes
A little extra touch on top can elevate the presentation. Consider a sprinkle of finely chopped nuts, a few extra mini marshmallows arranged artfully, or a dusting of cocoa powder. These small accents not only look inviting but also enhance the flavors and textures right from the first glance.
Side Dishes
Pairing your Rocky Road Fudge Recipe with a cup of strong coffee or creamy hot chocolate makes for an indulgent dessert experience. Additionally, serving alongside fresh berries helps cut through the richness with a refreshing pop of tartness.
Creative Ways to Present
If you’re gifting your fudge or bringing it to a party, slice it into fancy shapes using cookie cutters or layer different colored fudge varieties for a colorful Rocky Road fudge platter. Wrapping individual pieces in parchment paper tied with twine also makes a charming homemade gift.
Make Ahead and Storage
Storing Leftovers
Your Rocky Road Fudge Recipe keeps well covered at room temperature for a few days, but storing it in an airtight container in the fridge will keep it fresh and maintain that perfect chewiness for up to two weeks. Make sure to keep it away from strong-smelling foods as fudge can absorb odors.
Freezing
If you want to keep your fudge even longer, it freezes beautifully. Wrap individual pieces in plastic wrap and place them in a zip-top freezer bag. When you’re ready, simply thaw at room temperature for a few hours, and the fudge will be just as delicious as fresh.
Reheating
There’s really no need to reheat fudge, but if you want to soften it slightly before serving, leave it at room temperature for about 30 minutes. Avoid microwaving as it may change the fudge’s texture and cause it to lose that perfect Rocky Road charm.
FAQs
Can I use different types of chocolate for this Rocky Road Fudge Recipe?
Absolutely! While semi-sweet chocolate chips are classic for balance, you can experiment with milk chocolate for a sweeter fudge or dark chocolate for a richer, more intense flavor. Just keep the same quantity for best results.
What nuts work best in Rocky Road Fudge?
Peanuts are traditional, but pecans, almonds, or walnuts also make excellent choices. Feel free to use whatever nuts you love or have on hand—just remember to chop them into small pieces for even texture distribution.
Can I make this Rocky Road Fudge Recipe without nuts?
Yes! If you have allergies or simply prefer nut-free, omit the nuts altogether or replace them with crunchy cookie pieces or toasted coconut flakes for a different kind of texture and flavor.
How long does this fudge take to set?
The fudge usually takes about 2 hours in the refrigerator to fully set, depending on your fridge’s temperature. For faster results, you can place it in the freezer for about 30 minutes—just be careful not to forget it in there.
Can I add other mix-ins to the Rocky Road Fudge Recipe?
Definitely! Some people love adding dried fruit, candy bits, or even crushed pretzels to add their own twist. Just mix them in gently with the marshmallows and nuts in step 3 to keep that signature Rocky Road texture.
Final Thoughts
Trying this Rocky Road Fudge Recipe is like wrapping yourself in a warm, sweet hug that never goes out of style. It’s quick, simple, and endlessly satisfying—perfect to brighten up any day or celebration. Go ahead and make a batch; I promise you’ll be reaching for seconds in no time!
Print
Rocky Road Fudge Recipe
- Prep Time: 5 minutes
- Cook Time: 2 minutes
- Total Time: 7 minutes
- Yield: 30 pieces
- Category: Dessert
- Method: No-Cook
- Cuisine: American
Description
This Rocky Road Fudge is a creamy, rich no-bake treat that combines smooth semi-sweet chocolate, sweetened condensed milk, fluffy miniature marshmallows, and crunchy nuts. Easy to prepare and perfect for sharing, this classic fudge melts in your mouth with delightful textures and flavors.
Ingredients
Fudge Base
- 2 cups semi-sweet chocolate chips
- 1 (14 ounce) can sweetened condensed milk
- 1/2 teaspoon vanilla extract
Add-ins
- 2 1/2 cups miniature marshmallows
- 1 cup chopped nuts (peanuts, pecans, almonds, or walnuts)
Instructions
- Prepare the pan: Line a 9″x13″ pan or an 8″x8″ pan (for thicker fudge) with foil and spray it lightly with cooking spray to prevent sticking.
- Melt the chocolate: In a large microwave-safe bowl, combine the semi-sweet chocolate chips and sweetened condensed milk. Microwave on high for 1 minute, then stir well. If chocolate chips are not completely melted, continue to microwave in 15-second intervals, stirring after each until smooth.
- Add flavor and mix-ins: Stir in the vanilla extract until fully incorporated. Gently fold in miniature marshmallows and chopped nuts, combining everything evenly without melting the marshmallows.
- Set the fudge: Spread and press the fudge mixture evenly into the prepared pan. Refrigerate until firm and ready to serve.
- Serve: Use the foil to lift the fudge from the pan, cut into 30 bite-sized pieces, and enjoy.
Notes
- You can substitute the nuts with your preferred variety or omit them for a nut-free version.
- For thicker fudge, use an 8″x8″ pan instead of 9″x13″.
- Store leftovers in an airtight container in the refrigerator for up to two weeks.
- Allow fudge to come to room temperature a few minutes before serving for the best texture.
- Microwave wattages vary, so adjust melting times accordingly to avoid burning the chocolate.


