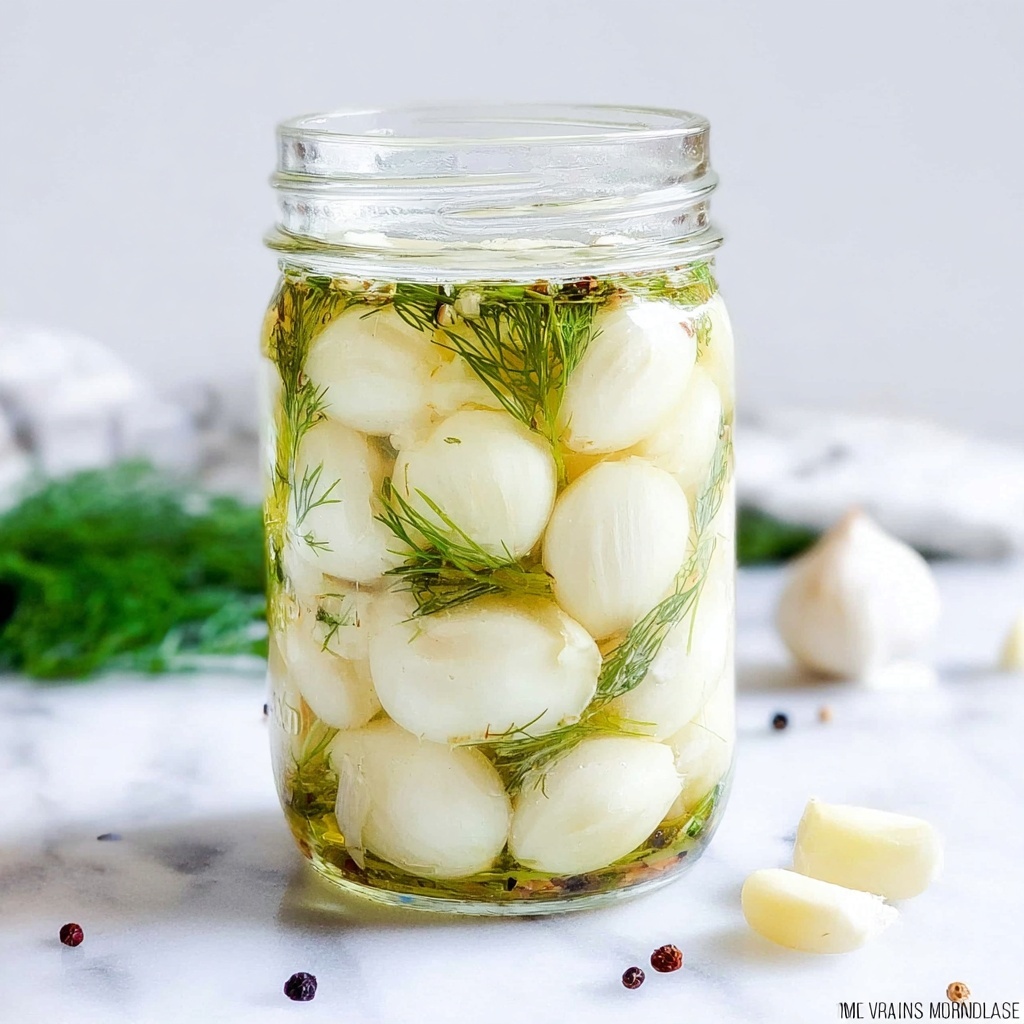
If you love bold flavors with a zesty kick, this Quick Pickled Garlic Recipe is about to become your new kitchen obsession. It transforms simple garlic cloves into a tangy, vibrant delight in just minutes, making them perfect for everything from snacking to jazzing up your meals. The bright, slightly spicy brine not only preserves the garlic’s natural punch but adds a delightful crunch and complexity that wakes up your taste buds instantly.
Ingredients You’ll Need
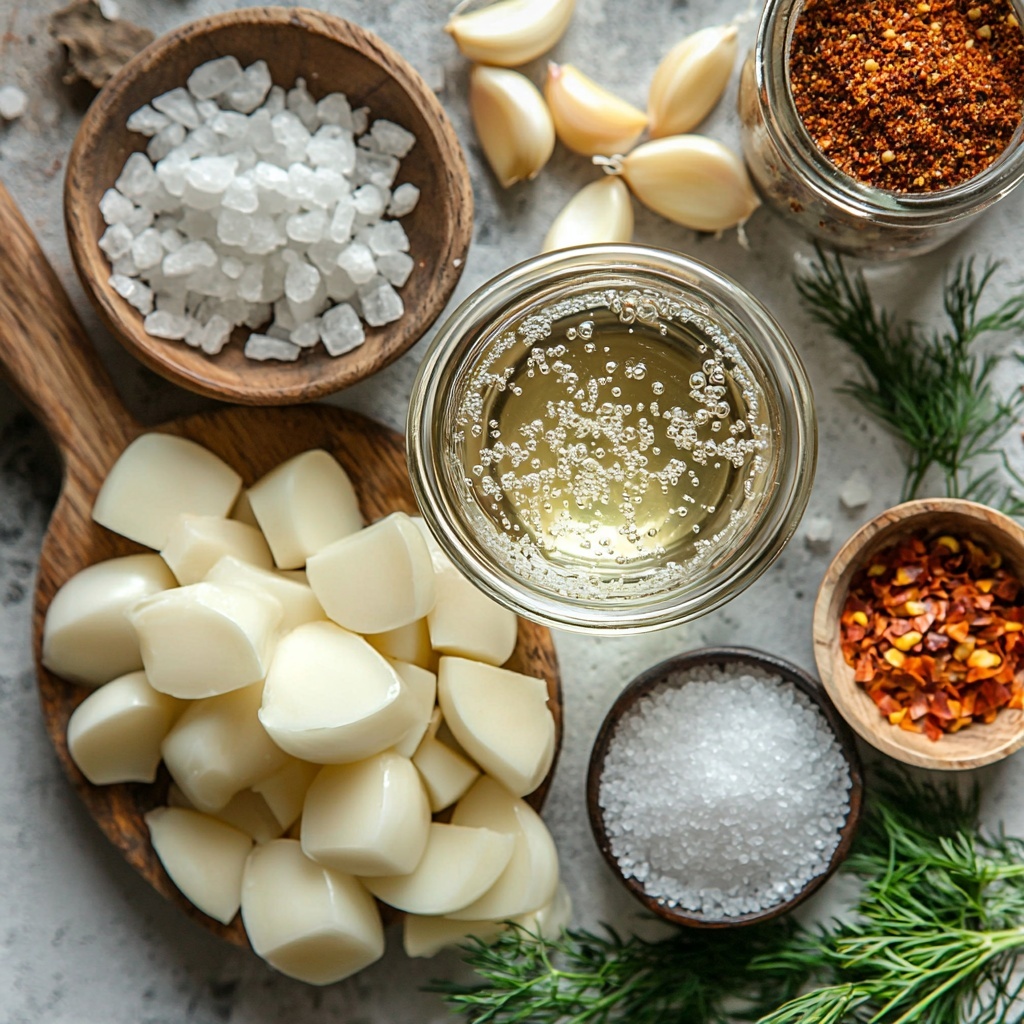
These ingredients are refreshingly simple but pack a punch in flavor and texture. Each one is essential to achieving that perfect balance of tanginess, spice, and herbaceous aroma that makes this Quick Pickled Garlic Recipe so addictive.
- Garlic cloves (½ pound): Fresh peeled cloves are the star, offering a robust and slightly pungent base flavor.
- Distilled white vinegar (⅔ cup): Provides the sharp acidity that preserves and flavors the garlic.
- Water (⅓ cup): Balances the vinegar’s sharpness to prevent overpowering your palate.
- Salt (1 ¼ teaspoons): Enhances the flavors and aids the pickling process.
- Sugar (1 tablespoon): Adds a subtle sweetness that softens the vinegar’s bite.
- Dill sprigs (3-4): Bring a fresh, herby aroma that brightens the pickle’s character.
- Red pepper flakes (¼-½ teaspoon): Introduce a gentle heat for a little spicy surprise.
- Pickling spice (optional): If desired, adds complexity with warm, aromatic notes.
How to Make Quick Pickled Garlic Recipe
Step 1: Make the Brine
Start by combining the vinegar, water, salt, and sugar in a saucepan over high heat. Bring it all to a boil to dissolve the salt and sugar completely, then reduce the heat to low to let it simmer gently for 2 to 3 minutes. The warm brine is the magic that turns raw garlic into tangy, flavorful bites.
Step 2: Add Garlic to Jars
Next, place your peeled garlic cloves into a clean 16-ounce mason jar. Toss in the red pepper flakes, sprigs of dill, and pickling spice if you’re using it. This combo of spices infuses the garlic with layers of flavor as it soaks.
Step 3: Pour the Brine Over Garlic
Pour the warm brine carefully over the garlic and spices until the jar is almost full. If there’s still space at the top, add a bit more water to cover everything completely. Allow the jar to cool down to room temperature, which lets the flavors meld perfectly.
Step 4: Cover and Store
Seal the jar tightly with a lid and pop it into the refrigerator. For the best taste, let the garlic pickle for at least four hours or preferably overnight. This resting time ensures the garlic softens ever so slightly while soaking up all those vibrant flavors.
How to Serve Quick Pickled Garlic Recipe
Garnishes
Quick pickled garlic brings a beautiful punch to any dish, and you can use it as a zesty garnish. Add whole cloves on top of salads, pasta, or roasted veggies to give a fresh, piquant twist right before serving.
Side Dishes
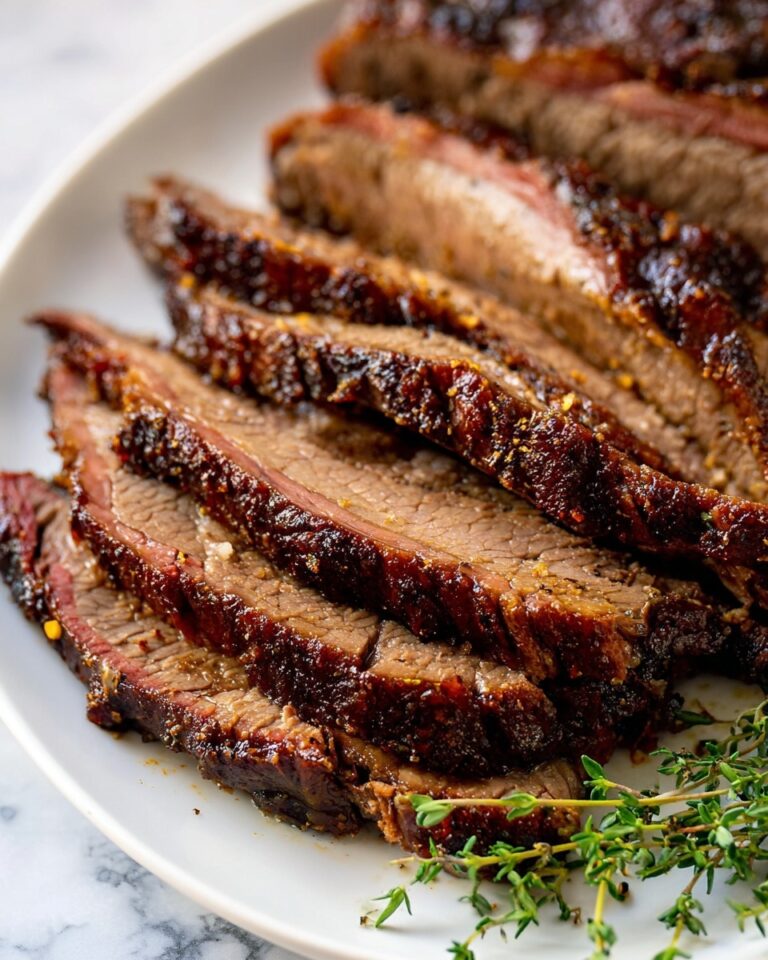
Serve pickled garlic alongside grilled meats, cheese boards, or charcuterie platters. Its crunchy texture and sharp flavor cut through richer dishes, providing a refreshing balance that keeps each bite exciting.
Creative Ways to Present
Get inventive by chopping the pickled garlic and mixing it into spreads like hummus or cream cheese for an unexpected zip. You can also blend it into salad dressings or use it as a flavor-packed topping for homemade pizzas and tacos.
Make Ahead and Storage
Storing Leftovers
This Quick Pickled Garlic Recipe keeps beautifully in the fridge covered tightly. The flavors continue to develop over several weeks, and the garlic maintains its satisfying crunch for up to three weeks, making it a fantastic pantry staple.
Freezing
Freezing pickled garlic is not recommended because the texture will become mushy once thawed. To enjoy the best crisp bite, stick to refrigeration instead.
Reheating
There’s no need to reheat pickled garlic since it’s meant to be eaten cold or at room temperature. Heating could soften them too much and dull their bright, tangy flavor.
FAQs
Can I use fresh garlic straight from the bulb?
Absolutely! Just peel the cloves well before using. Fresh garlic gives the best firm texture and pure flavor in this Quick Pickled Garlic Recipe.
How spicy does the recipe get with red pepper flakes?
The red pepper flakes add just a mild to moderate heat depending on how much you use. You can always adjust or omit them to suit your taste preferences.
Is this recipe suitable for long-term storage?
This is a quick refrigerator pickle meant for short to medium-term storage, up to three weeks. For canning and longer storage, a different method is recommended.
Can I substitute other herbs for dill?
Yes! Fresh thyme, rosemary, or even bay leaves can be interesting alternatives that bring different aromatic notes to the pickled garlic.
What dishes pair best with pickled garlic?
Pickled garlic shines alongside charcuterie boards, roasted vegetables, grilled meats, sandwiches, and even on pizza—it’s a versatile flavor booster!
Final Thoughts
This Quick Pickled Garlic Recipe is a fantastic way to add some zing and crunch to your meals with very little effort. Once you try it, you’ll find countless ways to enjoy those tangy cloves, turning everyday dishes into something truly special. Don’t wait—get pickling and savor the burst of flavor!
Print
Quick Pickled Garlic Recipe
- Prep Time: 5 minutes
- Cook Time: 5 minutes
- Total Time: 10 minutes
- Yield: 4 servings
- Category: Condiment
- Method: Stovetop
- Cuisine: American
- Diet: Vegetarian
Description
This Quick Pickled Garlic recipe offers a tangy, spicy, and aromatic way to preserve garlic cloves with a simple vinegar brine. Ready in just 10 minutes, these pickled garlic cloves add a flavorful kick to salads, sandwiches, and charcuterie boards, with optional dill and red pepper flakes for extra zest.
Ingredients
Pickling Brine
- ⅔ cup distilled white vinegar
- ⅓ cup water
- 1 ¼ teaspoons salt
- 1 tablespoon sugar
Main Ingredient
- ½ pound garlic cloves (peeled)
Optional Flavorings
- 3–4 sprigs of dill
- ¼–½ teaspoon red pepper flakes
- Pickling spice (optional, to taste)
Instructions
- Make the brine: Combine vinegar, water, salt, and sugar in a saucepan over high heat. Bring the mixture to a boil, then reduce the heat to low and let it simmer for 2-3 minutes, whisking occasionally until the salt and sugar fully dissolve.
- Add the garlic to jars: Place peeled garlic cloves into a 16-ounce mason jar. Add optional pickling spice, red pepper flakes, and dill sprigs if desired to enhance the flavor.
- Pour the brine over the garlic: Carefully pour the warm brine over the garlic cloves in the jar, ensuring they are completely submerged. If there’s any remaining space in the jar, top it off with additional water so the brine reaches the very top.
- Cover and store: Seal the jar with its lid and refrigerate for at least 4 hours, preferably overnight, to allow the flavors to meld and the garlic to pickle properly before serving.
Notes
- Use peeled garlic cloves for best texture and flavor absorption.
- The pickled garlic can be stored in the refrigerator for up to 2 weeks.
- Adjust red pepper flakes quantity depending on your desired spice level.
- If pickling spice is unavailable, feel free to omit it or substitute with other spices like coriander seeds or black peppercorns.
- This recipe uses stovetop simmering to create the brine but the pickling itself happens in the refrigerator (cold pickling).

