
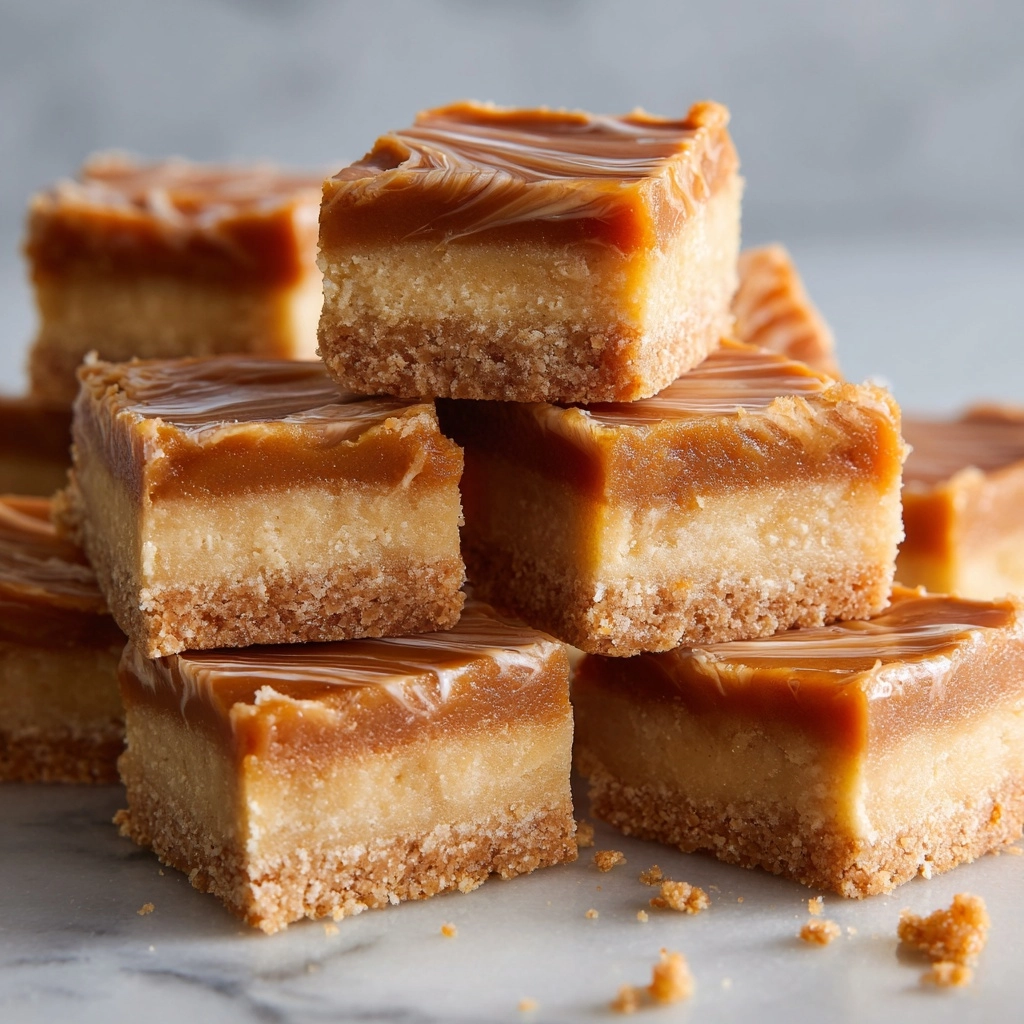
If you’re on the hunt for a melt-in-your-mouth treat that perfectly balances indulgent creaminess and nostalgic flavor, Peanut Butter Fudge is about to become your new go-to recipe. Each bite delivers that classic peanutty richness you love, packaged in a simple, no-bake format that anyone can master. Whether you’re whipping up a sweet snack for yourself or bringing a crowd-pleaser to your next get-together, this fudge promises to wow with its dreamy texture and old-fashioned charm.
Ingredients You’ll Need
This Peanut Butter Fudge keeps things delightfully simple but every ingredient truly matters. Each one steps up to create something special, ensuring the flavor and velvety bite will have everyone reaching for another square.
- Granulated sugar: Gives the fudge its signature sweetness and helps achieve that perfectly smooth, slightly crumbly texture.
- Whole milk: Lends richness and body, ensuring the fudge is creamy and not dry.
- Creamy peanut butter: The star of the show—provides deep peanut flavor and silky consistency.
- Vanilla extract: A teaspoon of vanilla adds warmth and smooths out the overall taste profile.
- Pinch of salt: Just a little brings the flavors into sharp, crave-worthy balance.
How to Make Peanut Butter Fudge
Step 1: Prepare Your Pan
Start by greasing an 8×8-inch baking dish or lining it with parchment paper. This little bit of prep work makes unmolding a cinch once your Peanut Butter Fudge has set—no sticking, no crumbling, just perfect squares.
Step 2: Combine Sugar and Milk
In a medium saucepan set over medium heat, stir together the sugar and milk. Keep the mixture moving with a wooden spoon or silicone spatula; this helps the sugar dissolve completely and prevents any scorching at the bottom of the pan, which is key for ultra-smooth fudge.
Step 3: Boil Until Bubbly
Once your mixture starts to simmer, keep stirring until it reaches a rolling boil. Maintain that gentle boil for 2–3 minutes, stirring occasionally so nothing sticks. This brief boil not only thickens the mixture, but also lays the groundwork for that classic fudge consistency—don’t skip it!
Step 4: Stir in Peanut Butter and Flavorings
Take the saucepan off the heat and quickly add the peanut butter, vanilla extract, and a generous pinch of salt. Stir with heart—this is when that silky, irresistible batter comes together. Mix until everything is smoothed out and fully blended, with no streaks left behind.
Step 5: Pour and Spread
Immediately pour the hot fudge into your prepared pan. It sets up fast, so move quickly to spread it evenly with a spatula. This is also the moment to add any fun extras like chopped peanuts or a swirl of melted chocolate for extra pizzazz.
Step 6: Cool and Set
Let the Peanut Butter Fudge cool at room temperature for about 30 minutes. Once it’s no longer hot, pop the pan in the fridge for 1–2 hours, or even overnight if you love a firmer bite. When the fudge has set, cut it into neat little squares—get ready for the ultimate treat!
How to Serve Peanut Butter Fudge
Garnishes
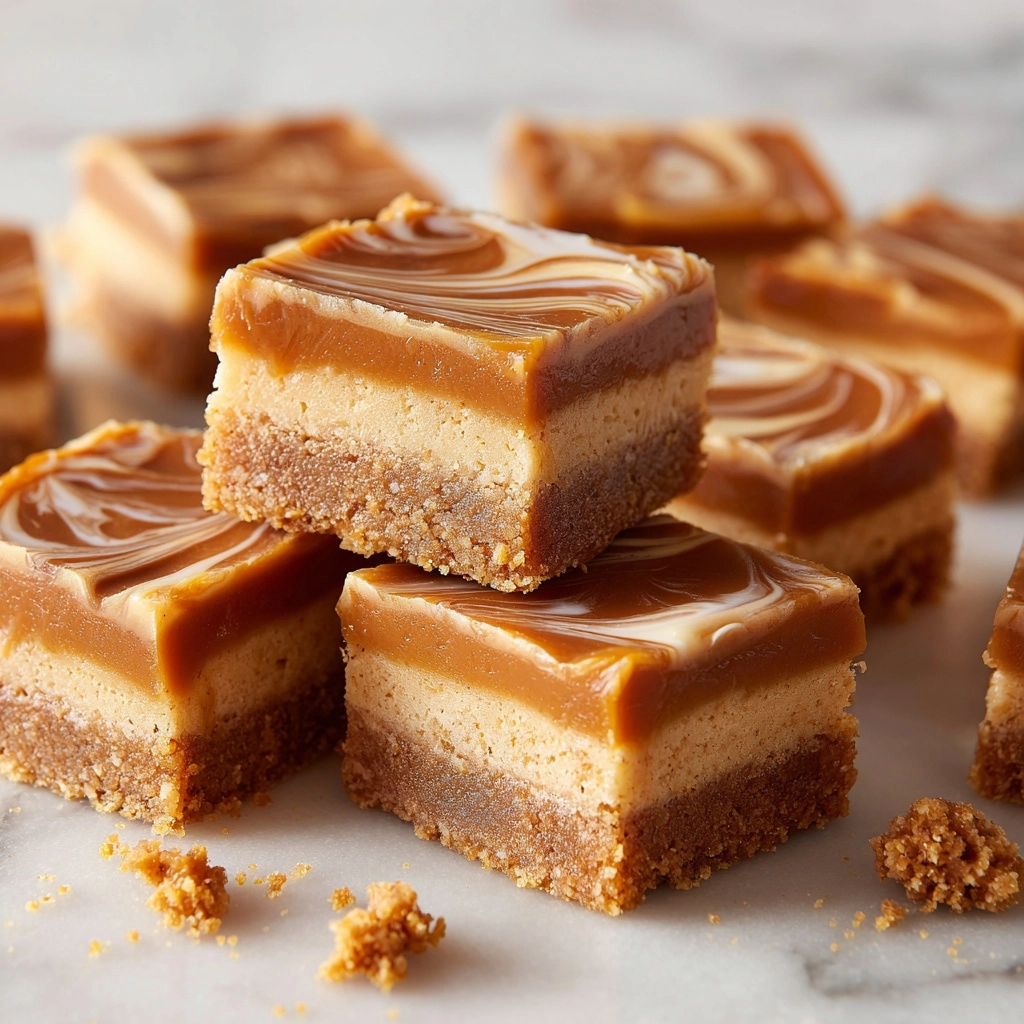
Dress up your Peanut Butter Fudge with a flourish of flaky sea salt, a sprinkle of chopped peanuts for crunch, or delicate chocolate shavings. Each garnish adds a touch of elegance and a pop of texture, making the fudge even more inviting.
Side Dishes
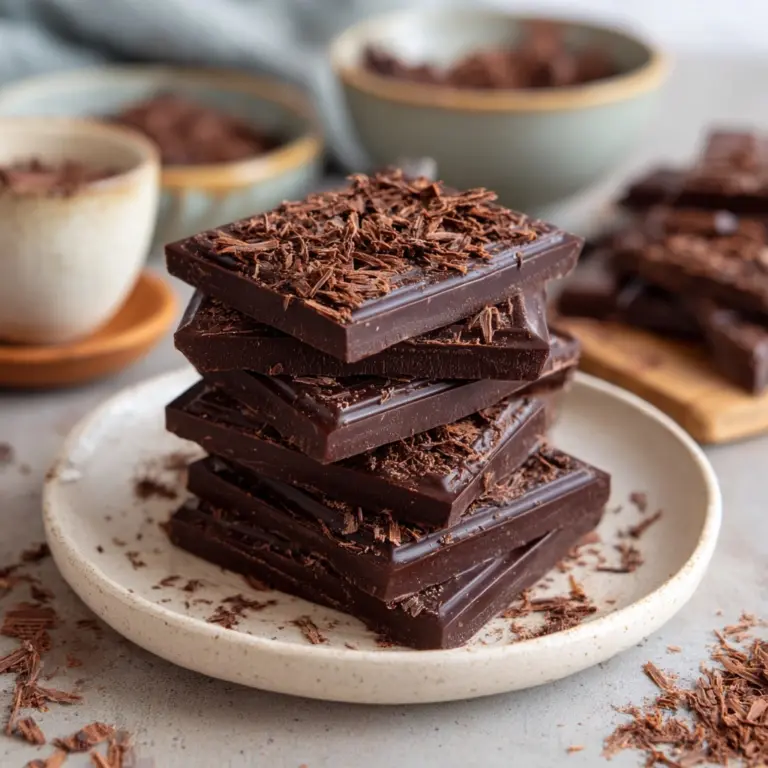
This fudge loves simple accompaniments—a cold glass of milk, a strong cup of coffee, or a plate of fresh berries are all absolutely dreamy. If you’re serving a dessert platter, balance your fudge with some fruit or even a few dark chocolate squares for contrast.
Creative Ways to Present
Slice Peanut Butter Fudge into perfect cubes for a tidy tray, or use fun cookie cutters for themed shapes at parties. You could even stack pieces into a sweet “fudge tower,” or nestle individual pieces in mini cupcake liners for grab-and-go party bites.
Make Ahead and Storage
Storing Leftovers
Store any leftover fudge in an airtight container at room temperature for two to three days or in the refrigerator for up to a week. Keep each piece separated with parchment paper to prevent sticking and preserve that smooth, creamy finish.
Freezing
Peanut Butter Fudge freezes wonderfully! Wrap each square in wax paper, store them in a freezer bag or airtight container, and freeze for up to two months. Thaw in the fridge or at room temperature for a sweet treat anytime.
Reheating
While fudge is best enjoyed at room temperature, if you like a softer texture, a quick 5-second zap in the microwave will do the trick. Just be careful not to overheat or it might lose its lovely consistency.
FAQs
Can I use crunchy peanut butter instead of creamy?
Absolutely! Crunchy peanut butter brings a fun texture and a bit of extra peanutty punch. Just note that your Peanut Butter Fudge will be a bit chunkier, which can be delightful for those who love a good crunch.
Is this recipe gluten-free?
Yes, this Peanut Butter Fudge is naturally gluten-free as written, as long as you check your vanilla extract and peanut butter for any sneaky additives. It’s a perfect treat for anyone avoiding gluten.
How do I know when the sugar and milk mixture is ready?
Look for a steady rolling boil that lasts for two to three minutes. The goal is for the mixture to thicken just slightly but not caramelize—stir regularly and don’t walk away from the stove during this step!
Can I double the recipe?
Definitely! Just use a larger pan (like a 9×13-inch dish) and make sure your saucepan is big enough to handle the increased volume. The mixture does cool and set quickly, so work briskly when pouring and spreading.
What can I add for extra flavor?
The options are endless—try tossing in a handful of mini chocolate chips, swirling in caramel sauce, or sprinkling toasted coconut on top before the fudge sets. This allows you to put your own spin on classic Peanut Butter Fudge every time.
Final Thoughts
This Peanut Butter Fudge is about as foolproof—and delicious—as homemade treats come. Whip up a batch next time you’re craving something sweet, and don’t be surprised if it becomes a highly requested classic among your friends and family. Give it a try and let the creamy, dreamy magic of peanut butter work its charm!
Print
Peanut Butter Fudge Recipe
- Prep Time: 5 minutes
- Cook Time: 5 minutes
- Total Time: 2 hours 10 minutes (including cooling)
- Yield: 36 small squares
- Category: Dessert
- Method: Stovetop
- Cuisine: American
- Diet: Gluten Free, Vegetarian
Description
Indulge in the creamy goodness of this easy-to-make Peanut Butter Fudge. This classic dessert is rich, sweet, and perfect for any occasion.
Ingredients
Sugar Mixture:
- 2 cups granulated sugar
- 1/2 cup whole milk
Additional Ingredients:
- 3/4 cup creamy peanut butter
- 1 teaspoon vanilla extract
- Pinch of salt
Instructions
- Prepare the Dish: Grease an 8×8-inch baking dish or line it with parchment paper.
- Cook Sugar Mixture: In a medium saucepan over medium heat, combine sugar and milk. Boil for 2–3 minutes, stirring occasionally.
- Add Remaining Ingredients: Remove from heat and stir in peanut butter, vanilla extract, and salt until smooth.
- Set Fudge: Pour mixture into dish, let cool for 30 minutes, then refrigerate for 1–2 hours until set. Cut into squares and serve.
Notes
- For a firmer texture, chill the fudge overnight.
- Enhance with chopped peanuts or swirls of melted chocolate for extra flavor.
Nutrition
- Serving Size: 1 square
- Calories: 120
- Sugar: 18g
- Sodium: 45mg
- Fat: 5g
- Saturated Fat: 1g
- Unsaturated Fat: 4g
- Trans Fat: 0g
- Carbohydrates: 20g
- Fiber: 0g
- Protein: 2g
- Cholesterol: 2mg


