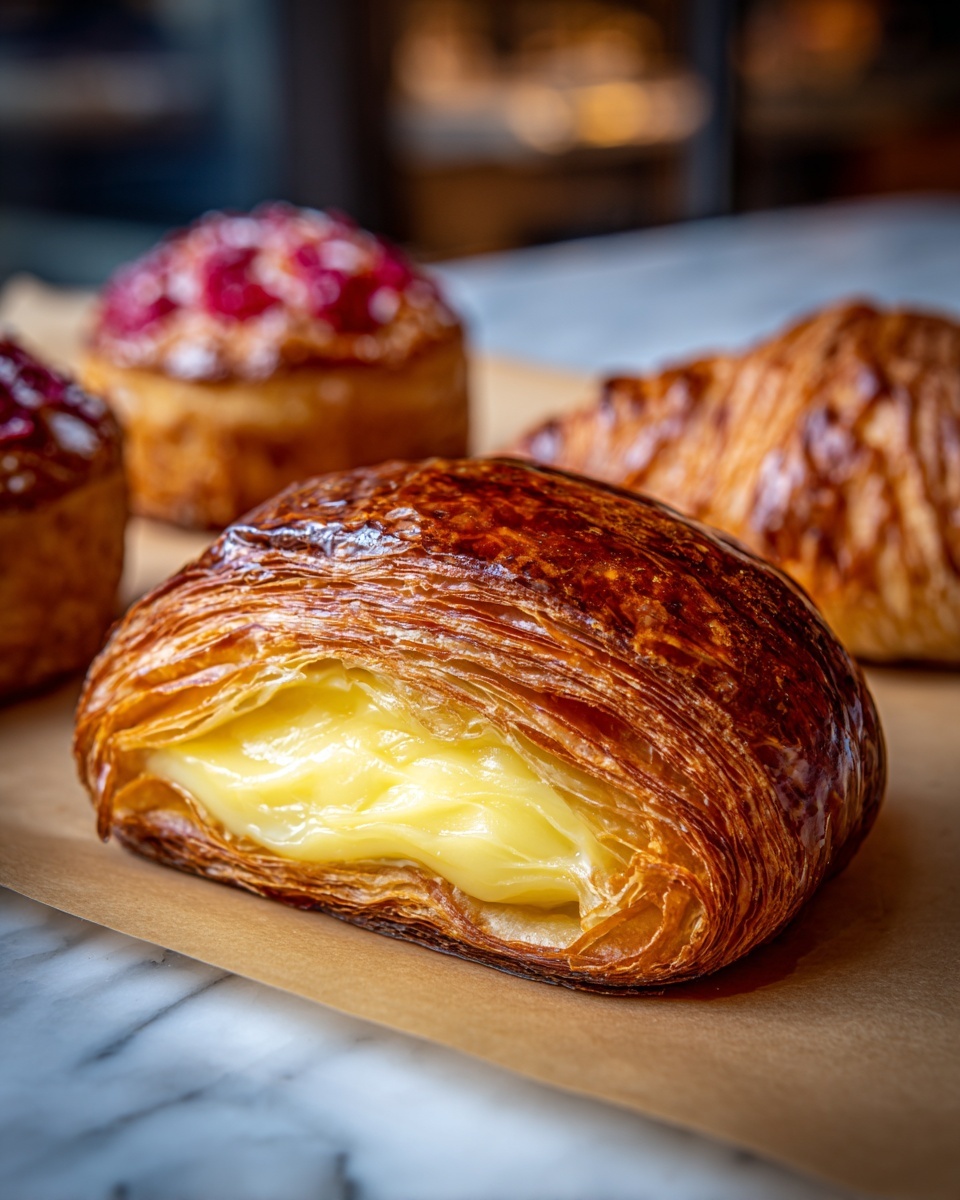
If you’re searching for a show-stopping yet utterly cozy treat to brighten your mornings or impress guests, then the King’s Hawaiian Cheesecake Danish Recipe is going to steal your heart. This delightful recipe transforms King’s Hawaiian Sweet Rolls into golden pockets of joy filled with a luscious, creamy cheesecake center that’s sweet but not overpowering. Perfectly soft on the outside with a lightly tangy, smooth filling, these Danishes bring together comfort and elegance in every bite. Whether it’s for a special occasion or a sweet weekend indulgence, this King’s Hawaiian Cheesecake Danish Recipe will quickly become one of your all-time favorites.
Ingredients You’ll Need
Gathering simple, high-quality ingredients is the secret to making this dessert truly memorable. Each component plays a vital role—providing flavor, texture, or that charming golden color that makes the Danish irresistible.
- King’s Hawaiian Sweet Rolls: The perfect soft and slightly sweet foundation that toasts beautifully without falling apart.
- Cream cheese: Adds rich, tangy creaminess as the luscious filling, so be sure it’s softened for easy mixing.
- Granulated sugar: Sweetens the filling just enough to balance the tart cream cheese without overwhelming it.
- Vanilla extract: Infuses warmth and depth, enhancing all the other flavors naturally.
- Egg yolk: Provides creaminess and helps the filling set with a lovely silky texture.
- Lemon zest (optional): Offers a hint of bright citrus that brings freshness to every bite.
- Powdered sugar: For a delicate dusting or a simple glaze that adds extra sweetness and a pretty finish.
- Milk (for glaze): A little magic to thin the powdered sugar and create a smooth, drizzle-able glaze.
How to Make King’s Hawaiian Cheesecake Danish Recipe
Step 1: Prepare Your Oven and Baking Sheet
Start by heating your oven to 350°F (175°C). Taking this step first ensures your oven will be perfectly preheated when your Danishes are ready to go in. Line a baking tray with parchment paper to prevent sticking and make cleanup a breeze.
Step 2: Mix the Cream Cheese Filling
In a mixing bowl, beat together softened cream cheese, granulated sugar, vanilla extract, egg yolk, and the optional lemon zest. Whip until the mixture is wonderfully smooth and fluffy. This step is crucial to get that silky, dreamy cheesecake texture that makes each bite melt in your mouth.
Step 3: Prepare the Rolls
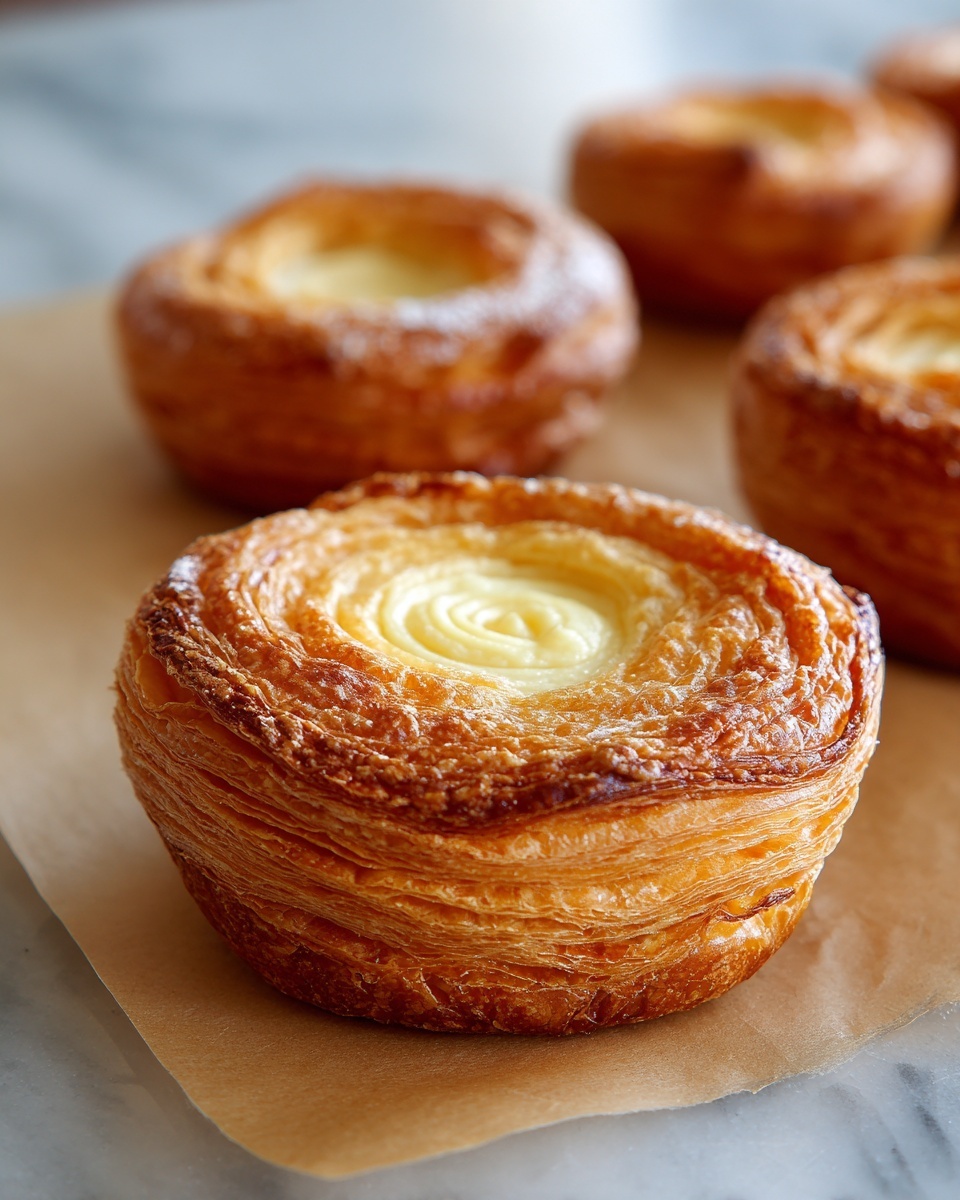
Arrange the King’s Hawaiian Sweet Rolls on your prepared tray. With your fingers or the back of a spoon, gently press an indentation into the center of each roll without breaking through. This creates a perfect little “bowl” to hold your creamy cheesecake filling.
Step 4: Fill the Rolls
Either spoon or pipe the cream cheese mixture into the indentations, smoothing the tops gently so they look inviting and neat. Don’t be shy—these fillings are the star of the show!
Step 5: Bake to Golden Perfection
Pop the tray into the oven and bake for 12 to 15 minutes. You’ll know they’re done when the rolls turn a lovely light golden and the cheesecake filling is just set, still creamy but no longer jiggly.
Step 6: Add the Finishing Touch of Glaze
Remove the Danishes from the oven and let them cool for about 5 minutes. Then mix powdered sugar and a splash of milk to make a smooth glaze. Drizzle it artistically over the warm Danishes for that extra touch of sweetness and visual appeal.
Step 7: Ready to Enjoy!
Your King’s Hawaiian Cheesecake Danish are ready to be served warm or at room temperature. They pair beautifully with coffee, tea, or a refreshing glass of milk, making them a versatile treat anytime.
How to Serve King’s Hawaiian Cheesecake Danish Recipe
Garnishes
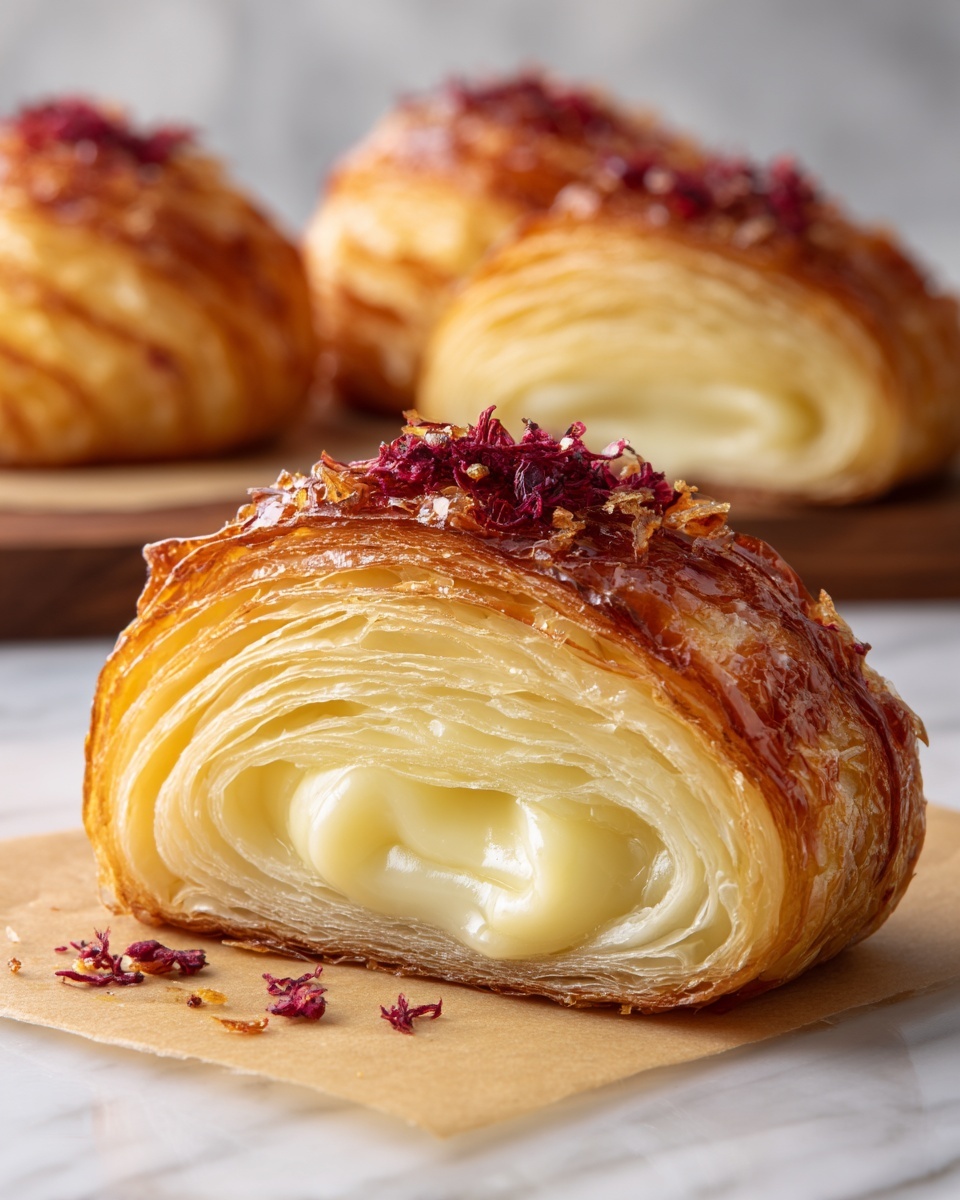
For an extra layer of elegance and flavor, consider topping your Danishes with fresh berries or a light sprinkle of toasted almonds. These additions add freshness, a little crunch, and vibrant color that instantly elevate your presentation.
Side Dishes
This King’s Hawaiian Cheesecake Danish Recipe is a star on its own, but serving alongside fresh fruit salad, a fruity compote, or even some savory breakfast meats can create a balanced and satisfying brunch spread your guests will adore.
Creative Ways to Present
Arrange your Danishes on a gorgeous wooden board or layered cake stand for a fabulous display. You might add edible flowers or place them next to small jars of jam or honey for guests to customize their sweetness. Presentation can turn this simple treat into a stunning centerpiece.
Make Ahead and Storage
Storing Leftovers
If you have any leftovers (which rarely happens!), store them in an airtight container at room temperature for up to two days. This keeps the rolls soft and the cream cheese filling fresh without drying out.
Freezing
You can freeze the baked Danishes by placing them in a freezer-safe container or zip-top bag. They freeze well for up to 2 months. Thaw overnight in the fridge before reheating gently for the best texture.
Reheating
Warm your Danishes in a 300°F oven for about 5 to 7 minutes, or microwave briefly in 20-second bursts until heated through. This helps revive the soft texture and brings back that fresh-baked feeling.
FAQs
Can I use a different type of roll instead of King’s Hawaiian Sweet Rolls?
While other soft rolls might work, King’s Hawaiian Sweet Rolls have the perfect balance of sweetness and softness that complements the cheesecake filling beautifully. Substituting could alter the overall flavor and texture.
Is the lemon zest necessary in this King’s Hawaiian Cheesecake Danish Recipe?
The lemon zest is optional but highly recommended as it adds a lovely brightness that balances the richness of the cream cheese. If you prefer a more classic flavor, you can always skip it.
Can I prepare the filling ahead of time?
Yes! You can whip up the cream cheese filling up to a day in advance and store it covered in the refrigerator. Just give it a quick stir before filling your rolls.
What’s the best way to pipe the cream cheese filling?
Use a piping bag with a round tip or a zip-top bag with a small corner snipped off. This gives you more control and helps keep the filling neat and evenly distributed in each roll.
Are these Danishes suitable for freezing before baking?
It’s best to bake them fresh for the best texture, but you can freeze assembled, unbaked Danishes on a tray first, then transfer them to a bag to freeze. Thaw completely before baking following the same instructions.
Final Thoughts
This King’s Hawaiian Cheesecake Danish Recipe is a delightful way to bring a touch of bakery magic into your own kitchen with minimal effort. Whether you’re treating family at breakfast or impressing guests at brunch, the combination of sweet rolls and creamy cheesecake filling is pure happiness on a plate. Give it a try—your taste buds will thank you!
Print
King’s Hawaiian Cheesecake Danish Recipe
- Prep Time: 10 minutes
- Cook Time: 15 minutes
- Total Time: 25 minutes
- Yield: 12 Danishes
- Category: Breakfast, Dessert
- Method: Baking
- Cuisine: American
- Diet: Vegetarian
Description
This King’s Hawaiian Cheesecake Danish recipe features soft, sweet King’s Hawaiian rolls topped with a rich, creamy cheesecake filling. Baked to golden perfection and drizzled with a light powdered sugar glaze, these Danishes are perfect for breakfast, brunch, or a delightful snack alongside coffee or tea.
Ingredients
Main Ingredients
- 1 pack (12 rolls) King’s Hawaiian Sweet Rolls
- 8 oz (1 block) cream cheese, softened
- ⅓ cup granulated sugar
- 1 teaspoon vanilla extract
- 1 egg yolk
- 1 teaspoon lemon zest (optional)
Glaze
- ¼ cup powdered sugar
- 1–2 tablespoons milk
Instructions
- Preheat Oven: Preheat your oven to 350°F (175°C). Line a baking tray with parchment paper to prevent sticking and ensure easy cleanup.
- Prepare Filling: In a bowl, beat together the softened cream cheese, granulated sugar, vanilla extract, egg yolk, and optional lemon zest until the mixture is smooth and fluffy, creating a rich cheesecake filling.
- Prepare Rolls: Place the King’s Hawaiian rolls on the lined baking tray. Using your fingers or the back of a spoon, gently press an indentation into the center of each roll, being careful not to tear the dough.
- Fill Rolls: Spoon or pipe the cream cheese filling evenly into each hollowed-out center of the rolls. Smooth the tops of the filling for a neat appearance.
- Bake: Bake the filled rolls for 12 to 15 minutes, or until the rolls are lightly golden and the cheesecake filling is just set.
- Prepare Glaze: Allow the Danishes to cool for 5 minutes. In a small bowl, mix powdered sugar with 1 to 2 tablespoons of milk until smooth to create a light glaze.
- Glaze and Serve: Drizzle the glaze over the warm Danishes. Serve warm or at room temperature, perfect to enjoy with coffee, tea, or a glass of milk.
Notes
- For a citrusy twist, add the optional lemon zest to the filling mixture.
- Do not overfill the rolls to prevent spillage during baking.
- Ensure the cream cheese is softened to achieve a smooth filling.
- Let the Danishes cool slightly before glazing to prevent the glaze from melting too much.
- These Danishes are best enjoyed the same day but can be stored in the refrigerator for up to 2 days.
