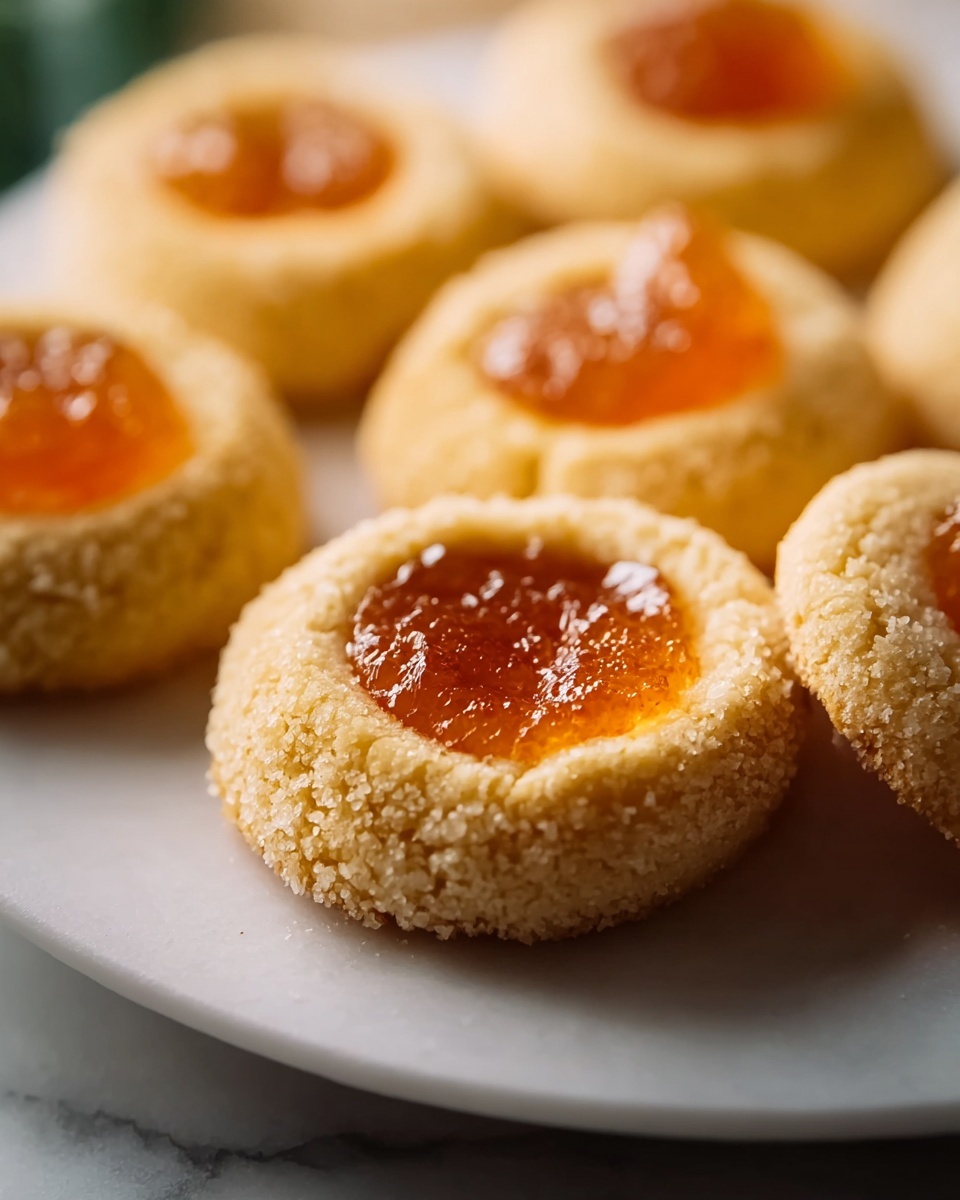
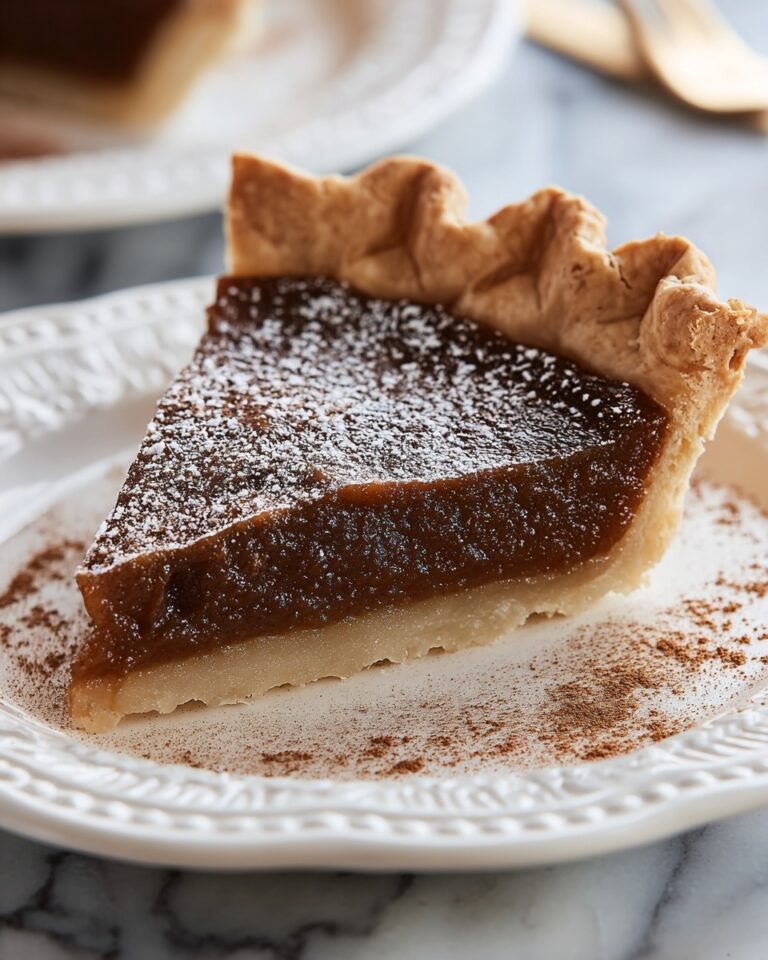
If you have a craving for something sweet, tangy, and wonderfully spreadable, this Homemade Apple Jelly Recipe will quickly become your new favorite. Made from fresh apples cooked down to a crystal-clear, shimmering jelly, it captures the pure essence of fall’s best fruit in every spoonful. Whether you’re a jam enthusiast or just diving into preserving, this recipe offers a delightful way to turn orchard apples into a translucent treasure that brightens breakfasts, snacks, and even savory dishes with a gentle fruity sparkle.
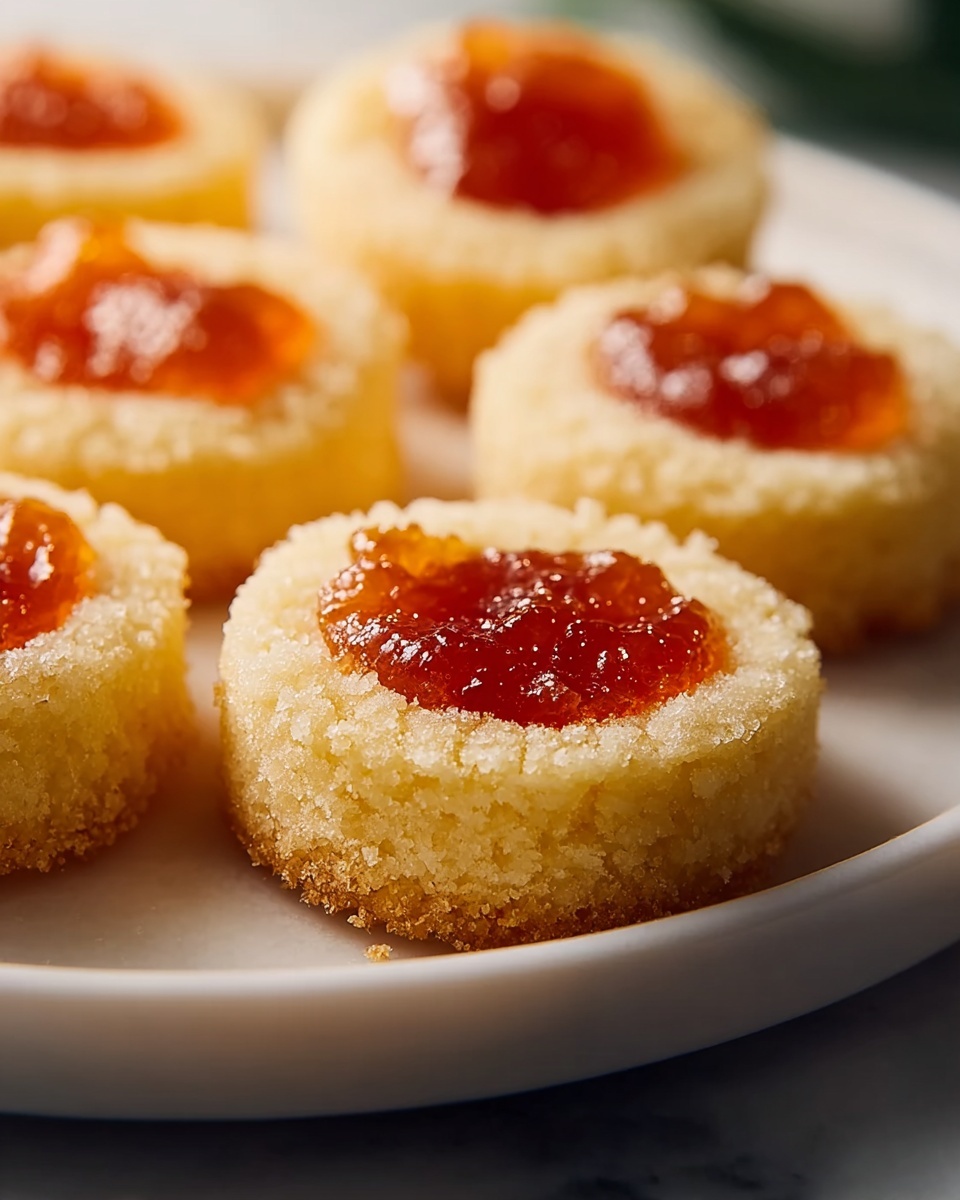
Ingredients You’ll Need
You’ll be amazed how just a few simple ingredients come together to create the perfect balance of sweetness, acidity, and clarity in your homemade apple jelly. Each item plays a vital role in achieving that classic fuzzy jelly texture and fresh apple flavor.
- Fresh apples (3 pounds): Using whole apples with skins and cores ensures rich pectin content, critical for a firm jelly.
- Water (5 cups): Helps extract juice gently without diluting flavor.
- Granulated sugar (3 1/2 to 4 cups): Sweetens and preserves the jelly while helping it set perfectly.
- Freshly squeezed lemon juice (2 tablespoons): Adds brightness and natural acid needed for perfect gel formation and flavor balance.
How to Make Homemade Apple Jelly Recipe
Step 1: Prepare Your Jars and Lids
Before you begin cooking your apple juice, make sure your jars and lids are thoroughly washed and sterilized in hot water. This ensures your jelly will stay fresh and safe for as long as possible. Keeping them warm until filling prevents jar cracking from the hot jelly.
Step 2: Cook the Apples
Combine your chopped apples and water in a large pot and bring to a boil. Then reduce the heat and simmer for 30 to 40 minutes until the apples are incredibly soft and have surrendered their juice. This slow cooking releases all those natural pectins and flavors that make your jelly shine.
Step 3: Strain the Juice
Pour the cooked apple mixture through a jelly bag or cheesecloth set over a bowl without pressing or squeezing. Let it drip slowly until the juice is perfectly clear. This step results in that beautiful, translucent jelly you love.
Step 4: Sweeten and Add Lemon
Measure the clear juice and return it to a clean pot. Add an equal volume of granulated sugar along with the freshly squeezed lemon juice. Lemon juice is key to balancing sweetness and ensuring your jelly sets with a nice, firm consistency.
Step 5: Boil to Jelly Stage
Bring the mixture to a rolling boil over medium-high heat. Skim off any foam that appears on the surface, which keeps your jelly crystal-clear. Boil until it reaches 220°F (104°C) or passes the classic plate wrinkle test – where a small spoonful gels and wrinkles when chilled on a cold plate.
Step 6: Jar the Jelly
Once your jelly is ready, ladle it carefully into your warm sterilized jars. Wipe the rims clean and seal tightly with lids. Set the jars aside undisturbed to cool and fully set, which usually takes a few hours. You will soon have glistening jars of homemade treasure.
Step 7: Label and Store
Label your jars with the date and store them in a cool, dark place until you’re ready to enjoy. Once opened, be sure to refrigerate your jelly to keep it fresh and delicious.
How to Serve Homemade Apple Jelly Recipe
Garnishes
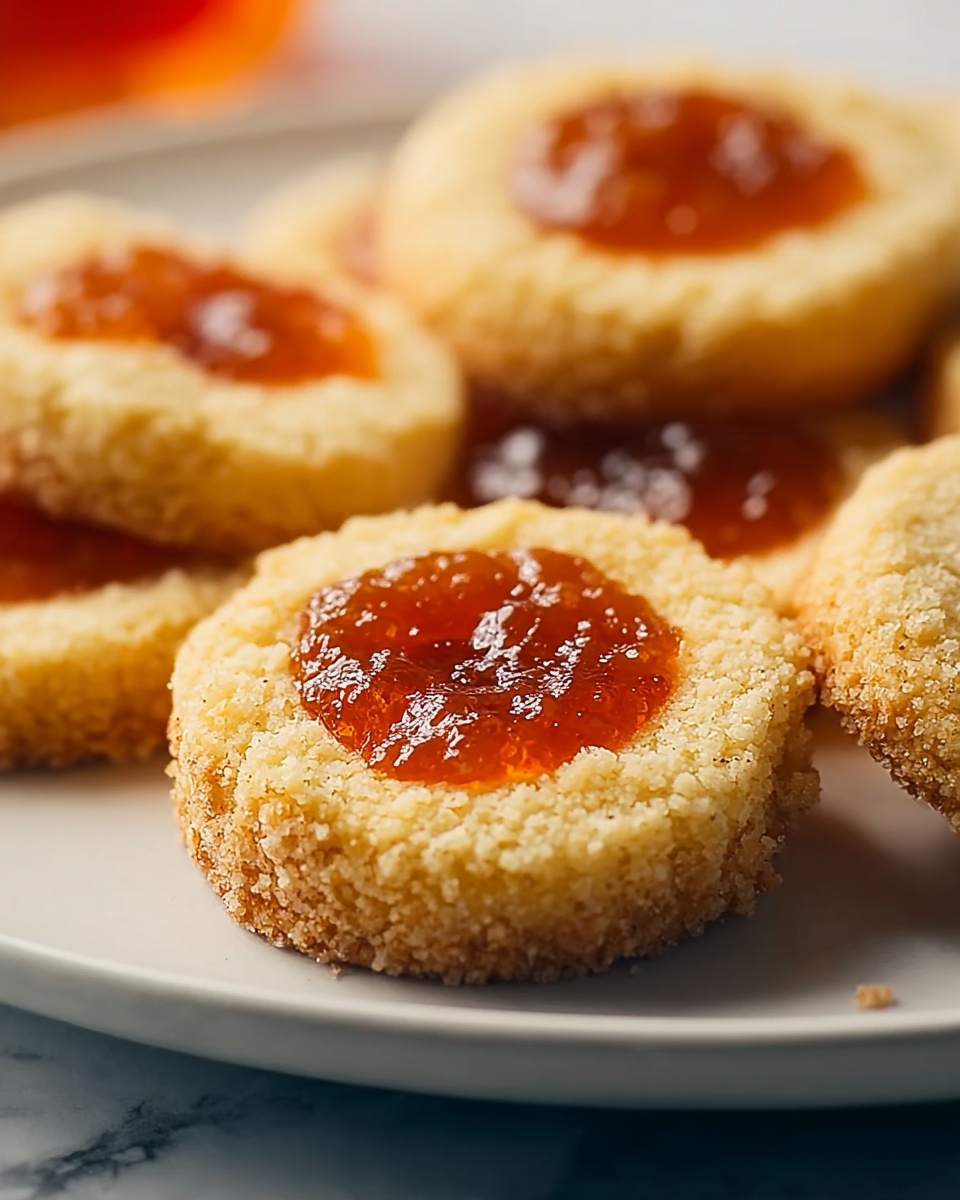
Sprinkle your favorite cheese board with some fresh apple slices alongside dollops of this homemade apple jelly for a stunning, seasonally inspired touch everyone will adore. A rosemary sprig or a dash of cinnamon can beautifully complement the jelly’s natural apple notes.
Side Dishes
Apple jelly pairs wonderfully with roasted pork or chicken, adding a subtle sweetness that cuts through savory richness. Try it drizzled over grilled vegetables or mixed into salad dressings for exciting flavor boosts.
Creative Ways to Present
Bring your homemade apple jelly to brunch by spreading it atop warm biscuits or toast, then crown with a smear of creamy butter. Or create layered parfaits with yogurt, granola, and apple jelly for an enticing texture and taste contrast.
Make Ahead and Storage
Storing Leftovers
If you find yourself with extra jars, store them in a pantry or cupboard away from direct light to maximize shelf life. Once opened, keep the jelly refrigerated and consume within a month for best flavor.
Freezing
Though homemade apple jelly stores beautifully in sealed jars, you can also freeze it in freezer-safe containers. Just be sure to leave space at the top for expansion, and thaw gently in the fridge before use.
Reheating
When serving warm apple jelly with dishes like roasted meats, heat gently in a small saucepan to avoid boiling off the delicate fruit flavors. Stir occasionally until warm and ready to drizzle.
FAQs
Can I use any type of apples for this recipe?
Absolutely! While tart apples like Granny Smith are excellent for their natural pectin and acidity, combining sweet and tart apples often results in more balanced flavor and better gel strength.
Why does my jelly sometimes turn out cloudy?
Cloudy jelly can happen if the juice is pressed too hard during straining or if impurities are not skimmed off during boiling. Using a jelly bag and carefully skimming foam can help keep your jelly crystal-clear.
How long does homemade apple jelly last unopened?
When properly canned and stored in a cool, dark place, unopened jars of apple jelly can last up to a year. Once opened, it should be refrigerated and eaten within a month.
Can I reduce the sugar in this recipe?
While sugar is essential for both flavor and proper setting, you can experiment with reducing it slightly. Just keep in mind that less sugar might affect the jelly’s texture and preservation qualities.
Is lemon juice necessary in the recipe?
Yes, lemon juice provides the essential acid needed for the pectin to set correctly. It also brightens the jelly’s flavor and balances out the sweetness beautifully.
Final Thoughts
Making this Homemade Apple Jelly Recipe is not only rewarding but also a joyful way to celebrate fresh apples in their purest form. The process is simple, the ingredients straightforward, and the result is a lovely jar of sweet, clear apple goodness that will elevate your meals and snacks. Give it a go and share the magic of homemade jelly with friends and family—once you taste it, you’ll wonder why you ever bought store-bought again.
Print
Homemade Apple Jelly Recipe
- Prep Time: 10 minutes
- Cook Time: 40 minutes
- Total Time: 50 minutes
- Yield: Approximately 4 to 5 half-pint jars
- Category: Preserves
- Method: Stovetop
- Cuisine: American
- Diet: Vegetarian
Description
This homemade apple jelly recipe captures the natural sweetness and fresh flavor of apples in a clear, smooth jelly perfect for spreading on toast or using in desserts. Made from fresh apples simmered and strained for their juice, then combined with sugar and lemon juice before cooking to the perfect jelly set. The method ensures a pure, delicious apple jelly that can be stored and enjoyed long-term.
Ingredients
Ingredients
- 3 pounds fresh apples (about 6–7 medium), washed and chopped with skins and cores
- 5 cups water
- 3 1/2 to 4 cups granulated sugar (equal volume to strained juice)
- 2 tablespoons freshly squeezed lemon juice
Instructions
- Sterilize Jars: Wash and sterilize jars and lids by immersing them in hot water, then keep them warm until ready for filling to ensure the jelly stays safe and fresh.
- Cook Apples: Add the chopped apples and water to a large pot. Bring the mixture to a boil, then reduce the heat and let it simmer gently for 30 to 40 minutes until the apples are very soft and falling apart.
- Extract Juice: Strain the cooked apples through a jelly bag or layered cheesecloth into a bowl. Allow the juice to drip naturally without pressing the pulp, which ensures a clear jelly, until no more juice is dripping.
- Measure Juice and Add Sugar: Measure the volume of the strained juice. Return the juice to a clean pot and add an equal volume of granulated sugar. Stir in the freshly squeezed lemon juice to balance the sweetness and help with jelly set.
- Boil to Jelly Set: Bring the juice and sugar mixture to a rolling boil over medium-high heat. Cook until the temperature reaches 220°F (104°C), skimming off any foam that forms. Test the jelly by placing a small spoonful onto a chilled plate and checking if it wrinkles when pushed.
- Jar the Jelly: When the jelly has reached the correct set, ladle it carefully into the warm sterilized jars. Wipe jar rims clean, seal with the lids, and let them cool undisturbed until the jelly is fully set.
- Store Properly: Label the jars and store the apple jelly in a cool, dark place. Once opened, refrigerate to maintain freshness.
Notes
- Do not press the apple pulp during straining to keep the jelly clear and free of sediment.
- Adjust sugar quantity based on the juiciness and sweetness of your apples; always equal to the volume of strained juice.
- Ensure jars and lids are properly sterilized to prevent spoilage.
- Testing jelly set with the chilled plate method helps avoid undercooked or overcooked jelly.
- Use tart apples for better natural pectin content, which aids in jelly setting.

