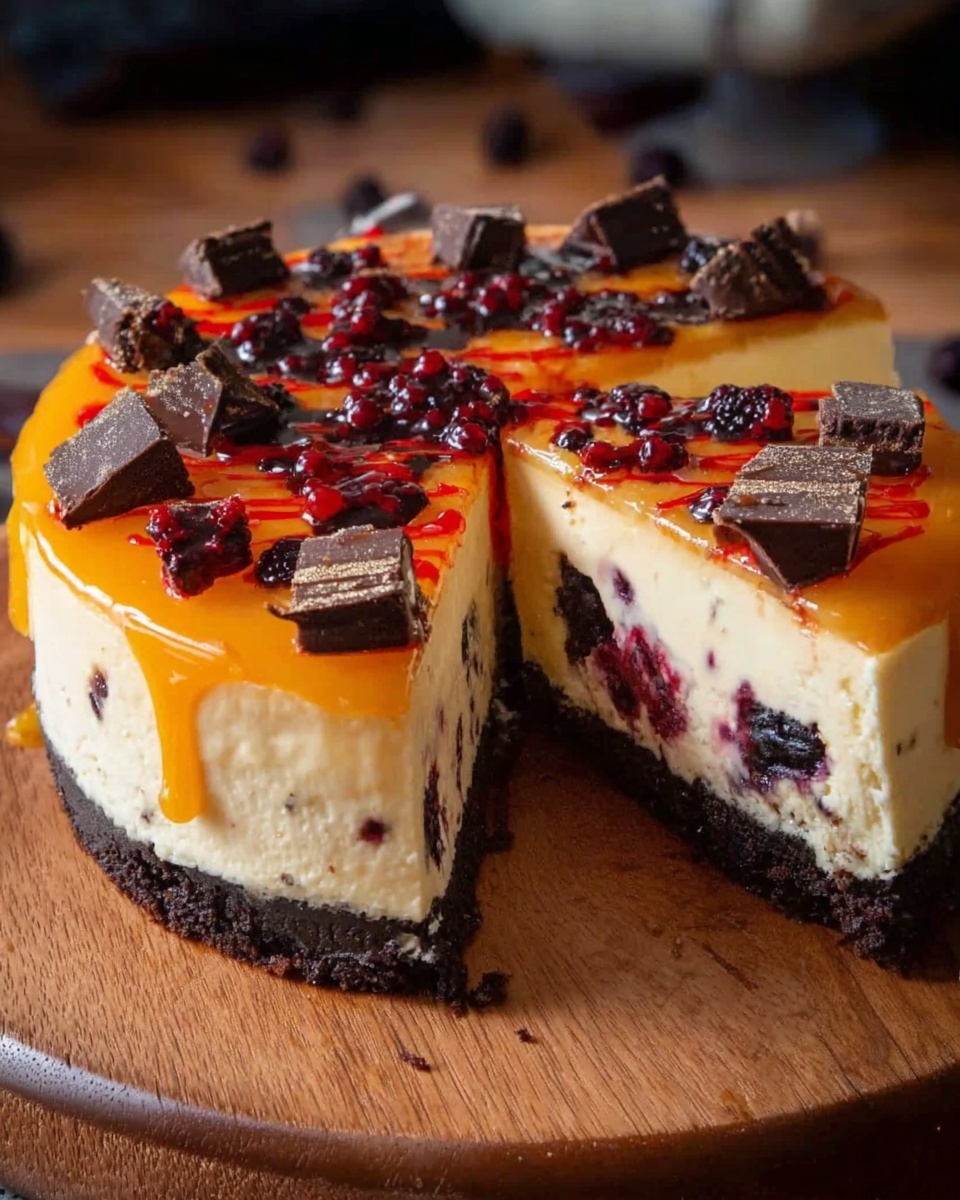
If you’re looking to wow your friends with a show-stopping dessert this October, this Halloween Cheesecake Recipe is pure magic in every bite. Imagine a creamy, dreamy cheesecake bursting with swirling splashes of vibrant Halloween colors, nestled atop a rich chocolate cookie crust, and crowned with playful candy eyeballs or sprinkles that bring the spooky spirit alive. It’s not just a treat for the taste buds but a feast for the eyes, turning your Halloween party into an unforgettable celebration. Whether you’re a cheesecake aficionado or just love a festive twist, this recipe will quickly become your go-to for the season.
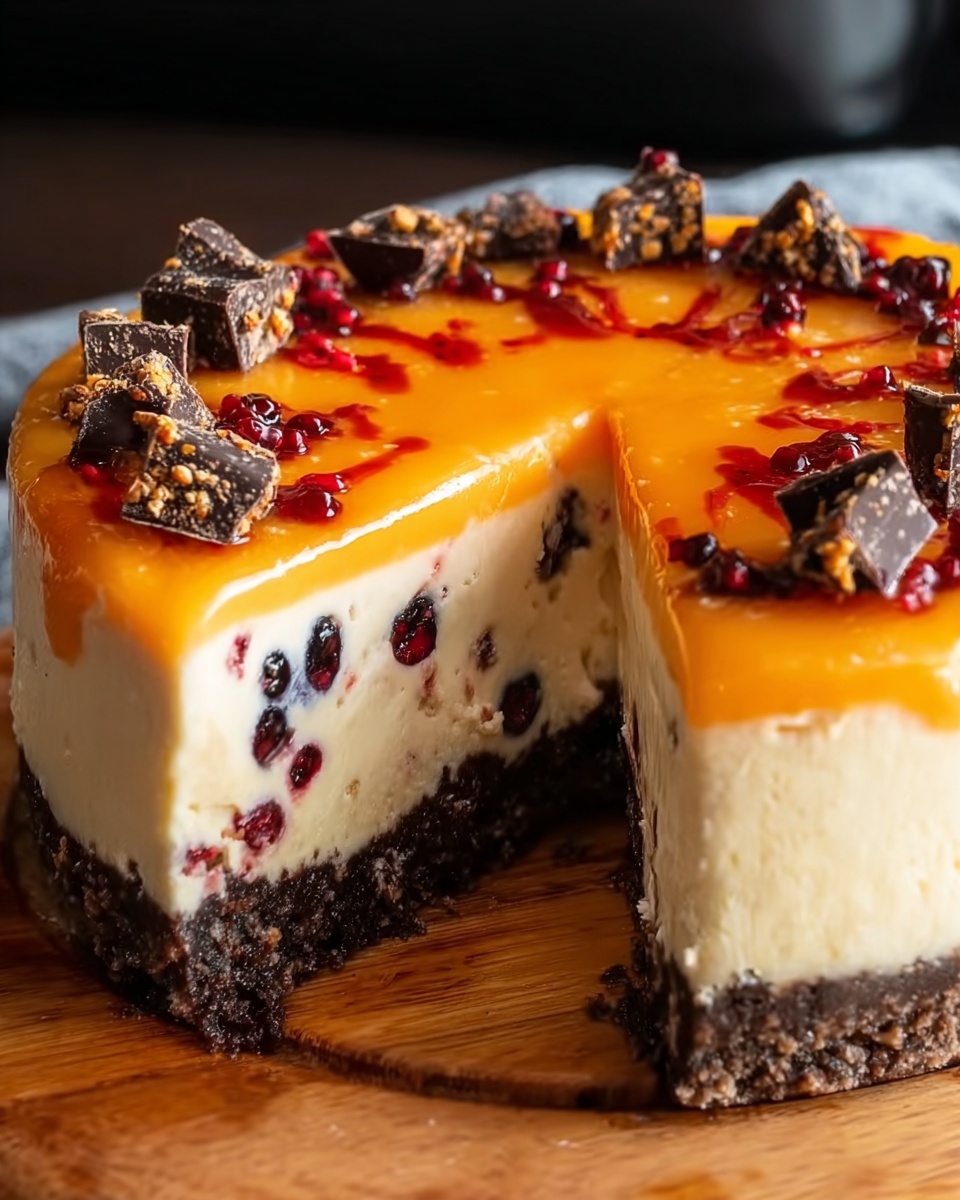
Ingredients You’ll Need
These ingredients are wonderfully straightforward but essential for building layers of flavor and texture in your Halloween cheesecake. Each component plays its part, from the crunchy chocolate cookie crust to the silky cream cheese filling infused with bright, festive colors that make this dessert truly special.
- Chocolate cookie crumbs: For a deeply chocolatey, crunchy base that perfectly supports the creamy filling.
- Granulated sugar: Added to both crust and filling to balance sweetness throughout the dessert.
- Melted butter: Binds the cookie crumbs to create a sturdy crust with rich buttery flavor.
- Cream cheese (softened): The star ingredient, providing that smooth, tangy foundation every cheesecake needs.
- Vanilla extract: Enhances the flavor with warm, aromatic notes for a well-rounded taste.
- Eggs: Give structure and richness while creating the perfect creamy texture.
- Sour cream: Adds moisture and a slight tang that keeps the cheesecake luscious and tender.
- Gel food coloring (orange, black, purple, green): Essential for vibrant, spooky swirls without watering down your batter.
- Halloween sprinkles or candy eyeballs: The fun finishing touch to amp up the spooky, festive vibe on top.
How to Make Halloween Cheesecake Recipe
Step 1: Prepare the Chocolate Cookie Crust
Start by combining the chocolate cookie crumbs, ¼ cup sugar, and melted butter in a medium bowl. Press this mixture firmly into the bottom of your 9-inch springform pan to create an even crust. Bake it for 8 to 10 minutes at 325°F (163°C), then set it aside to cool. This warm, chocolatey base will add the perfect texture contrast to the creamy filling.
Step 2: Blend the Cream Cheese Filling
In a large bowl, beat the softened cream cheese until it’s smooth and perfectly silky. Add 1 cup of sugar and the vanilla extract, and continue to beat the mixture until it’s creamy and well combined. This step is key to getting that luscious, velvety texture you love in cheesecake.
Step 3: Incorporate the Eggs and Sour Cream
Add the eggs one at a time, mixing well after each addition to ensure a smooth batter. Then stir in the sour cream just until combined—over mixing can cause cracks, so be gentle! This combination adds richness and moisture that makes the cheesecake incredibly tender.
Step 4: Add Festive Colors
Divide the batter evenly into 3 to 4 bowls and tint each portion with a different gel food coloring—orange, black, purple, and green work beautifully for a Halloween palette. Use gel coloring because it gives you vibrant hues without thinning your batter, which keeps your cheesecake texture perfect.
Step 5: Create the Colorful Swirls
Spoon the colored batters into the cooled crust one at a time, layering or dropping spoonfuls randomly for a fun marbled effect. Use a skewer or knife to gently swirl the colors together for a spooky and artistic finish. This step turns your cheesecake into a true Halloween showstopper!
Step 6: Bake and Cool the Cheesecake
Bake your masterpiece for 50 to 60 minutes at 325°F until the center is just set and slightly jiggly. Then turn off the oven, crack the door, and let it cool inside for an hour to avoid cracks. After that, refrigerate for at least 4 hours or overnight to let the flavors meld and the texture settle perfectly.
Step 7: Decorate for Halloween
Top off the cheesecake with Halloween sprinkles, candy eyeballs, or even a spooky spiderweb made with melted chocolate or whipped cream to add that extra festive flair before serving.
How to Serve Halloween Cheesecake Recipe
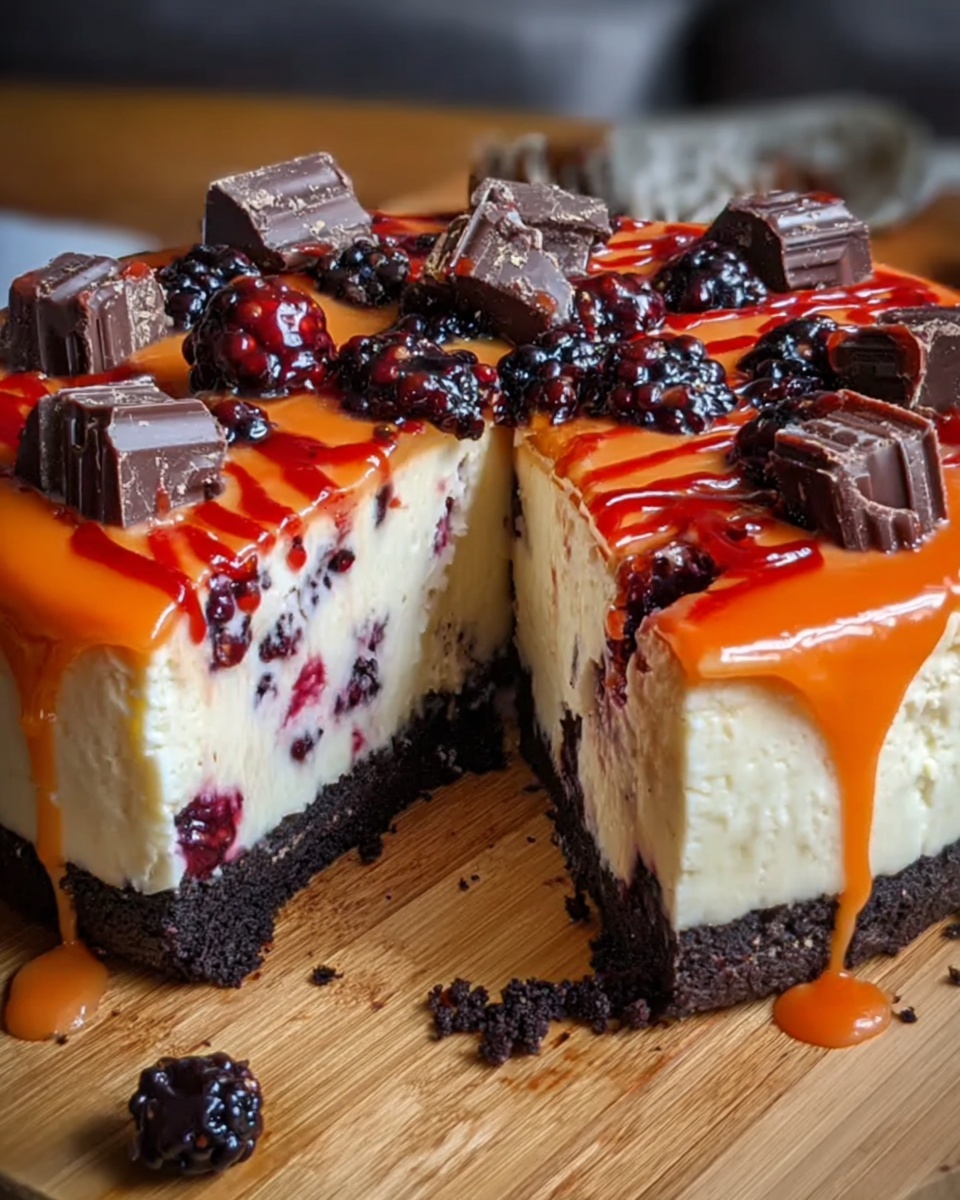
Garnishes
Garnishes aren’t just decoration here—they enhance the overall experience! Candy eyeballs bring a playful scary element, while sprinkles add crunch and color. You can also pipe delicate spiderwebs with melted chocolate for an elegant, creepy touch that will impress your guests visually and flavor-wise.
Side Dishes
This Halloween cheesecake pairs beautifully with fresh whipped cream or a drizzle of raspberry sauce to cut through its richness with a touch of tartness. For a festive touch, serve alongside spiced pumpkin bites or caramel apple slices that complement those warm, autumn flavors.
Creative Ways to Present
Try serving your Halloween cheesecake on a dark, rustic wooden board with scattered Halloween-themed candies for ambiance. You can also cut it into mini slices and place them in individual clear cups with candy eyeballs and edible glitter for a fun party platter that will delight adults and kids alike.
Make Ahead and Storage
Storing Leftovers
Once made, this Halloween cheesecake keeps wonderfully in the fridge for up to five days. Just cover it tightly with plastic wrap or store it in an airtight container to maintain its moisture and prevent it from soaking up other fridge odors.
Freezing
If you want to prepare this dessert ahead of time, you can freeze it for up to one month. Wrap the cheesecake securely in plastic wrap and then in foil to avoid freezer burn. Thaw it overnight in the fridge before serving for the best texture and flavor.
Reheating
Cheesecake is best enjoyed chilled, but if you prefer it slightly warmed, let slices sit at room temperature for about 20 minutes before serving rather than microwaving, which can alter the texture. This way, you’ll enjoy the creaminess without losing the perfect consistency of your Halloween Cheesecake Recipe.
FAQs
Can I use regular food coloring instead of gel food coloring?
While you can, gel food coloring is recommended because it provides bold colors without changing the consistency of the batter. Regular liquid dyes might thin your batter, affecting the texture and the beautiful swirls you aim for in this recipe.
How do I avoid cracks in my cheesecake?
To minimize cracks, avoid overmixing your batter, bake at a moderate temperature, and allow the cheesecake to cool gradually inside the turned-off oven with the door cracked open. Cooling it slowly is key for a smooth and crack-free surface.
Can I use a different crust instead of chocolate cookie crumbs?
Absolutely! A graham cracker crust or even crushed gingersnaps can work well and add a different but delicious flavor. Just adjust the sugar and butter quantities accordingly so the crust holds together nicely.
Is it necessary to use a springform pan?
A springform pan is ideal because it makes removing the delicate cheesecake easier without damaging the crust or sides. If you don’t have one, line a regular cake pan with parchment paper for easier removal.
Can kids help make this Halloween Cheesecake Recipe?
Definitely! Kids can help with dividing and coloring the batter, spooning colors into the pan, and decorating with sprinkles and candy eyes. It’s a fantastic, hands-on activity that adds fun to your Halloween celebration.
Final Thoughts
This Halloween Cheesecake Recipe is not just a dessert but an experience that brings vibrant colors, rich flavors, and playful fun to your table. It’s a fantastic way to impress your guests or simply enjoy a festive treat with family. I encourage you to give it a try—you’ll love how this cheesecake turns your Halloween celebration into a sweet and spooky memory worth repeating!
Print
Halloween Cheesecake Recipe
- Prep Time: 20 minutes
- Cook Time: 60 minutes
- Total Time: 6 hours
- Yield: 12 servings
- Category: Dessert
- Method: Baking
- Cuisine: American
- Diet: Vegetarian
Description
This festive Halloween Cheesecake features a rich chocolate crust and a vibrant multi-colored cream cheese filling, perfect for adding spooky charm to your holiday party. Layers or swirls of orange, black, purple, and green gel-colored cheesecake batter create an eye-catching marbled effect. Finished with fun Halloween sprinkles and candy eyeballs, this creamy dessert delights both in flavor and presentation.
Ingredients
Crust
- 1 ½ cups chocolate cookie crumbs
- ¼ cup granulated sugar
- 5 tablespoons melted butter
Filling
- 3 (8 oz) packages cream cheese, softened
- 1 cup granulated sugar
- 1 teaspoon vanilla extract
- 3 large eggs
- ½ cup sour cream
- Gel food coloring (orange, black, purple, green)
Decoration
- Halloween sprinkles or candy eyeballs
Instructions
- Prepare the crust: Preheat your oven to 325°F (163°C). In a medium bowl, mix together the chocolate cookie crumbs, ¼ cup sugar, and melted butter until combined. Press the mixture firmly into the bottom of a 9-inch springform pan to form an even crust layer.
- Bake the crust: Place the crust in the oven and bake for 8–10 minutes to set it. Remove and let it cool completely while you prepare the filling.
- Make the cheesecake base: In a large mixing bowl, beat the softened cream cheese until smooth and creamy. Add 1 cup sugar and vanilla extract, continue beating until the mixture is fully combined and silky.
- Add eggs and sour cream: Add the eggs one at a time, mixing well after each addition to ensure a smooth batter. Stir in the sour cream gently until just combined without overmixing.
- Color the batter: Divide the cheesecake batter evenly into 3 to 4 separate bowls. Tint each portion with different Halloween-themed gel food coloring colors such as orange, black, purple, and green to achieve vibrant hues.
- Layer or marble the batter: Spoon the colored batters onto the cooled crust one at a time in alternating layers for stripes, or drop spoonfuls randomly for a marbled effect. You may use a skewer or knife to gently swirl the colors together for an artistic design.
- Bake the cheesecake: Bake the filled springform pan for 50–60 minutes until the edges are set but the center still jiggles slightly when moved. This ensures a creamy texture.
- Cool gradually: Turn off the oven and crack the door open. Leave the cheesecake inside the oven for 1 hour to cool slowly, which helps prevent cracks on the surface.
- Chill completely: After removing from the oven, refrigerate the cheesecake for at least 4 hours or preferably overnight to allow it to firm up properly.
- Decorate and serve: Just before serving, decorate the top with Halloween sprinkles, candy eyeballs, or create festive designs like spiderwebs using melted chocolate or whipped cream for extra flair.
Notes
- Use gel food coloring instead of liquid to maintain batter consistency and get vibrant colors.
- Do not overmix the batter at any stage; overmixing can cause cracks or dense texture.
- Allow gradual cooling by leaving the cheesecake in the warm oven with door cracked after baking to prevent cracking.
- If using a water bath for baking, line the outside of the springform pan with foil to prevent water leaks.

