
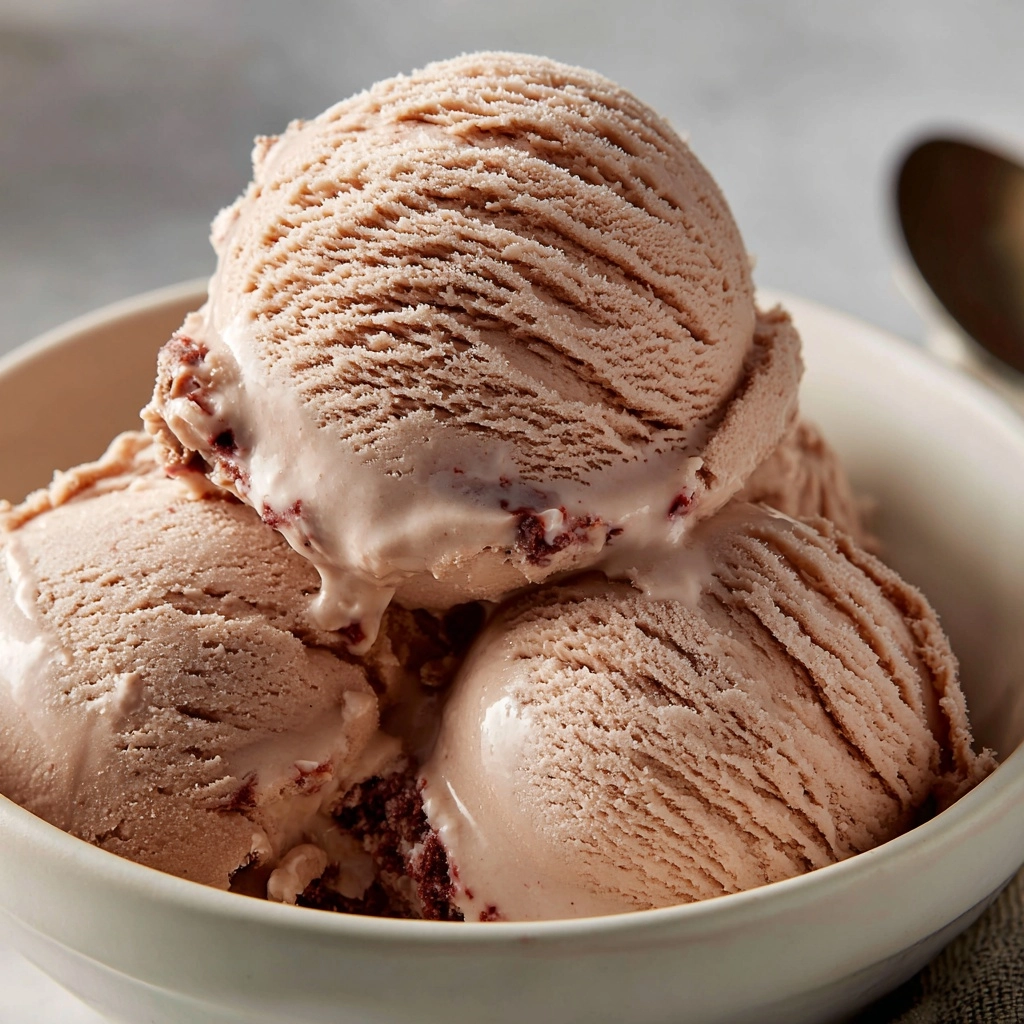
If you’ve ever dreamed of transforming your favorite fizzy drink into an unforgettable frozen treat, Dr. Pepper Ice Cream is about to make your dessert dreams come true! Imagine the creamy, rich texture of homemade ice cream mingling with the unmistakable flavor of Dr. Pepper’s signature blend of sweet, spicy, and fruity notes—each spoonful is a playful throwback to classic soda fountains with a modern homemade spin. This recipe is a breeze to whip up, and it’s destined to become the showstopper at summer gatherings, barbeques, or whenever you just need a reason to smile. Let’s dive into making Dr. Pepper magic!
Ingredients You’ll Need
This Dr. Pepper Ice Cream recipe keeps things wonderfully simple, relying on a handful of essentials that transform into pure frozen fun. Each ingredient brings something distinct—creamy richness, sweet balance, or that wow-worthy soda fizz.
- Heavy Cream: Creates a luscious, silky base and gives the ice cream its velvety texture.
- Whole Milk: Adds extra creaminess while balancing the richness of the heavy cream.
- Granulated Sugar: Sweetens the mix and helps enhance the iconic Dr. Pepper flavor throughout.
- Dr. Pepper (not diet): The star of the show—provides a bold, complex flavor that sets this ice cream apart.
- Vanilla Extract: Lends warmth and rounds out the soda’s unique flavor profile for a craveable finish.
- Pinch of Salt: Just a touch sharpens every sweet, creamy, and fizzy note in the ice cream.
How to Make Dr
Step 1: Make the Dr. Pepper Syrup
Pour the Dr. Pepper into a medium saucepan, add the granulated sugar, and stir the mixture over medium heat until the sugar dissolves completely. Allow it to simmer gently for about 10 to 12 minutes—this concentrates the Dr. Pepper flavor and gives you a slightly syrupy base that will infuse every bite of your ice cream. Take the pan off the heat and let it cool to room temperature before moving on.
Step 2: Whisk Together the Cream Base
In a big mixing bowl, whisk together the heavy cream, whole milk, vanilla extract, and a pinch of salt. Blend until the mixture looks smooth and slightly frothy—this is the creamy foundation that marries perfectly with the sweet, bold notes of Dr. Pepper.
Step 3: Combine Syrup and Cream
Once the Dr. Pepper syrup is cooled, stir it into your creamy base. Whisk everything together thoroughly, making sure it’s silky-smooth and evenly combined. This is where magic starts—the flavors come together in a dreamy fusion!
Step 4: Chill the Base
Cover the bowl with plastic wrap and pop it in the refrigerator for at least 4 hours, or overnight if you’re planning ahead. Chilling helps the flavors develop deeply and ensures the ice cream churns up ultra-smooth.
Step 5: Churn into Dr. Pepper Ice Cream
Pour the thoroughly chilled base into your ice cream maker and churn according to your manufacturer’s instructions—usually about 20 to 25 minutes. You’ll watch it transform into a creamy, soft-serve texture that already smells like Dr. Pepper happiness in a bowl!
Step 6: Freeze Until Firm
Transfer your freshly churned ice cream to a freezer-safe container, level the top, and freeze it for at least 4 hours (overnight is even better!). By the time it’s ready, you’ll have a scoopable, rich Dr. Pepper treat that’s ready for dessert duty.
How to Serve Dr
Garnishes
Top your Dr. Pepper Ice Cream with whipped cream, a maraschino cherry, or chocolate shavings to echo the playful soda-fountain vibe. Try Crushed chocolate cookies or a drizzle of cola reduction for that chef’s touch—these little additions bring out the soda shop nostalgia in all the best ways!
Side Dishes
This ice cream shines on its own but also loves company! Serve alongside a warm fudge brownie, crunchy soda crackers, or even a classic slice of pound cake. For a true Texan twist, try pairing it with salty peanuts or a splash of spicy barbecue sauce—Dr. Pepper shines with the unexpected.
Creative Ways to Present
Turn Dr. Pepper Ice Cream into floats by scooping it into a glass and pouring a splash of cold Dr. Pepper on top. Or sandwich scoops between chocolate cookies for an unforgettable ice cream sandwich. If you’re hosting, offer make-your-own-sundae stations with fun soda-inspired toppings—guests will love customizing their own!
Make Ahead and Storage
Storing Leftovers
Transfer any leftover Dr. Pepper Ice Cream to an airtight freezer container as soon as possible to keep it from picking up freezer flavors. Press a piece of parchment or plastic wrap directly onto the surface before sealing to prevent ice crystals and keep every scoop as creamy as the first.
Freezing
Dr. Pepper Ice Cream keeps beautifully in the freezer for up to two weeks—but let’s be honest, it probably won’t last that long! Store it at the coldest part of your freezer and avoid frequent temperature changes for the best, creamiest results.
Reheating
Okay, you won’t be reheating ice cream, of course, but if it’s extra firm, let your container rest at room temperature for 5 to 10 minutes before scooping. This ensures the perfect creamy texture and brings the Dr. Pepper flavors back to their full, aromatic glory.
FAQs
Can I make Dr. Pepper Ice Cream without an ice cream maker?
Absolutely! After chilling the base, pour it into a freezer-safe dish and stir vigorously every 30 minutes until it’s creamy and scoopable (about 3-4 hours)—the texture won’t be quite as smooth as churned, but the flavor will still be pure Dr. Pepper delight.
Is there a way to boost the Dr. Pepper flavor?
For extra intensity, simmer and reduce 2 cups of soda to about ¾ cup for a more concentrated syrup before mixing it into your base—it’s a fun trick if you’re a serious Dr. Pepper fan!
Can I use Diet Dr. Pepper for a lighter version?
Diet sodas aren’t ideal here, since the artificial sweeteners can affect the texture and flavor as the syrup reduces—your best bet is to stick with regular Dr. Pepper for authentic, rich results.
What mix-ins work best with Dr. Pepper Ice Cream?
Chocolate chips, chopped maraschino cherries, crushed nuts, or even Oreo pieces make fantastic add-ins—fold them in during the last few minutes of churning for a float-inspired twist or a crunchy surprise.
How long does homemade Dr. Pepper Ice Cream keep?
Stored properly, you can enjoy your Dr. Pepper ice cream for up to two weeks—after that, it’s still safe to eat but quality and texture might start to fade. Good luck keeping it around that long!
Final Thoughts
Whether you’re a lifelong Dr. Pepper devotee or just love discovering new homemade desserts, this ice cream is guaranteed to spark joy. Grab your soda, prep your mixer, and treat yourself to a scoop—or two—of Dr. Pepper bliss. Happy churning!
Print
Dr Recipe
- Prep Time: 15 minutes
- Cook Time: 10 minutes
- Total Time: 6 hours
- Yield: 1 quart (8 servings)
- Category: Dessert
- Method: Churning
- Cuisine: American
- Diet: Vegetarian
Description
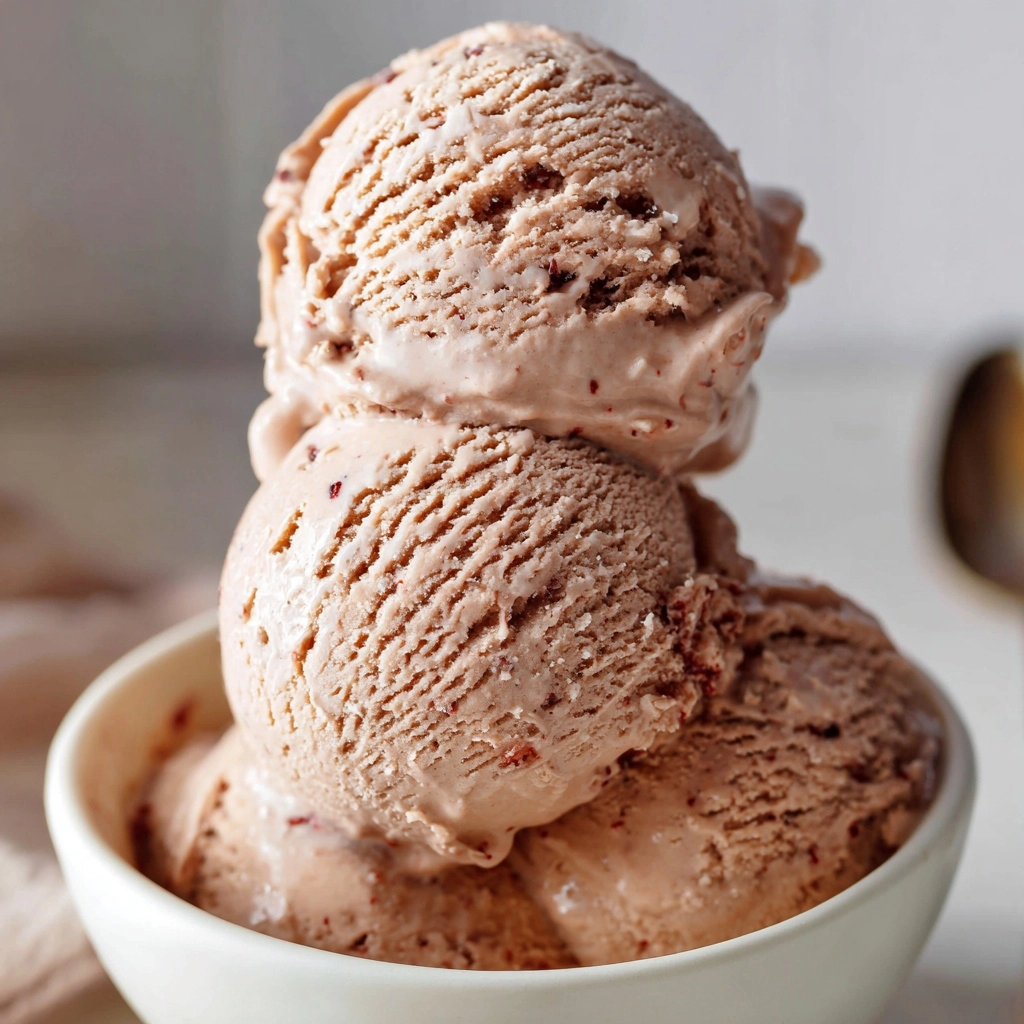
Indulge in a unique and refreshing treat with this homemade Dr. Pepper Ice Cream recipe. Creamy and sweet with a hint of soda pop flavor, it’s the perfect dessert for a hot summer day.
Ingredients
Ice Cream Base:
- 2 cups heavy cream
- 1 cup whole milk
- ¾ cup granulated sugar
- 1½ cups Dr. Pepper (not diet)
- 1 teaspoon vanilla extract
- pinch of salt
Instructions
- Prepare Dr. Pepper Syrup: In a medium saucepan over medium heat, combine Dr. Pepper and sugar. Simmer for 10-12 minutes until slightly reduced. Let cool.
- Mix Ice Cream Base: In a large bowl, whisk heavy cream, milk, vanilla, and salt. Stir in cooled Dr. Pepper syrup. Refrigerate for 4 hours.
- Churn Ice Cream: Pour chilled mixture into ice cream maker, churn for 20-25 minutes until soft-serve consistency.
- Freeze: Transfer churned ice cream to a container, freeze for at least 4 hours until firm.
Notes
- For a stronger Dr. Pepper flavor, reduce soda to concentrate before adding to the base.
- Try adding chocolate chips or cherries during churning for a fun twist.
Nutrition
- Serving Size: ½ cup
- Calories: 230
- Sugar: 20 g
- Sodium: 40 mg
- Fat: 15 g
- Saturated Fat: 10 g
- Unsaturated Fat: 4 g
- Trans Fat: 0 g
- Carbohydrates: 22 g
- Fiber: 0 g
- Protein: 2 g
- Cholesterol: 55 mg
