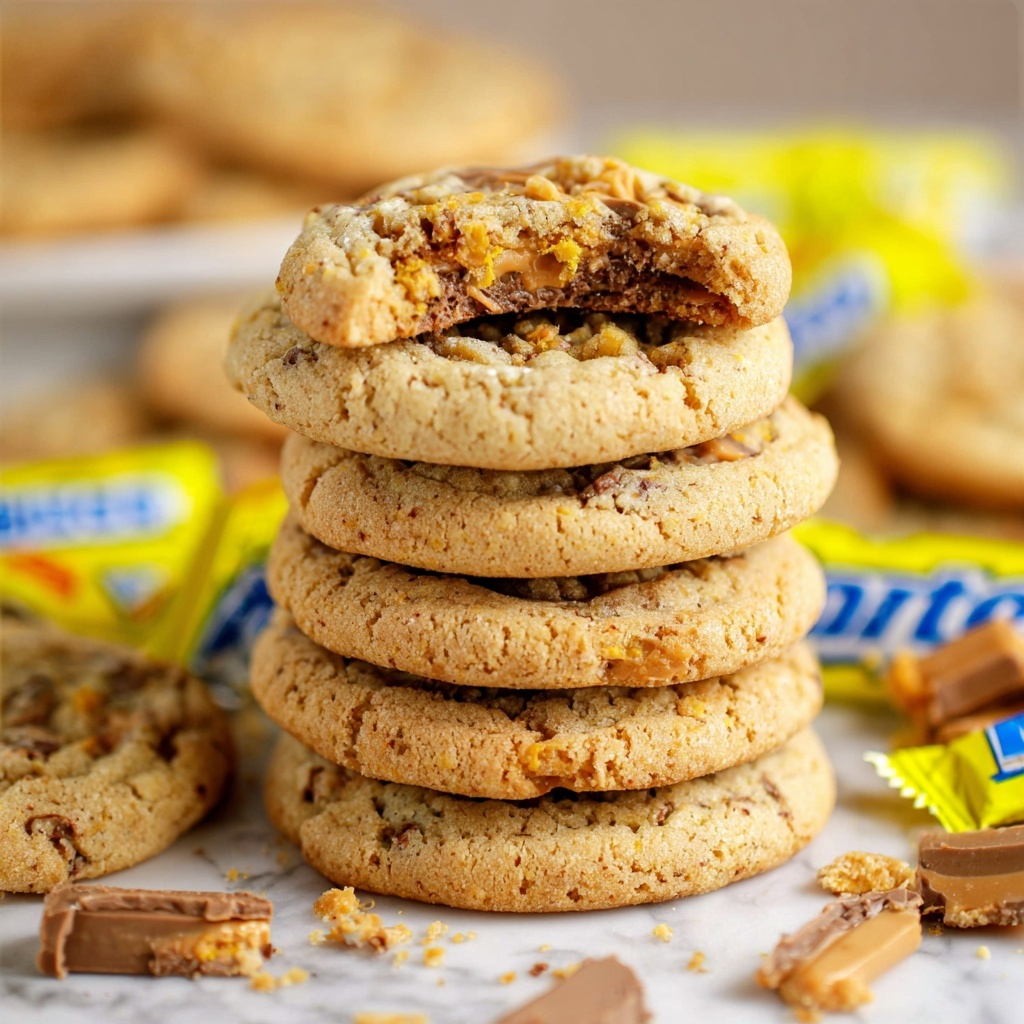
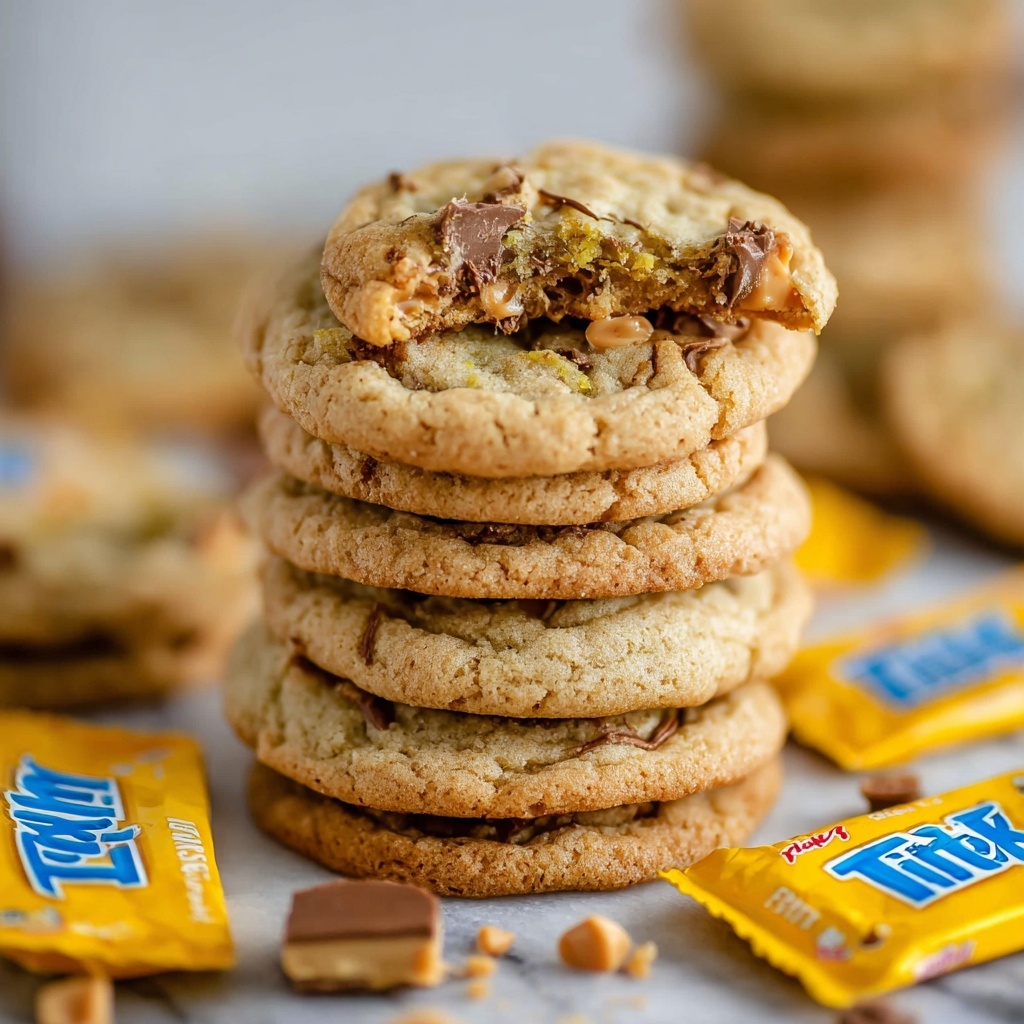
If you adore the perfect combination of peanut butter richness and crisp, crunchy candy bits, you’re in for a real treat with this Butterfinger Cookies Recipe. These cookies capture the irresistible texture and flavor of Butterfinger candy bars but with a soft, chewy cookie base that makes every bite a pure delight. Whether you’re baking for a cozy family night or bringing a sweet surprise to a party, this recipe effortlessly blends the comfort of homemade cookies with that classic candy crunch we all love. Trust me, once you try these, they’re going to be your new favorite go-to for any occasion.
Ingredients You’ll Need
These ingredients are simple staples with a special twist that brings the whole Butterfinger Cookies Recipe to life. Each adds a crucial element—from creaminess and sweetness to that signature crunch of Butterfinger candy bits that make these cookies stand out.
- 1/2 cup unsalted butter (softened): Adds rich creaminess and helps keep the cookies tender.
- 1/2 cup creamy peanut butter: Gives that iconic peanut flavor and smooth texture that pairs beautifully with the candy bits.
- 3/4 cup brown sugar: Brings moisture and a deep, caramel-like sweetness that complements the peanut butter perfectly.
- 1/4 cup granulated sugar: Balances the sweetness and aids in creating a slight crispiness at the cookie edges.
- 1 egg: Binds everything together and adds moisture for soft, chewy cookies.
- 1 teaspoon pure vanilla extract: Enhances all the flavors with a warm, aromatic note.
- 1 1/2 cups unbleached flour: The foundation for structure and a soft bite.
- 1/2 teaspoon salt: Balances sweetness and intensifies the rich flavors.
- 1/2 teaspoon baking soda: Helps the cookies rise softly and develop a tender crumb.
- 1 cup Butterfinger bits (divided): Packed with buttery, crunchy candy pieces for that unmistakable Butterfinger cookie magic.
How to Make Butterfinger Cookies Recipe
Step 1: Prepare Your Workspace
Start by preheating your oven to 350 degrees Fahrenheit and line two baking sheets with parchment paper. This preparation ensures your cookies cook evenly and slip right off the sheet when done, making the whole process smooth and fuss-free.
Step 2: Cream Butter and Peanut Butter
In a mixing bowl, blend the softened unsalted butter with creamy peanut butter until the mixture is smooth and perfectly combined. This step is key for that luscious, creamy base flavor that makes these cookies truly special.
Step 3: Add Sugars and Mix
Next, add your brown sugar and granulated sugar to the bowl. Cream them together with the butter mixture until fully combined. This adds sweetness and contributes to the tender yet slightly crisp texture the cookies are known for.
Step 4: Incorporate Egg and Vanilla
Stir in one egg and the vanilla extract, mixing thoroughly to create a silky batter. These ingredients bring moisture and deepen the aromatic flavor profile, making every bite taste just like comfort in cookie form.
Step 5: Combine Dry Ingredients
Add the flour, salt, and baking soda into your wet mixture. Mix gently until the dough forms and looks soft and manageable but still holds together. This step provides structure without sacrificing softness.
Step 6: Fold in Butterfinger Pieces
Carefully stir in half a cup of your Butterfinger bits. These crunchy candy chunks deliver that wonderful texture and burst of buttery, crispy sweetness that defines the Butterfinger Cookies Recipe.
Step 7: Scoop the Dough
Using a two-tablespoon cookie scoop, form balls of dough and place them about two inches apart on your lined baking sheets. This spacing helps the cookies spread just enough to get that perfect shape and finish.
Step 8: Bake to Perfection
Bake your cookies for nine minutes until they’re beautifully golden around the edges but still soft and chewy in the center. The smell alone will have you counting down the seconds!
Step 9: Shape the Cookies
As soon as they come out of the oven, shape the cookies gently using a cookie cutter to give them a neat, uniform appearance. This little touch turns homemade into something truly impressive.
Step 10: Add Final Butterfinger Topping and Cool
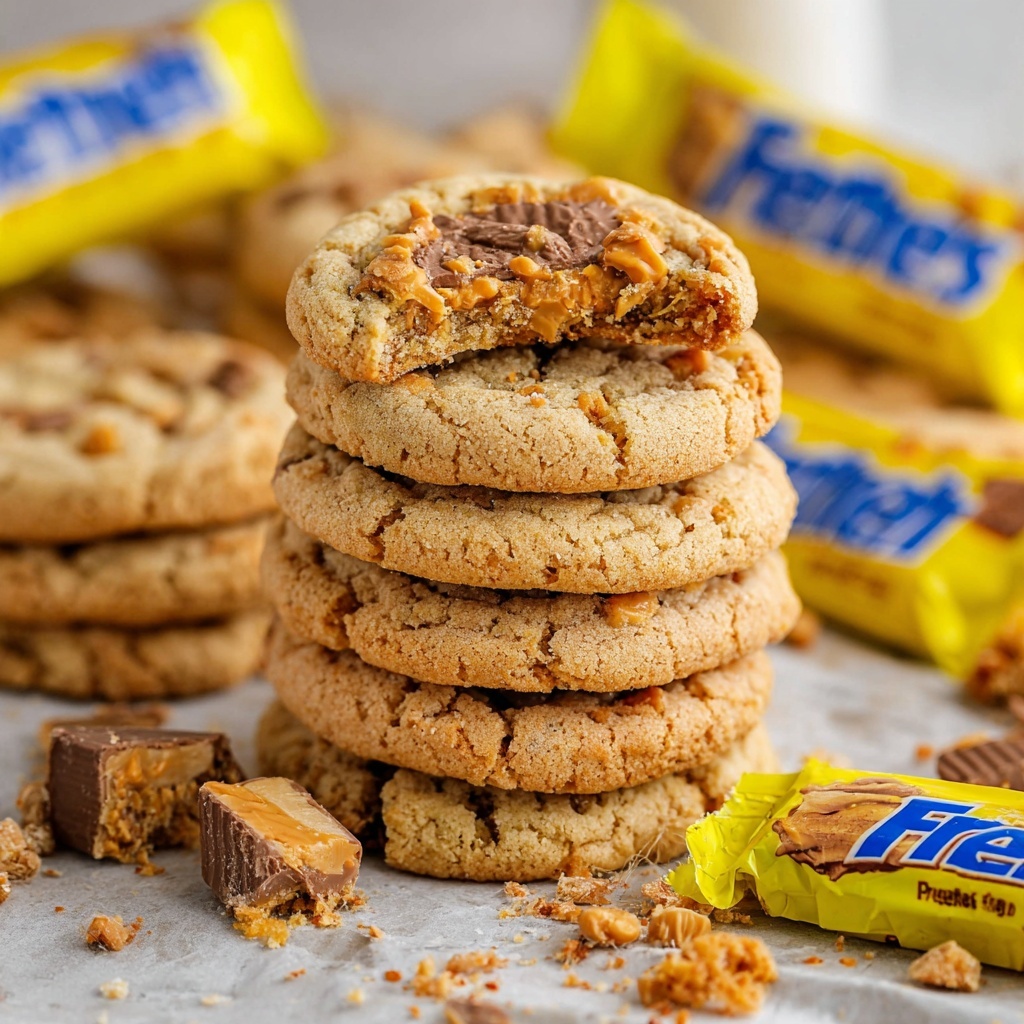
Top each cookie with the remaining Butterfinger bits while they are still warm, then let them cool on the baking sheet for at least 10 minutes. This helps the candy pieces set just right without melting away, giving you that delightful crunch in every bite.
How to Serve Butterfinger Cookies Recipe
Garnishes
For an extra-special touch, sprinkle a tiny pinch of flaky sea salt over the cookies once they are cooled. The salt elevates the sweetness and enhances the buttery, nutty flavors beautifully.
Side Dishes
These cookies shine when served alongside a cold glass of milk or a warm cup of coffee or tea. The rich, crunchy texture pairs wonderfully with creamy drinks for a satisfying snack or dessert.
Creative Ways to Present
Arrange these Butterfinger Cookies on a festive platter lined with colorful parchment paper for parties or gift them in a decorative tin. You can even sandwich two cookies together with peanut butter frosting for an indulgent spin that everyone will rave about.
Make Ahead and Storage
Storing Leftovers
Keep your Butterfinger Cookies fresh by storing them in an airtight container at room temperature. They’ll stay soft and flavorful for up to five days, perfect for enjoying throughout the week without losing any magic.
Freezing
You can freeze baked cookies by placing them in a single layer on a baking sheet, freezing until firm, then transferring them to a freezer-safe bag. This method preserves their texture and taste, allowing you to enjoy this Butterfinger Cookies Recipe anytime.
Reheating
Gently warm your cookies in the oven or microwave for just a few seconds to revive their soft, fresh-baked feel. The candy bits soften slightly, bringing back that just-baked warmth and crunch combination every time.
FAQs
Can I use crunchy peanut butter instead of creamy?
Yes! Using crunchy peanut butter will add an extra nutty texture to your cookies. It’s a fun variation if you love a little more texture in every bite, though the creamy variety keeps the dough smoother.
What if I can’t find Butterfinger bits?
If Butterfinger bits aren’t available, you can finely chop Butterfinger candy bars or substitute with chopped peanut brittle or crushed toffee for a similar crunchy, buttery effect.
Are these cookies gluten-free?
This Butterfinger Cookies Recipe calls for unbleached all-purpose flour, which contains gluten. However, you can experiment with gluten-free flour blends designed for baking to make them gluten-free, keeping in mind texture differences.
Can I double this recipe?
Absolutely! Just double all ingredients and bake in batches on multiple baking sheets. The recipe scales nicely, so you can easily make more for bigger gatherings or gift boxes.
How do I prevent the Butterfinger pieces from melting too much?
To keep that satisfying crunch, add half the candy bits into the dough and reserve the rest for sprinkling on top right after baking. This keeps the candy intact and beautifully textured.
Final Thoughts
There’s something truly magical about a cookie that perfectly blends soft, chewy, and crunchy all at once, and this Butterfinger Cookies Recipe hits that mark every single time. It’s simple enough for a quick weekend bake yet special enough to impress anyone you share them with. So, grab those ingredients and get ready to fill your kitchen with the warm aroma of peanut butter and candy bits – these cookies are going to be a beloved favorite before you know it!
Print
Butterfinger Cookies Recipe
- Prep Time: 10 minutes
- Cook Time: 9 minutes
- Total Time: 19 minutes
- Yield: 20 cookies
- Category: Dessert
- Method: Baking
- Cuisine: American
Description
These Butterfinger Cookies are a delightful treat combining the creamy richness of peanut butter with the crunchy, chocolaty goodness of Butterfinger candy. Easy to prepare and baked to perfection, these cookies are perfect for satisfying your sweet tooth with a fun twist on a classic peanut butter cookie.
Ingredients
Cookie Dough
- 1/2 cup unsalted butter (softened)
- 1/2 cup creamy peanut butter
- 3/4 cup brown sugar
- 1/4 cup granulated sugar
- 1 egg
- 1 teaspoon pure vanilla extract
- 1 1/2 cup unbleached flour
- 1/2 teaspoon salt
- 1/2 teaspoon baking soda
- 1/2 cup Butterfinger bits (divided)
- 1/2 cup Butterfinger bits (for topping)
Instructions
- Preheat Oven: Preheat the oven to 350 degrees Fahrenheit and line two baking sheets with parchment paper to ensure even baking and easy cleanup.
- Mix Butter and Peanut Butter: In a mixing bowl, combine the softened unsalted butter and creamy peanut butter. Mix until the mixture is smooth and creamy.
- Cream Sugars: Add the brown sugar and granulated sugar to the butter mixture. Cream together until fully combined and fluffy.
- Add Egg and Vanilla: Stir in the egg and pure vanilla extract. Mix thoroughly to ensure an even consistency.
- Add Dry Ingredients: Incorporate the unbleached flour, salt, and baking soda into the wet ingredients. Mix until a soft dough forms without over-mixing.
- Fold in Butterfinger Bits: Gently stir in half a cup of Butterfinger bits to distribute evenly throughout the dough.
- Form Cookie Dough Balls: Using a two-tablespoon cookie scoop, portion out balls of cookie dough.
- Place on Baking Sheets: Arrange the dough balls about 2 inches apart on the prepared baking sheets to allow for spreading during baking.
- Bake Cookies: Bake the cookies in the preheated oven for 9 minutes, or until the edges are golden but the centers are still soft.
- Shape Cookies and Add Topping: Remove the cookies from the oven and gently shape them with a cookie cutter for a uniform appearance. Top each cookie with the remaining Butterfinger pieces while still warm.
- Cool: Let the cookies cool for at least 10 minutes on the baking sheet before transferring them to a cooling rack to cool completely.
Notes
- Using softened butter and peanut butter helps create a smoother dough and better texture.
- Placing cookies 2 inches apart ensures they have enough space to spread without merging.
- You can substitute Butterfinger bits with other crunchy candy bars if unavailable.
- Shaping cookies right out of the oven while still warm helps achieve uniform shapes.
- Make sure the cookies cool sufficiently to allow the Butterfinger topping to set properly.

