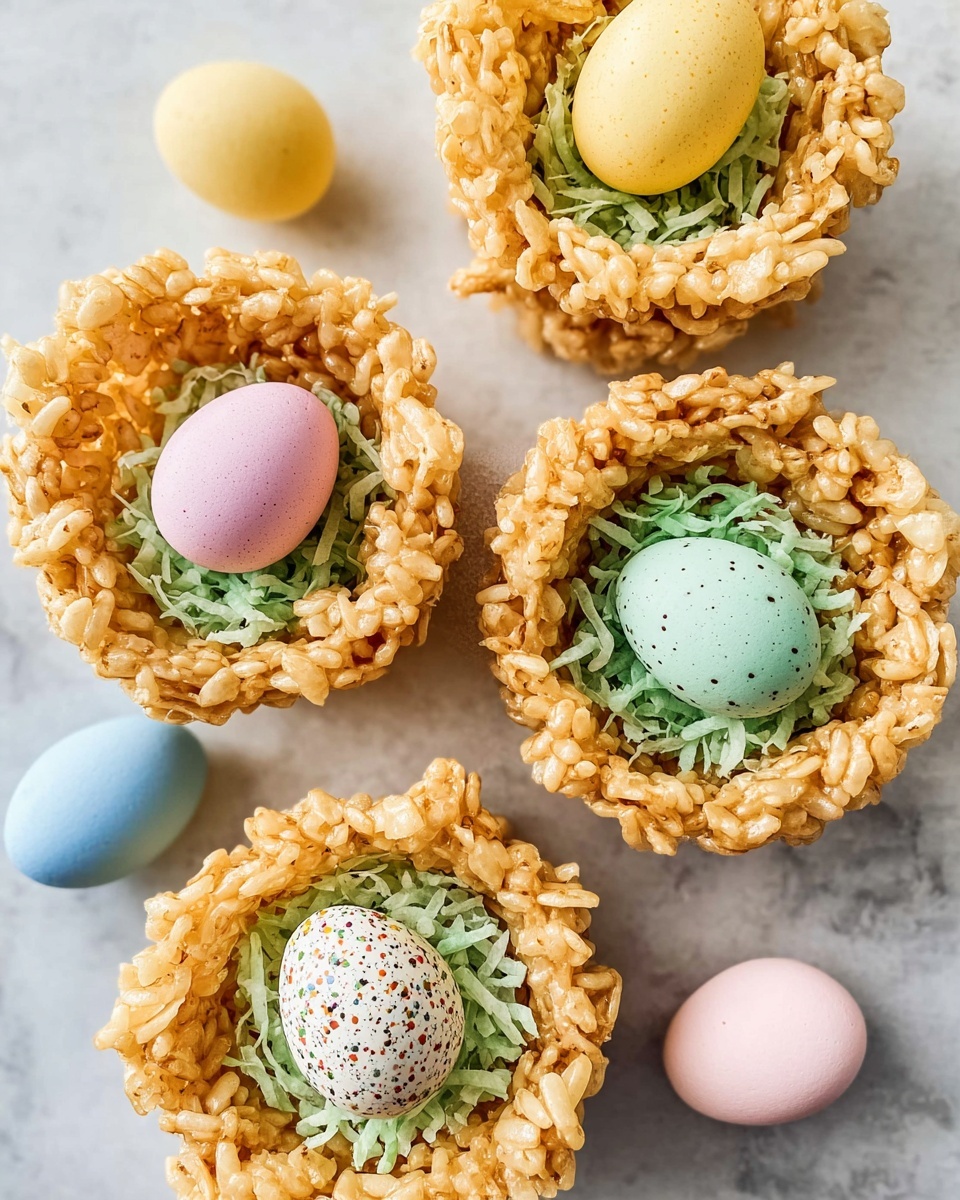
If you’re on the hunt for a fun, festive treat that’s as delightful to make as it is to eat, then this Adorable Rice Krispie Nests Recipe is about to become your new favorite. These charming little nests are bursting with the classic marshmallow-y goodness of Rice Krispies, transformed into perfect bite-sized works of art topped with colorful candy robin eggs. Whether you’re crafting them for a spring celebration, an Easter gathering, or just a cheerful snack to brighten your day, this recipe blends simplicity and creativity in the most heartwarming way.
Ingredients You’ll Need
Getting started is a snap thanks to these simple ingredients that come together effortlessly. Each element plays a special role in creating the perfect texture, flavor, and festive look of your Rice Krispie nests.
- 4 Tbsp unsalted butter: Adds rich flavor and helps melt the marshmallows smoothly.
- 10 oz marshmallows (regular or mini): The sweet glue that holds your nests together with that perfect gooey touch.
- 1 ½ tsp vanilla extract: Elevates the sweetness with a warm, aromatic depth.
- ¼ tsp salt: Balances the sweetness and enhances all the flavors.
- 5 cups Rice Krispies cereal: The main crunch factor that makes these nests so irresistibly airy.
- 1 cup sweetened shredded coconut: For the grass-like nest detail that brings a fresh, chewy contrast.
- Green food coloring: To dye the coconut and create that vibrant grassy effect.
- 48 mini candy robin eggs: The charming finishing touch that makes these Rice Krispie nests truly adorable.
How to Make Adorable Rice Krispie Nests Recipe
Step 1: Prepare Your Baking Pans
Start by giving two muffin pans a good spray with baking spray. This simple step ensures your nests will pop out easily once set, preserving their perfect shape without any sticky struggles.
Step 2: Melt Butter and Marshmallows
In a large pot or Dutch oven over medium-low heat, gently melt the butter. Then add marshmallows, stirring continuously until they’re completely melted and perfectly combined into a silky, sticky mixture. Remove from heat and blend in the vanilla extract and salt for that extra flavor kick.
Step 3: Combine with Rice Krispies Cereal
Now it’s time for the crunch. Stir the Rice Krispies cereal carefully into your marshmallow mixture until each crispy bit is well coated with that luscious marshmallow. This step ensures every bite will have the perfect amount of chewy goodness balanced with crispiness.
Step 4: Shape the Nests
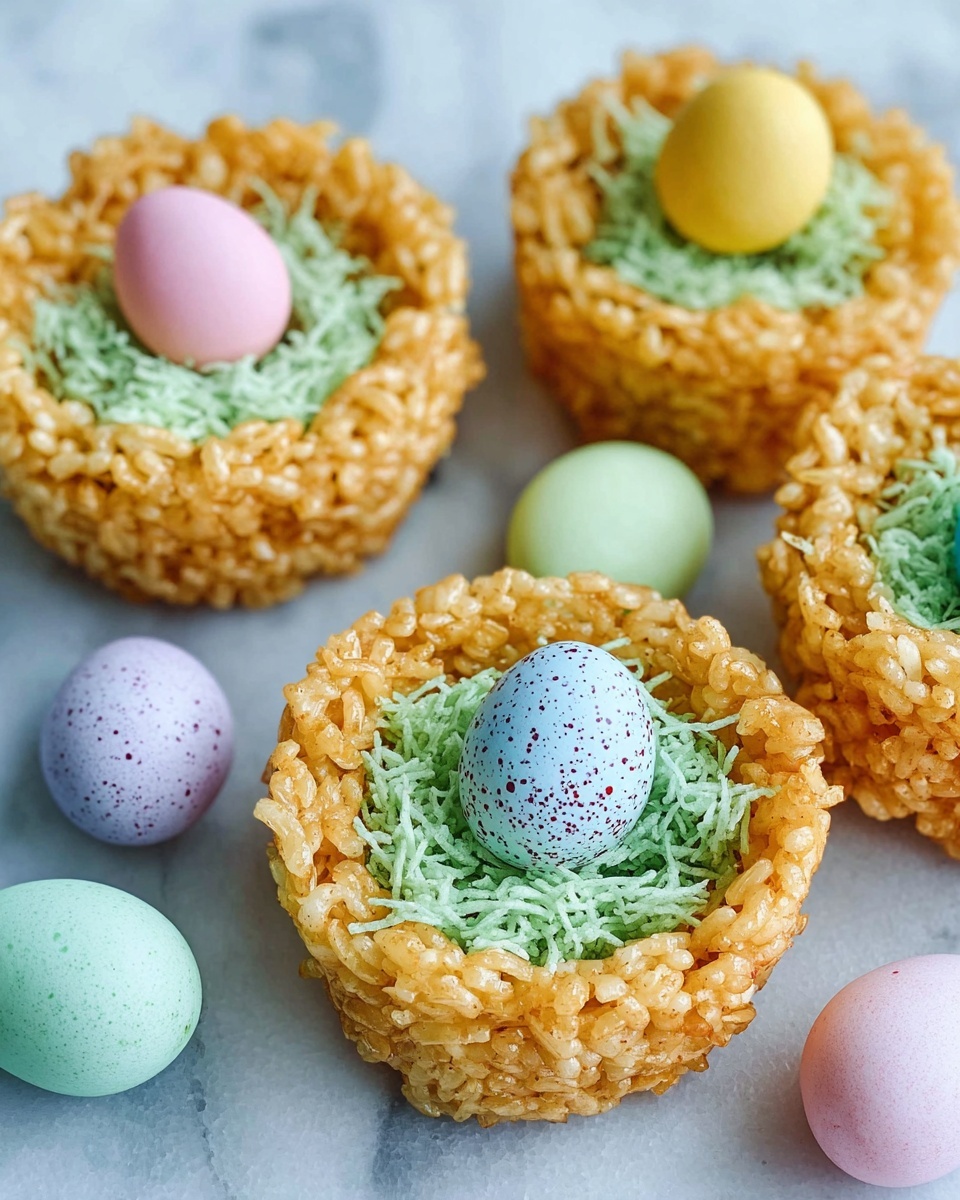
With a heaping ¼ cup of your mixture, fill each muffin cup. Use a tablespoon to press down gently in the center of each, carefully molding a nest shape—think little bowls ready to hold treasures. This part is where the magic starts to take shape!
Step 5: Let Your Nests Set
Patience is a virtue! Let your Rice Krispie nests rest in the pan for about an hour so they firm up nicely before handling them. This step is essential to keep them sturdy and ready for the decorating finale.
Step 6: Dye the Coconut “Grass”
Pour your shredded coconut into a large resealable bag, add 3-4 drops of green food coloring, seal it tight, and shake vigorously. This quick trick colors the coconut evenly, transforming it into soft, tasty grass perfect for your nests.
Step 7: Decorate with Grass and Eggs
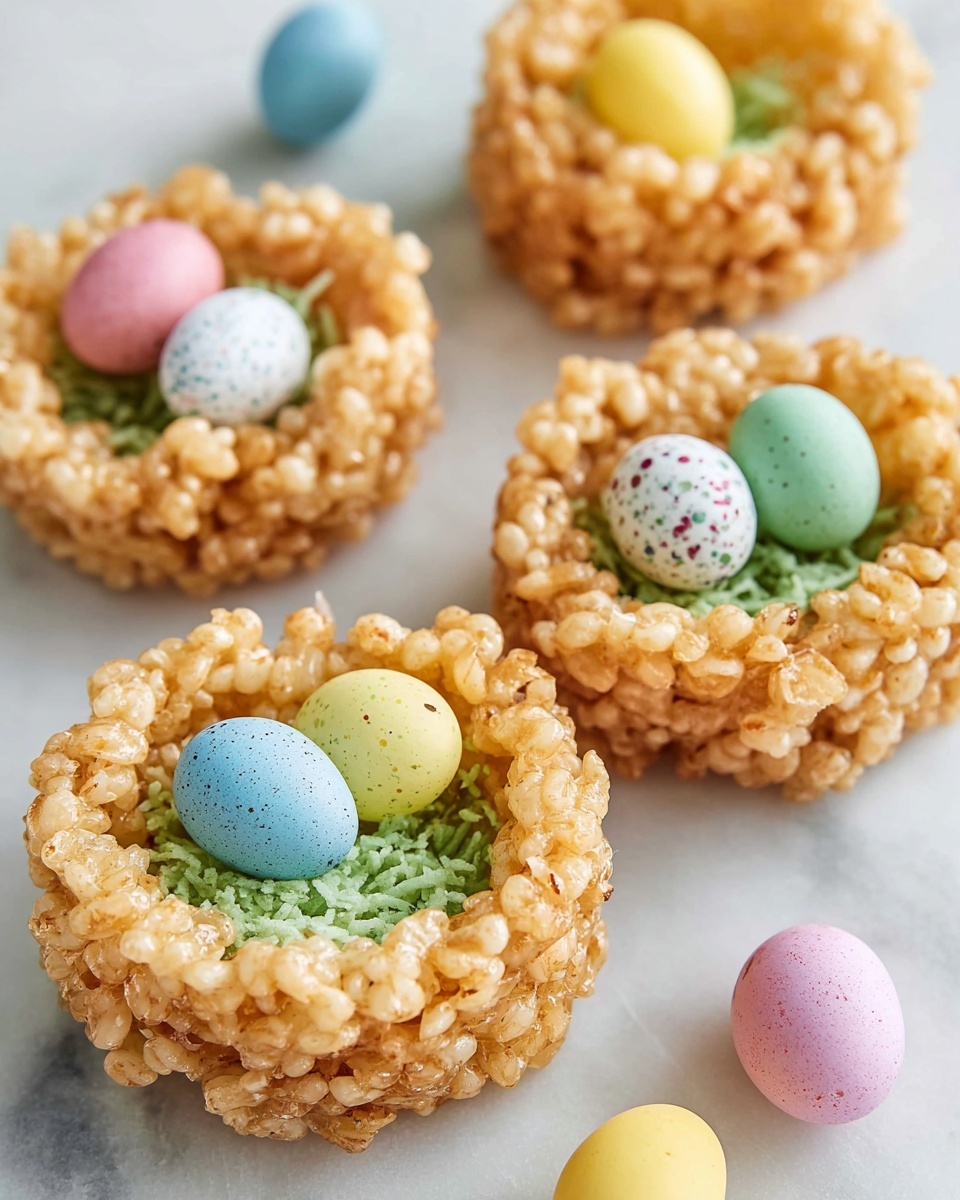
Spoon about a tablespoon of your bright green coconut into the center of each nest. Then top each with three mini candy robin eggs, nestling them gently into the coconut grass. It’s these sweet details that bring your adorable Rice Krispie nests to life and make them truly special.
How to Serve Adorable Rice Krispie Nests Recipe
Garnishes
Besides the classic candy robin eggs, try decorating the nests with pastel-colored sprinkles or edible glitter for extra flair. Fresh mint leaves add a pop of natural green and a subtle herbaceous note if you want to impress guests visually and flavor-wise.
Side Dishes
This treat pairs perfectly with light springtime beverages like lemonade, iced tea, or a fruity punch. If serving for a brunch or dessert spread, pair them with fresh fruit skewers or a creamy vanilla yogurt dip for a delightful balance.
Creative Ways to Present
Presentation elevates these nests from cute to unforgettable. Line them up on a rustic wooden board surrounded by pastel napkins, or display them in a clear glass bowl filled with extra shredded coconut “grass” for a whimsical touch. You can also package them in cellophane bags tied with colorful ribbons for gift-giving that steals the show.
Make Ahead and Storage
Storing Leftovers
Store any leftover Rice Krispie nests in an airtight container at room temperature to keep them fresh and crunchy. They’re best enjoyed within a few days, as the candy eggs and coconut grass look their prettiest when fresh.
Freezing
If you want to prepare your nests ahead of time, you can freeze them by placing them on a baking sheet to freeze individually before transferring to a sealed container. Thaw them at room temperature when ready to serve, and they’ll bounce back beautifully.
Reheating
Because these are no-bake treats, reheating isn’t necessary and can actually soften the texture too much. Instead, let them return to room temperature naturally if chilled or frozen for the best crunch and chewiness.
FAQs
Can I use a different cereal instead of Rice Krispies?
Absolutely! While Rice Krispies give that iconic crisp texture, you can experiment with similar cereals like Cocoa Krispies or even cornflakes for a variation in taste and crunch.
How do I make these nests vegan or dairy-free?
Swap the unsalted butter for a plant-based spread and choose vegan marshmallows, which are becoming more widely available. These changes keep the texture intact without compromising flavor.
Can I make larger nests instead of mini ones?
Yes! Just use a larger muffin tin or a silicone mold, increasing the amount of mixture per nest accordingly. Keep in mind they might take a bit longer to set firm.
What if I don’t have green food coloring for the coconut?
You can skip the coloring for a more natural look, or try coloring the coconut with other shades like yellow or blue to match different themes or holidays.
Can I store these nests in the refrigerator?
It’s best to keep them at room temperature to maintain crispness. Refrigeration can cause the marshmallow to harden or the cereal to get soggy over time.
Final Thoughts
Making the Adorable Rice Krispie Nests Recipe is one of those simple joys in the kitchen that instantly lifts your spirits and spreads smiles around the table. With basic ingredients and easy steps, you’ll have a batch of charming, colorful nests perfect for any occasion. Don’t hesitate to give this recipe a try—it’s a guaranteed hit with both kids and adults, bringing a little magic and sweetness to your day every time.
Print
Adorable Rice Krispie Nests Recipe
- Prep Time: 10 minutes
- Cook Time: 5 minutes
- Total Time: 1 hour 15 minutes
- Yield: 16 nests
- Category: Dessert
- Method: Stovetop
- Cuisine: American
Description
This Adorable Rice Krispie Nests Recipe is a fun and festive treat perfect for springtime or Easter celebrations. Crispy Rice Krispies coated in melted marshmallow form the perfect base for a nest shape, decorated with green-tinted shredded coconut and mini candy robin eggs. Easy to make, no baking required, and guaranteed to delight kids and adults alike.
Ingredients
Base Ingredients
- 4 Tbsp unsalted butter
- 10 oz marshmallows (regular or mini)
- 1 ½ tsp vanilla extract
- ¼ tsp salt
- 5 cups Rice Krispies cereal
Decorations
- 1 cup sweetened shredded coconut
- Green food coloring (3-4 drops)
- 48 mini candy robin eggs
Instructions
- Prepare Muffin Pans: Spray two muffin pans with baking spray to prevent sticking and allow easy removal of the nests.
- Melt Butter and Marshmallows: In a large pot or Dutch oven over medium-low heat, melt the butter. Add the marshmallows and cook, stirring constantly, until the marshmallows are completely melted and blended with the butter. Remove from heat and stir in vanilla extract and salt to enhance flavor.
- Combine with Rice Krispies: Quickly mix the Rice Krispies cereal into the marshmallow mixture until all the cereal is evenly coated, ensuring the mixture is fully combined.
- Form Nests: Use a heaping ¼ cup of the mixture per nest and place it into each of the 16 muffin cups. Press down in the center of each with a 1-tablespoon measuring spoon to create an indentation that mimics a nest.
- Set Nests: Let the nests sit undisturbed in the muffin pans for about one hour to firm up and hold their shape before transferring.
- Color the Coconut: Place the shredded coconut into a large resealable bag. Add 3 to 4 drops of green food coloring and vigorously shake the bag to evenly dye the coconut green, which will look like grass in the nests.
- Decorate Nests: Add about 1 tablespoon of the green-colored coconut to the center indentation of each nest. Top each nest with three mini candy robin eggs to complete the look.
Notes
- Use regular or mini marshmallows according to preference; mini marshmallows melt faster.
- Pressing the center with a measuring spoon creates the perfect nest shape for eggs.
- Allow nests to fully set before removing from muffin pans to avoid breaking.
- Green food coloring can be adjusted to achieve desired coconut color intensity.
- Mini candy robin eggs can be substituted with any small candy eggs.
