
“`html
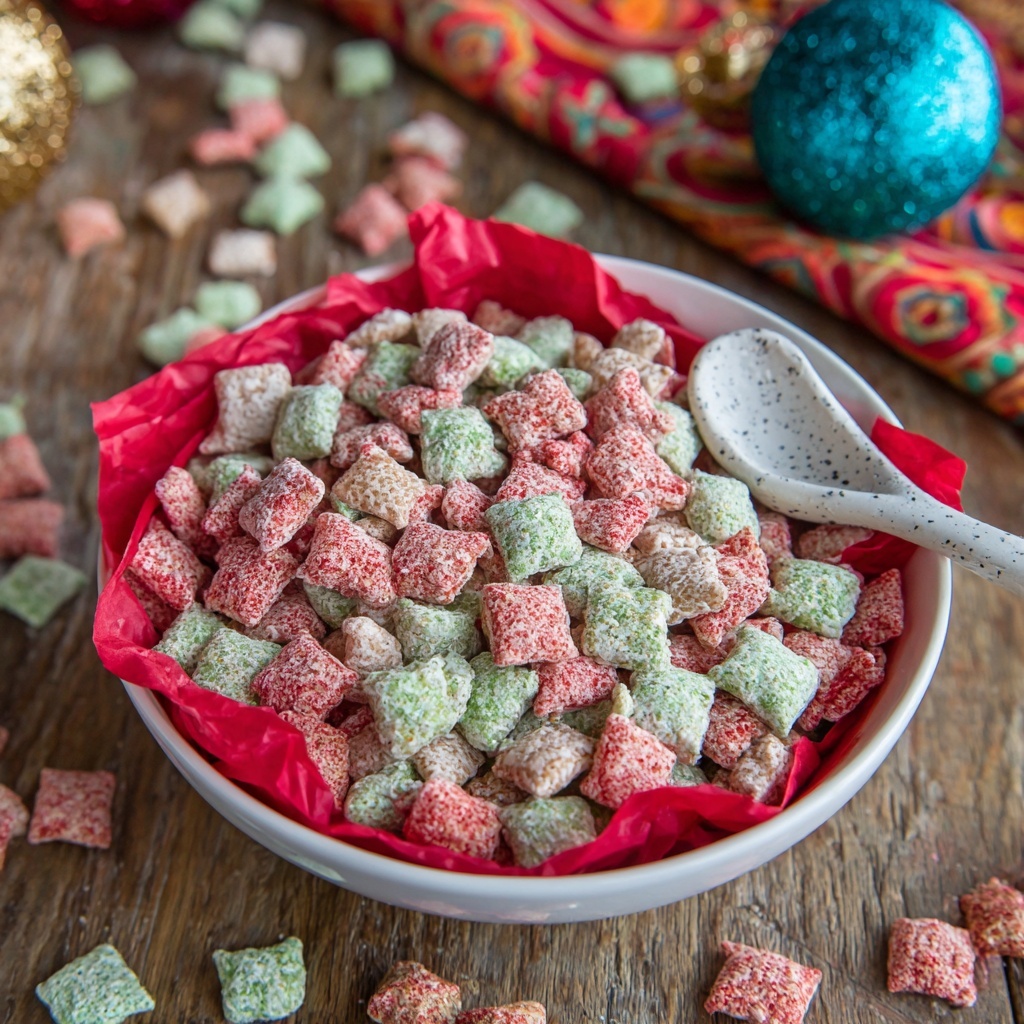
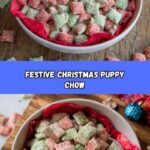
If you’re searching for a festive, fun, and utterly addictive treat to brighten your holiday gatherings, this Christmas Puppy Chow Recipe is exactly what you need. Bursting with cheerful colors, irresistible peanut buttery goodness, and the perfect crunch of Chex cereal, this snack captures the joyful spirit of the season in every bite. Whether you’re making it for a cozy night by the fire or as a gift for friends and family, this Christmas Puppy Chow Recipe is sure to become your new holiday tradition.
Ingredients You’ll Need
Don’t let the simplicity of these ingredients fool you—each one plays a crucial role in creating the crunchy, colorful, and sweet magic that is Christmas Puppy Chow. These essentials combine to form the perfect balance of flavor, texture, and festive appeal.
- 12 cups Rice Chex cereal: The crisp and light base that soaks up flavors beautifully while keeping every bite crunchy.
- 7 ounces green vanilla flavored melting wafers: Adds a smooth, creamy coating with a pop of holiday green color.
- 7 ounces red vanilla flavored melting wafers: Brings that classic Christmas red hue and luscious vanilla sweetness.
- 6 Tablespoons creamy peanut butter (divided): Brings a rich, nutty depth that ties the flavors together perfectly.
- 4 Tablespoons salted butter (divided): Adds a subtle, savory richness that balances the sweetness and enhances the overall texture.
- 2 cups powdered sugar (divided): Provides the signature snowy coating that adds sweetness and a delightful melt-in-your-mouth finish.
How to Make Christmas Puppy Chow Recipe
Step 1: Prepare Powdered Sugar Bags
Start by adding one cup of powdered sugar to a gallon-size Ziplock bag and set it aside. This step is essential because it’s where the coated cereal will be tossed later, giving Puppy Chow its characteristic snowy crunch.
Step 2: Measure the Cereal
Add six cups of the Chex cereal to a large mixing bowl and set it aside while you prepare the colorful coatings. Keeping the cereal measured and ready helps the process run smoothly.
Step 3: Melt the Green Wafers
Place 7 ounces of green melting wafers, 3 tablespoons of peanut butter, and 2 tablespoons of butter in a small, microwave-safe bowl. These ingredients will come together to create that luscious green coating.
Step 4: Microwave and Stir
Microwave the mixture at 50% power for 30 seconds, then give it a good stir to begin combining the ingredients evenly.
Step 5: Finish Melting Carefully
Continue microwaving in 15-second increments, stirring between each round. Be careful not to overheat or add liquids, as the mixture can seize. Once smooth and creamy, the green coating is ready to dress your cereal.
Step 6: Coat the Cereal with Green Wafers
Pour or spoon the melted green mixture over the 6 cups of Chex cereal. Use a large spoon or your hands to gently combine, ensuring every piece is coated in that gorgeous green vanilla layer. If needed, warm the bowl again for 15 seconds to help fully coat any stubborn pieces.
Step 7: Powder Sugar the Green Mix
Transfer half of the coated cereal into the Ziplock bag with powdered sugar. Seal the bag and gently toss to cover the cereal completely. Then add the remaining coated cereal, seal again, and toss for even coverage.
Step 8: Spread and Set the Green Layer
Line a baking sheet with parchment paper and pour the green-coated Puppy Chow onto it, spreading it evenly. This allows the coating to set nicely and prevents clumping.
Step 9: Repeat for Red Wafers
Repeat the melting, coating, and tossing process with the red melting wafers, using a fresh Ziplock bag and a clean bowl. This gives you the festive red half of your Christmas Puppy Chow Recipe.
Step 10: Let Both Colors Set
Allow both green and red Puppy Chow piles to sit for about an hour until fully set. This step helps ensure that each bite is perfectly crisp and ready to be enjoyed.
How to Serve Christmas Puppy Chow Recipe
Garnishes
Sprinkle with a tiny pinch of edible glitter or crushed peppermint for an extra holiday sparkle and a refreshing hint that complements the peanut butter sweetness beautifully.
Side Dishes
This Christmas Puppy Chow pairs wonderfully with hot cocoa, spiced cider, or even alongside a creamy cheese platter to provide a sweet contrast for your festive spread.
Creative Ways to Present
Package your Puppy Chow in clear treat bags tied with festive ribbons, layer it in holiday-themed mason jars, or present it in colorful bowls surrounded by pine branches for a charming holiday centerpiece.
Make Ahead and Storage
Storing Leftovers
Keep any leftover Christmas Puppy Chow in an airtight container at room temperature for up to a week to maintain its crunch and freshness. Avoid the fridge to prevent moisture buildup.
Freezing
If you’d like to prepare Puppy Chow ahead of time, you can freeze it in sealed freezer bags for up to 3 months. Thaw at room temperature before serving, and it will taste just as fresh as the day it was made.
Reheating
Since Puppy Chow is best enjoyed at room temperature, there’s no need for reheating. Simply fluff it up gently with your hands or a spoon after storing to restore its lovely texture.
FAQs
Can I use different colors for the melting wafers?
Absolutely! Feel free to customize your Christmas Puppy Chow Recipe with any color of melting wafers to match your party theme or personal taste.
Is it possible to make this recipe nut-free?
Yes! You can substitute the peanut butter with a seed butter like sunflower seed butter to make this treat safe for those with peanut allergies while keeping the creamy texture.
How do I prevent the melting wafers from seizing?
Microwave at lower power and stir frequently without adding liquid. Overheating or water contact can cause the wafers to seize, so patience and careful heating are key.
Can I add mix-ins like candy or nuts?
Certainly! Adding festive candies like mini M&Ms or chopped nuts can add extra flavor and crunch, just toss them in after the cereal is coated and set for best results.
Why is the Puppy Chow not crunchy the next day?
Moisture is the enemy of crunch. Make sure Puppy Chow is fully cooled before storing, keep it airtight, and avoid refrigeration, which can introduce humidity and soften the cereal.
Final Thoughts
I truly hope you enjoy making and sharing this Christmas Puppy Chow Recipe as much as I do. It’s one of those simple yet magical snacks that instantly bring warmth, joy, and festive cheer to any holiday occasion. Give it a try and watch it disappear faster than you can say “Merry Christmas!”
“`
Print
Christmas Puppy Chow Recipe
- Prep Time: 10 minutes
- Cook Time: 0 minutes
- Total Time: 10 minutes plus 1 hour setting time
- Yield: 12 cups
- Category: Snack
- Method: Microwaving
- Cuisine: American
Description
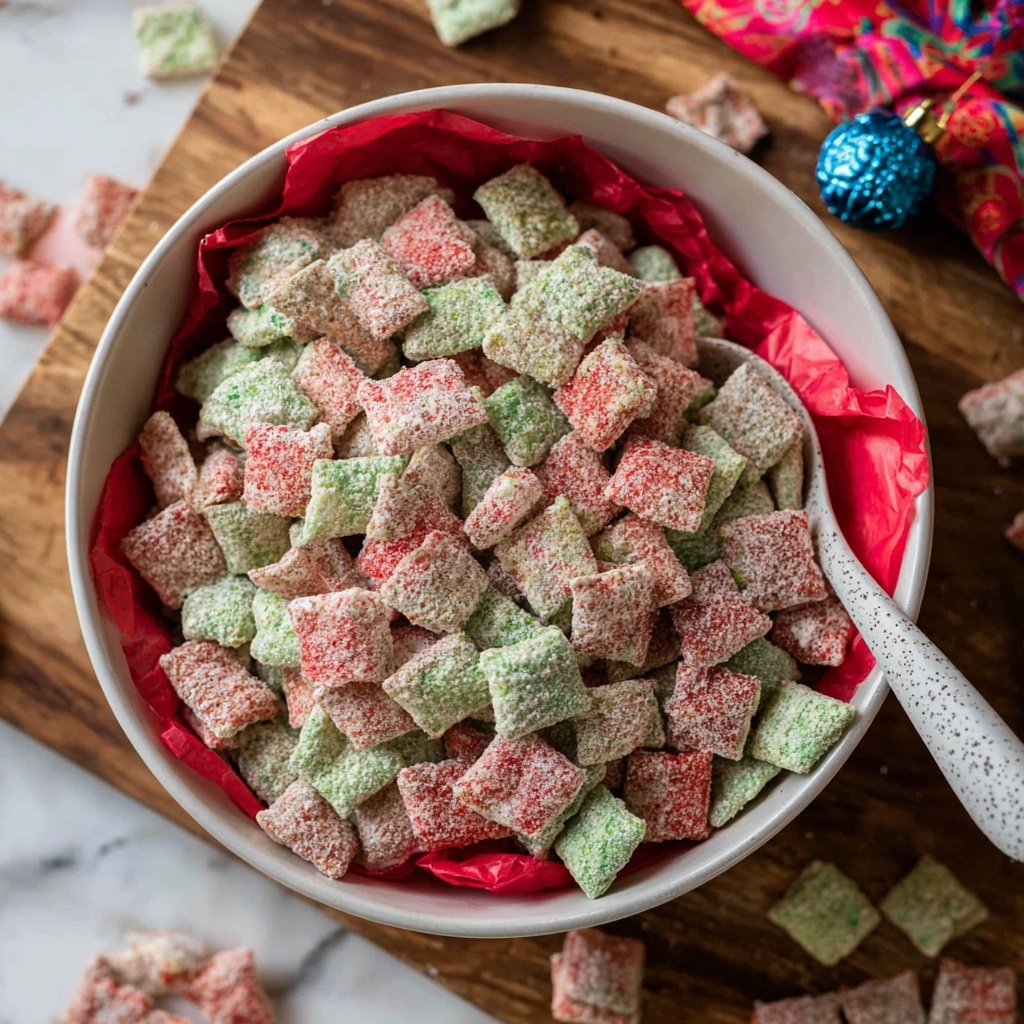
Christmas Puppy Chow is a festive, colorful twist on the classic puppy chow snack, featuring crunchy Rice Chex cereal coated in creamy green and red vanilla-flavored melting wafers mixed with peanut butter, then tossed in powdered sugar. Perfect for holiday gatherings, this sweet treat combines smooth melting chocolate with a crunchy base, making it a delightful seasonal snack that’s easy to prepare without any baking.
Ingredients
Cereal
- 12 cups Rice Chex cereal (1 ½-15-ounce boxes)
Green Coating
- 7 ounces green vanilla flavored melting wafers
- 3 tablespoons creamy peanut butter
- 2 tablespoons salted butter
- 1 cup powdered sugar (for coating)
Red Coating
- 7 ounces red vanilla flavored melting wafers
- 3 tablespoons creamy peanut butter
- 2 tablespoons salted butter
- 1 cup powdered sugar (for coating)
Instructions
- Prepare powdered sugar bags. Add one cup of powdered sugar to a gallon-size Ziplock bag and set aside; repeat for the second batch later.
- Measure cereal. Add 6 cups of Rice Chex cereal to a large mixing bowl and set aside for coating with the green melting wafers.
- Melt green coating. In a small microwave-safe bowl, combine 7 ounces of green vanilla melting wafers, 3 tablespoons peanut butter, and 2 tablespoons salted butter.
- Microwave and stir. Microwave at 50% power for 30 seconds, then stir thoroughly.
- Continue melting. Microwave in 15-second increments at 50% power, stirring between each interval, until the mixture is fully melted and smooth. Avoid overheating or adding liquids.
- Coat cereal with green mixture. Pour the green melts over the 6 cups of Chex cereal and gently combine with a large spoon or your hands to coat evenly. Reheat briefly if needed to better coat.
- Powder sugar coating. Transfer half of the coated cereal into the prepared Ziplock bag with powdered sugar. Seal and gently toss to coat, then add the remaining cereal, seal again, and toss to fully cover.
- Set green puppy chow. Spread the coated cereal on a parchment-lined baking sheet to set while preparing the red batch.
- Repeat for red coating. Use a clean bowl and a second Ziplock bag. Combine 7 ounces red melting wafers, 3 tablespoons peanut butter, and 2 tablespoons salted butter in a microwave-safe bowl and melt following the same method as for the green melts. Coat the remaining 6 cups of cereal, toss with powdered sugar, and spread on a parchment-lined sheet.
- Allow to set. Let both sheets of Christmas Puppy Chow rest for about an hour until fully set before handling or serving to allow the coatings to firm up.
Notes
- Do not overheat melting wafers to prevent seizing.
- Use hands to mix coating evenly over cereal for best coverage.
- Ensure the bowls and bags are clean between green and red batches to avoid color mixing.
- This recipe does not require baking or stovetop cooking—melting is done in the microwave.
- Store puppy chow in an airtight container for up to one week.

