
If you’ve never experienced the magic of the Perfect Roasted Garlic Recipe, you’re in for an absolute treat. This simple yet transformative method turns raw garlic’s sharp, pungent bite into a sweet, mellow, creamy delight that elevates every dish it touches. Whether spread on warm bread, stirred into sauces, or blended into dips, roasted garlic adds a depth of flavor that feels like a warm hug for your taste buds. Trust me, once you master this technique, you’ll want to have it on hand for just about everything savory!
Ingredients You’ll Need
There’s something wonderfully reassuring about how simple this recipe is. Just a couple of ingredients work in perfect harmony to create that rich, caramelized garlic flavor and luscious texture you’re craving. Each component plays a vital role in the overall success of the dish, giving you maximum taste with minimal fuss.
- 4 heads raw garlic: Fresh, whole heads ensure the cloves roast evenly and stay juicy inside.
- 4 tablespoons olive oil: The olive oil helps caramelize the garlic and keeps it silky smooth while roasting.
How to Make Perfect Roasted Garlic Recipe
Step 1: Preheat Your Oven
Start by setting your oven to 375°F and place the rack in the middle position. This temperature is just right to slowly roast the garlic without burning, allowing the sugars inside the cloves to develop that perfect golden hue and soft texture.
Step 2: Prep the Garlic Heads
Take your heads of garlic and carefully slice about 1/4 inch off the top end, exposing the tops of the individual cloves. Avoid cutting the root side so the garlic stays intact during roasting. This little step lets the garlic release its aroma and encourages even cooking.
Step 3: Arrange on Foil
Lay each garlic head cut side up on a piece of tin foil. Using foil helps retain moisture as the garlic roasts, preventing it from drying out while also making clean-up a breeze.
Step 4: Drizzle Olive Oil
Pour a generous tablespoon of olive oil over the cut surfaces of each garlic head. This not only adds richness but also enhances the caramelization, creating those irresistible golden brown edges we all dream about.
Step 5: Wrap and Seal
Wrap the garlic heads completely in the foil, sealing loosely but securely. This traps steam and heat, gently cooking everything to silky perfection without risking burning or drying out your garlic heads.
Step 6: Roast to Perfection
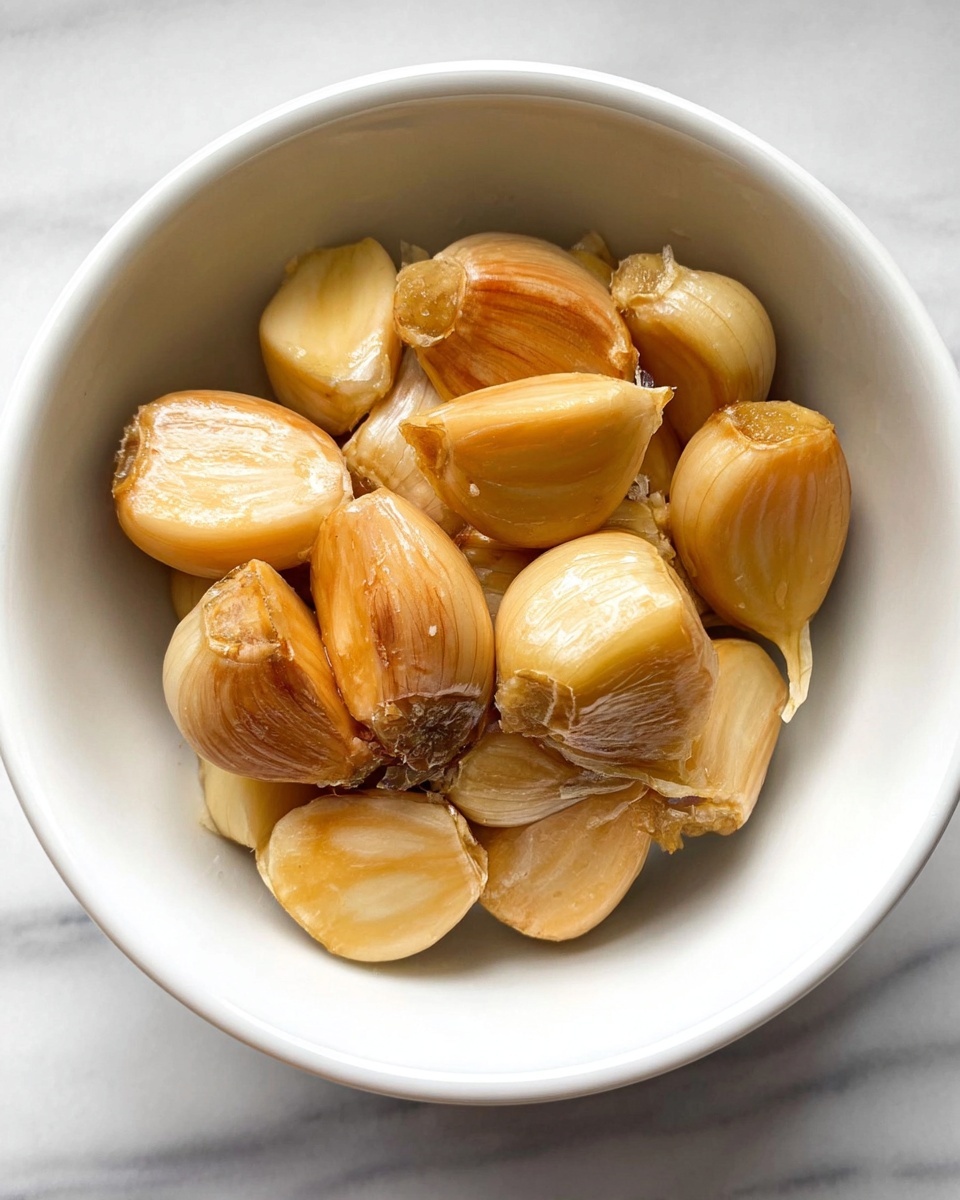
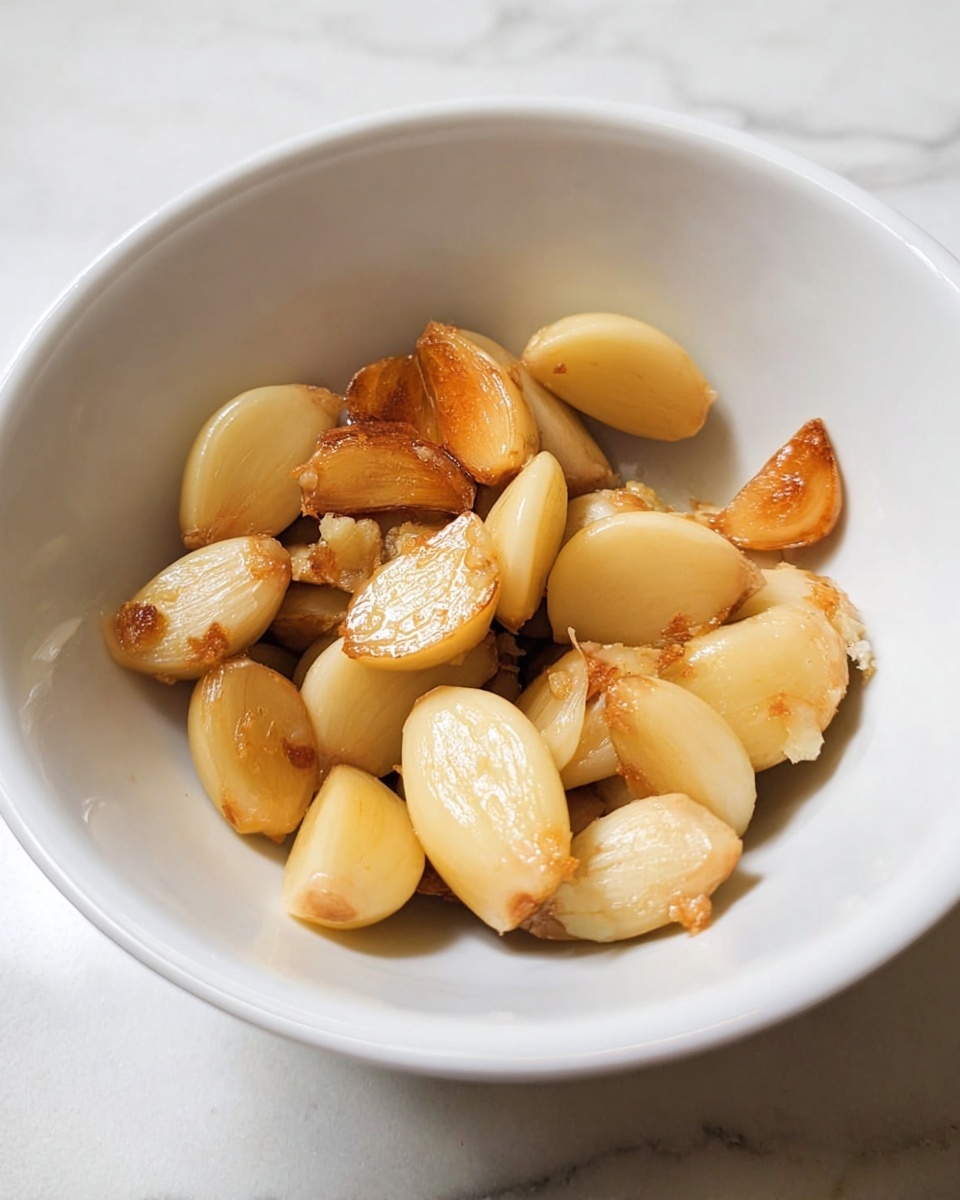
Pop the wrapped garlic in the preheated oven and roast for about 60 minutes. You’re aiming for a deep golden color with some darker caramelized bits. The cloves should feel soft if you gently squeeze or test with a knife. If not quite tender, give them 10-15 more minutes. Once done, let them cool slightly before extracting the luscious cloves using a small knife or by gently squeezing the base to slide them out.
How to Serve Perfect Roasted Garlic Recipe
Garnishes
Roasted garlic is a flavor superstar on its own, but a sprinkle of fresh herbs like chopped parsley or thyme can introduce a lovely pop of color and freshness. A light drizzle of good olive oil and a pinch of flaky sea salt can also elevate each bite to a gourmet experience.
Side Dishes
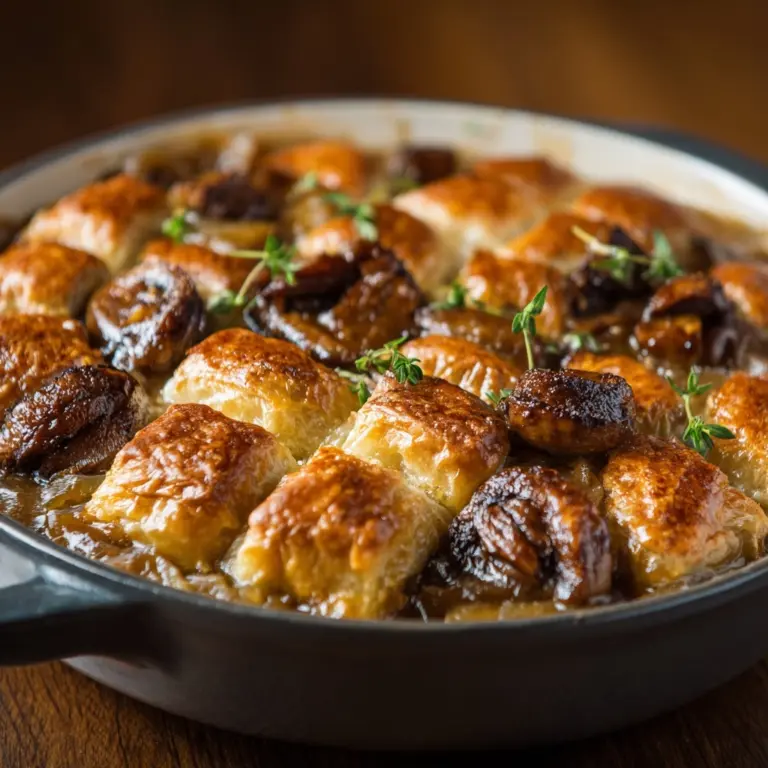
This Perfect Roasted Garlic Recipe pairs beautifully with roasted vegetables, mashed potatoes, crusty artisan bread, or even mixed into creamy risottos. Its mellow richness complements earthy greens and hearty grains, making it an irresistible companion to almost any savory plate.
Creative Ways to Present
Try mashing the roasted cloves into softened butter for an unforgettable garlic spread. Or whisk it into salad dressings, soups, or pasta sauces for a subtle but unforgettable garlic essence. Spread on crispy crostini or blend into hummus for a luxurious twist that will impress your guests every time.
Make Ahead and Storage
Storing Leftovers
You can store leftover roasted garlic in an airtight container in the refrigerator for up to two weeks. Keep it submerged in olive oil to maintain moisture and flavor, and you’ll always have this kitchen treasure ready to jazz up your meals in a pinch.
Freezing
For longer storage, roasted garlic freezes wonderfully. Pop the cloves on a baking sheet to freeze individually, then transfer to a freezer-safe bag or container. This prevents clumping and allows you to grab just the amount you need for any recipe.
Reheating
If you want to reheat your roasted garlic, simply warm gently in a low oven or microwave just until soft and spreadable. Avoid high heat as it can toughen the cloves and dull the sweet flavor you worked so hard to develop.
FAQs
Can I roast garlic without olive oil?
While olive oil adds richness and helps with caramelization, you could roast garlic without it, though the cloves might dry out a bit more. Using oil also contributes to that silky texture that makes this recipe so special.
How do I know when the garlic is perfectly roasted?
Perfectly roasted garlic is soft enough to easily squeeze or slide the cloves out of their skins, with a deep golden color and a sweet aroma. If the cloves feel tough or look pale, they need a bit more time in the oven.
Can I roast individual garlic cloves instead of whole heads?
Roasting individual cloves is possible but trickier to get right without drying them out. Whole heads roast more evenly and stay beautifully tender and moist.
What should I do if my garlic burns during roasting?
If the garlic starts to burn, lower the oven temperature slightly and reduce the cooking time next time. Wrapping the heads securely in foil helps prevent burning by trapping moisture.
Is this recipe suitable for making garlic-infused oil?
This method creates roasted garlic perfect for eating or blending into recipes but is not ideal for infusing oil safely. For garlic-infused oil, it’s best to use raw garlic with proper refrigeration to avoid any risk.
Final Thoughts
There’s something wonderfully satisfying about creating the Perfect Roasted Garlic Recipe right in your own kitchen. It’s effortless, versatile, and bursts with so much cozy, caramelized flavor. I can’t wait for you to try it and discover how this simple technique can transform your cooking in the most deliciously unexpected ways. Happy roasting!
Print
Perfect Roasted Garlic Recipe
- Prep Time: 5 minutes
- Cook Time: 60 minutes
- Total Time: 65 minutes
- Yield: 4 heads of roasted garlic
- Category: Condiment
- Method: Baking
- Cuisine: Universal
- Diet: Vegan
Description
This Perfect Roasted Garlic recipe guides you through roasting garlic heads to create a soft, golden, and richly flavored ingredient that can enhance a wide variety of dishes. The slow roasting at 375°F brings out the natural sweetness and mellows the sharpness of raw garlic, making it ideal for spreading, mixing into sauces, or adding depth to recipes.
Ingredients
Ingredients
- 4 heads raw garlic
- 4 tablespoons olive oil
Instructions
- Preheat the Oven: Preheat your oven to 375°F (190°C) and position the rack in the middle of the oven to ensure even heat distribution.
- Prepare the Garlic Heads: Slice about 1/4 inch off the tops of each garlic head to expose the individual cloves while keeping the root intact to hold the cloves together.
- Arrange on Foil: Place the garlic heads cut side up onto a piece of tin foil, ensuring they have enough space and stability.
- Add Olive Oil: Drizzle one tablespoon of olive oil evenly over the exposed cloves of each garlic head to enhance roasting and prevent drying out.
- Wrap in Foil: Loosely but completely wrap the garlic heads in the foil, sealing them to trap steam and heat for perfect roasting.
- Roast the Garlic: Roast for about one hour until the garlic is soft to the touch and has golden-brown caramelized edges. If it feels firm, roast for additional 10 to 15-minute increments until tender.
- Cool and Extract: Allow the roasted garlic to cool slightly before extracting the cloves—either using a small, sharp knife to slide them out individually or by gently squeezing the garlic head to push out the softened cloves intact.
Notes
- Keep the root end intact when slicing to make removing cloves easier after roasting.
- Ensure the foil is tightly sealed but not too tight to allow steam circulation without drying the garlic.
- Roasted garlic can be stored in an airtight container in the refrigerator for up to one week or frozen for longer storage.
- Use roasted garlic as a spread on bread, in salad dressings, mashed into potatoes, or blended into sauces for added flavor.


